Removal Procedure
 Courtesy of GENERAL MOTORS COMPANY
- Disconnect the negative battery cable. Refer to Battery Negative Cable Disconnection and Connection .
- Remove the air cleaner outlet duct. Refer to Air Cleaner Resonator Outlet Duct Replacement
.
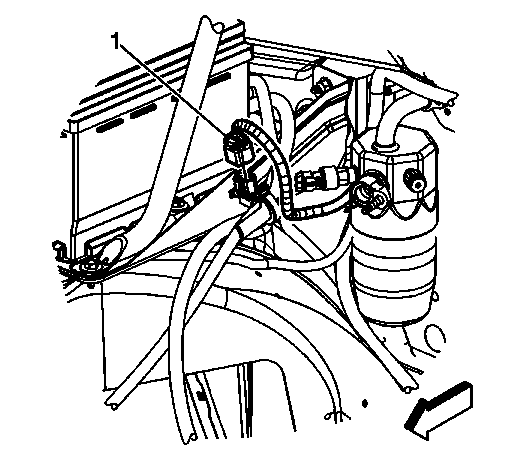
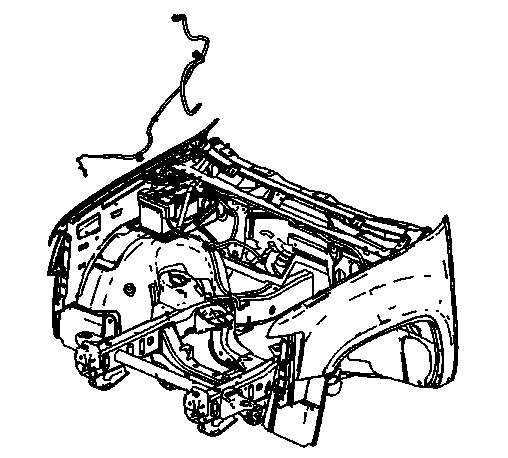
- Disconnect the engine harness electrical connector (1) from the battery current sensor.
 Courtesy of GENERAL MOTORS COMPANY
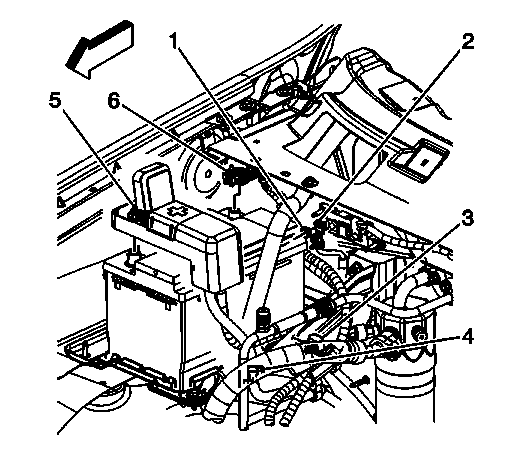
- Remove the battery current sensor (3) clip from the battery tray, if equipped with a battery current sensor.
 Courtesy of GENERAL MOTORS COMPANY
- Remove the negative battery cable stud (1) from the front of the right cylinder head.
- Remove the negative battery cable terminal (2) from the cylinder head.
 Courtesy of GENERAL MOTORS COMPANY
- Raise and support the vehicle. Refer to Lifting and Jacking the Vehicle
.
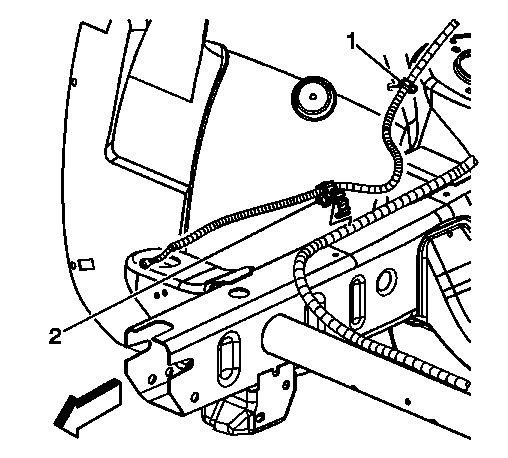
- Remove the forward lamp wiring harness ground bolt (1).
- Remove the forward lamp wiring harness terminal (2) from the frame.
- Remove the negative battery cable terminal (3) out through the opening between the radiator support and frame.
 Courtesy of GENERAL MOTORS COMPANY
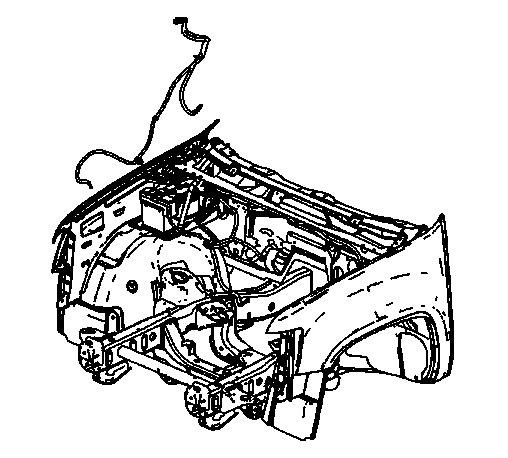
- Remove the negative battery cable clip (2) from the chassis harness.
- Lower the vehicle.
- Remove the negative battery cable clip (1) from the right wheelhouse liner.
 Courtesy of GENERAL MOTORS COMPANY
- Remove the negative battery cable from the vehicle, if equipped without a battery current sensor.
 Courtesy of GENERAL MOTORS COMPANY
- Remove the negative battery cable from the vehicle, if equipped with a battery current sensor.
- If replacing the negative battery cable, remove the battery current sensor, if equipped. Refer to Battery Current Sensor Replacement .