- If reusing or replacing the window, use the appropriate tool, remove the auto-adhesive bead on the window surface and pinch-weld flange to approximately 2 mm (0.078 in).
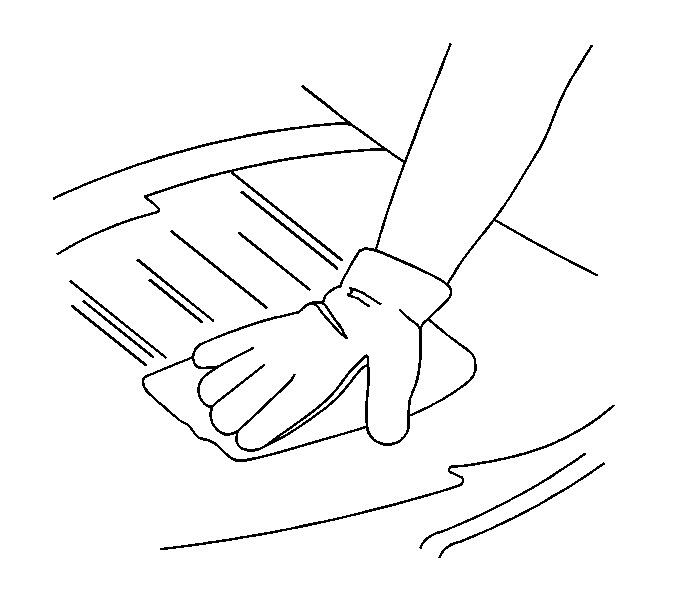
- Clean the bonding area on the window.
 Courtesy of GENERAL MOTORS COMPANY
- Apply bonded-glass primer and let dry per auto-adhesive instructions by the manufacturer's.
 Courtesy of GENERAL MOTORS COMPANY
- Apply the auto-adhesive primer-application (2) around the perimeter of the rear window (1) per auto-adhesive instructions by the manufacturer's.
 Courtesy of GENERAL MOTORS COMPANY
- Cut the applicator nozzle to provided a V cut to apply the auto-adhesive.
 Courtesy of GENERAL MOTORS COMPANY
- Install the sealing strip to the bottom of the rear window.
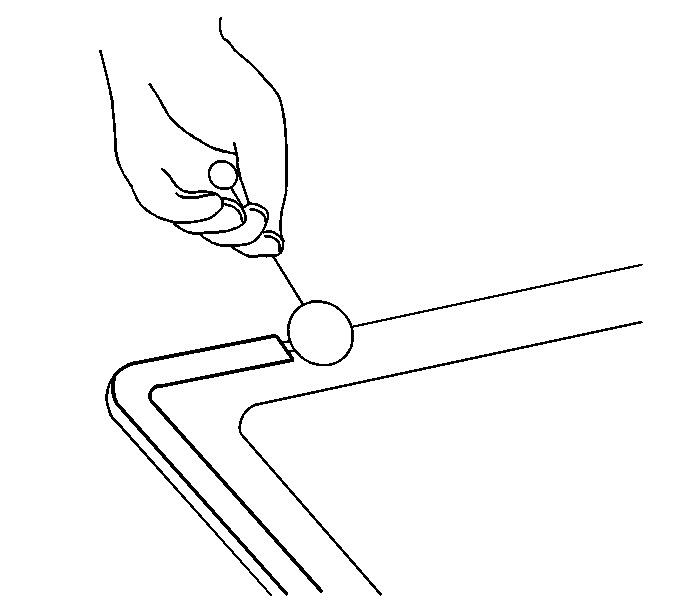
- With an assistant, use the glass handling cups, align the window locating pins to the slots located in each corner of the pinch-weld flange. Lower the window to touch the auto-adhesive.
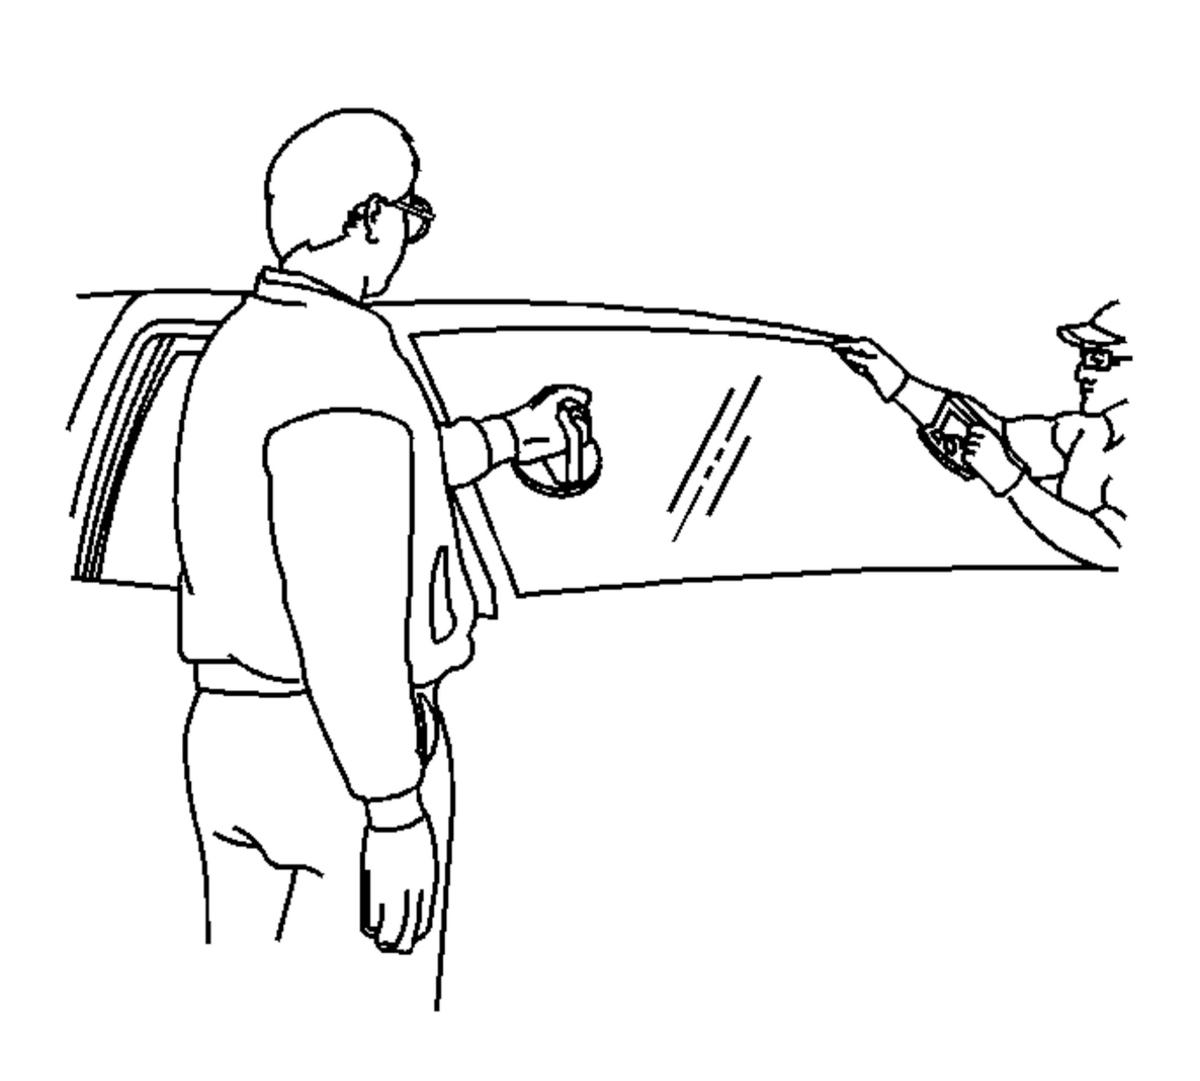 Courtesy of GENERAL MOTORS COMPANY
NOTE:
If the locating pins were cut off it will be necessary to tape the window in place until the auto-adhesive cures per auto-adhesive instructions by the manufacturer's.
- Remove the glass handling cups.
- Gently depress the window on the auto-adhesive bead until the window is seated 1 mm (0.039 in) below the roof.
 Courtesy of GENERAL MOTORS COMPANY
- Use masking tape (1) to hold the window (2) in the position until the auto-adhesive completely cures.
 Courtesy of GENERAL MOTORS COMPANY
- Connect the rear window defogger electrical connectors to the bus bars.
- Connect the connector from the radio antenna module.
- Install the rear edge of the headliner.
- Make sure to observe the auto-adhesive curing time before releasing the vehicle per auto-adhesive instructions by the manufacturer's.
- Remove the double layer of masking tape around the perimeter of the painted surfaces and the interior trim.
NOTE:
Following the auto-adhesive installation instructions, using nafta to remove any excess of auto-adhesive within 30 minutes, otherwise it will not be possible to remove the auto-adhesive excess unless using mechanical means.
- Use a soft spray of warm water in order to immediately water test the window.
 Courtesy of GENERAL MOTORS COMPANY
NOTE:
Do not direct a hard stream of high pressure water to the freshly applied auto-adhesive.
- Inspect the window for leaks.
- If any leaks are found, use a plastic paddle in order to apply extra auto-adhesive at the leak point.
- Retest the window for leaks.
- Maintain the following conditions in order to properly cure the auto-adhesive:
- Partially lower a door window in order to prevent pressure buildups when closing doors before the auto-adhesive cures.
- Do not drive the vehicle until the auto-adhesive is cured. Refer to the above curing times.
- Do not use compressed air in order to dry the auto-adhesive.
- Clean any excess auto-adhesive from the body.
 Courtesy of GENERAL MOTORS COMPANY
- Close the rear compartment lid.
- Ensure that the electrical components are working properly.