Diagnostic Procedures
- Turn ignition off. Connect scan tool to Data Link Connector (DLC). If scan tool powers up, go to next step. If scan tool does not power up, repair wiring as necessary. See appropriate wiring diagram in DATA LINK CONNECTORS article in WIRING DIAGRAMS.
- Turn ignition on, but DO NOT start engine. Using scan tool, attempt to establish communication with BCM. If scan tool communicates with BCM, system is okay. If scan tool does not communicate with BCM, go to next step.
- Check TBC fuse (10-amp) located in Underhood Bussed Electrical Connector (UBEC). See COMPONENT LOCATIONS
. If fuse is blown, go to next step. If fuse is okay, go to step 5).
- Repair short to ground in Orange wire between TBC fuse and BCM. See WIRING DIAGRAMS
. Replace TBC fuse. Go to step 2).
- Check GAUGES fuse (10-amp) located in instrument panel fuse block. See COMPONENT LOCATIONS
. If fuse is blown, go to next step. If fuse is okay, go to step 7).
- Repair short to ground in Pink wire between GAUGES fuse and BCM. See WIRING DIAGRAMS
. Replace GAUGES fuse. Go to step 2).
- Using test light connected to ground, backprobe TBC fuse terminal in instrument panel fuse block to ensure power supply is okay. If test light illuminates, go to step 9). If test light does not illuminate, go to next step.
- Repair open in power supply to TBC fuse. See appropriate wiring diagram in POWER DISTRIBUTION article. Go to step 2).
- Turn ignition on. Using test light connected to ground, backprobe GAUGES fuse terminal in instrument panel fuse block to ensure power supply is okay. If test light illuminates, go to step 11). If test light does not illuminate, go to next step.
- Repair open in power supply to GAUGES fuse. See appropriate wiring diagram in POWER DISTRIBUTION article. Go to step 2).
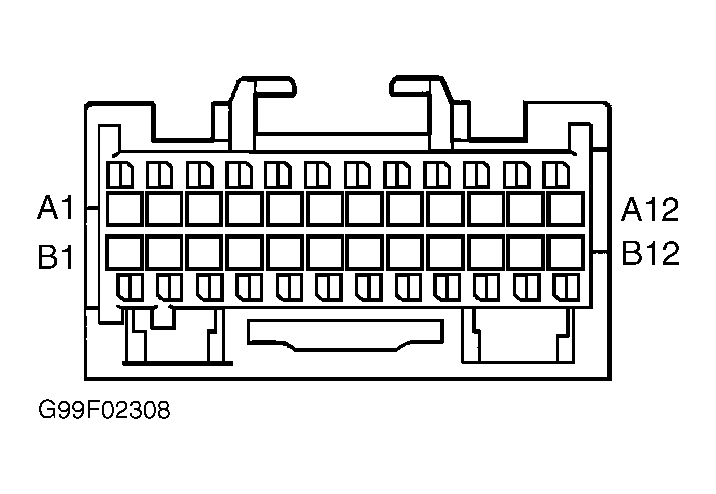
- Disconnect Brown 24-pin BCM connector. See COMPONENT LOCATIONS
. Using a DVOM connected to ground, measure voltage (backprobe) at Brown 24-pin BCM connector terminal A2 (Orange wire). See Fig 1
. If battery voltage exists, go to step 13). If battery voltage does not exist, go to next step.
- Repair open in Orange wire between TBC fuse and BCM. See WIRING DIAGRAMS
. Go to step 2).
- Using a DVOM connected to ground, measure voltage (backprobe) at Brown 24-pin BCM connector terminal B2 (Pink wire). If battery voltage exists, go to step 15). If battery voltage does not exist, go to next step.
- Repair open in Pink wire between GAUGES fuse and BCM. See WIRING DIAGRAMS
. Go to step 2).
- Using DVOM, measure resistance between ground and Brown 24-pin BCM connector terminal B1 (Black wire). If Black wire is open or has high resistance to ground, go to next step. If Black wire is okay, go to step 17).
- Repair open or high resistance in Black wire between Brown 24-pin BCM connector terminal B1 and ground connection G200. See COMPONENT LOCATIONS
. Go to step 2).
- Repair class 2 serial data wiring as necessary. See appropriate wiring diagram in DATA LINK CONNECTORS article in WIRING DIAGRAMS.
 Courtesy of GENERAL MOTORS CORP.