Ignition Timing
- Start and warm engine to normal operating temperature. Turn engine off and leave ignition on for 5 seconds, and then start engine again. Turn engine and all accessories off. Attach timing light to No. 1 spark plug wire.
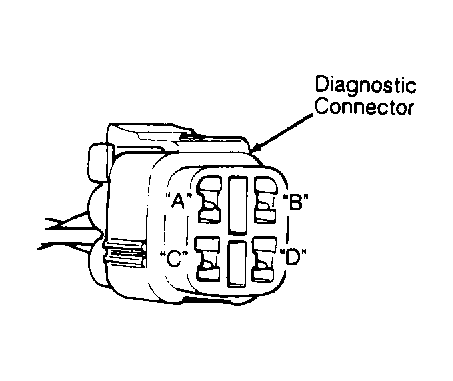
- Remove cap from diagnostic connector, located near fusible link box by the battery. Connect jumper wire between terminals "C" (Black wire) and "D" (Blue/Red wire) of diagnostic connector. See Fig 1
.
 Courtesy of GENERAL MOTORS CORP.
- Start engine, and check timing mark alignment on crankshaft pulley with timing marks on timing belt cover. Ignition timing and idle speed must be within specification. See IGNITION TIMING SPECIFICATIONS table.
- If ignition timing is not within specification, loosen distributor hold-down flange bolt and rotate distributor to obtain correct ignition timing. Tighten distributor hold-down flange bolt to 11 ft. lbs. (15 N.m). Recheck ignition timing.
- Turn engine off. Remove jumper wire and install cap on diagnostic connector. Remove timing light.
IGNITION TIMING SPECIFICATIONS
| Application |
Man. Trans. |
Auto. Trans. |
| Tracker |
8 @ 800 |
8 @ 800 |