Oil Pan Removal
- Drain the engine oil (see ENGINE OIL REPLACEMENT
).
- If the engine is still in the vehicle, remove the subframe.
- Attach the engine support hanger to the engine (see step 42 inENGINE REMOVAL
).
- Disconnect the suspension knuckle ball joints (see LOWER ARM REPLACEMENT
).
- Remove the rear mount mounting bolts (see step 44 in ENGINE REMOVAL
).
- Remove the front mount mounting bolt (see step 45 inENGINE REMOVAL
).
- A/T model: Remove the automatic transmission fluid (ATF) filter mounting bolt (see step 37 in ENGINE REMOVAL
).
- Make the appropriate reference lines at positions A and B that line up with the center of the subframe mounting bolts (see step 46 in ENGINE REMOVAL
).
- Attach the subframe adapter to the subframe, then attach the jack to the subframe adapter (see step 47 in ENGINE REMOVAL
).
- Remove the front subframe mounting bolts, then lower the subframe (see step 49 in ENGINE REMOVAL
).
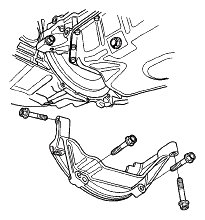
- M/T model: Remove the clutch cover.
 Courtesy of AMERICAN HONDA MOTOR CO., INC.
- Remove the bolts/nuts securing the oil pan.
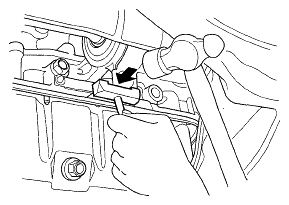
- Drive an oil pan seal cutter between the oil pan and engine block.
 Courtesy of AMERICAN HONDA MOTOR CO., INC.
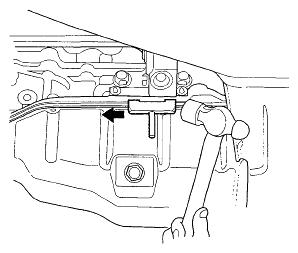
- Cut the oil pan seal by striking the side of the cutter to slide the cutter along the oil pan.
 Courtesy of AMERICAN HONDA MOTOR CO., INC.
- Remove the oil pan.