TANK, Fuel: Installation: Installation
 Courtesy of CHRYSLER LLC
- Install fuel tank straps.
 Courtesy of CHRYSLER LLC
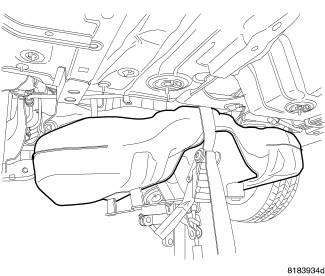
- Raise fuel tank into position.
- Position fuel tank straps. Tighten fuel tank strap bolts to 47 N.m (34.5 ft. lbs.). Remove transmission jack. Ensure straps are not twisted or bent.
 Courtesy of CHRYSLER LLC
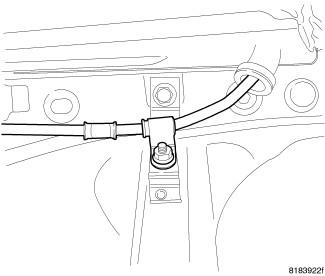
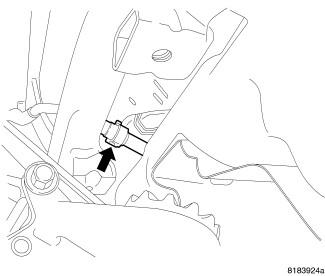
- Install parking brake cable.
 Courtesy of CHRYSLER LLC
- Install parking brake cable.
 Courtesy of CHRYSLER LLC
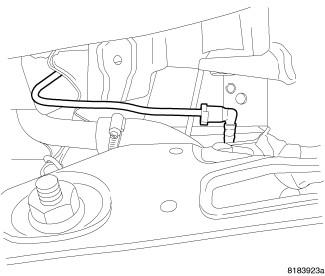
- Connect filler tube recirculation vent line and purge line.
 Courtesy of CHRYSLER LLC
- Connect fuel fill tube to tank inlet. Tighten hose clamp to 4 N.m (35 in. lbs.).
 Courtesy of CHRYSLER LLC
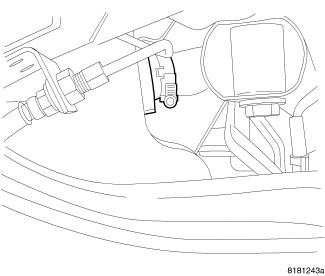
- Connect vapor canister line.
 Courtesy of CHRYSLER LLC
- Install rear driveline module. Refer to Installation
.
 Courtesy of CHRYSLER LLC
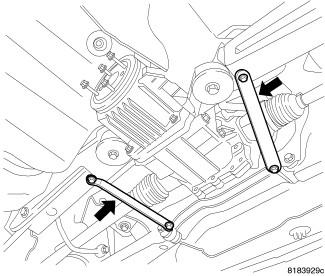
- Install stay bars. Refer to Installation
.
 Courtesy of CHRYSLER LLC
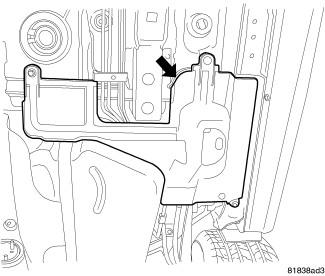
- Install splash shield.
 Courtesy of CHRYSLER LLC
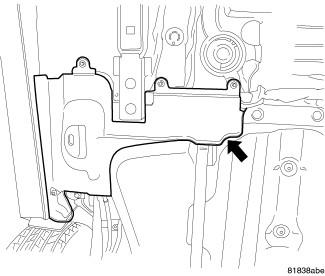
- Install splash shield.
 Courtesy of CHRYSLER LLC
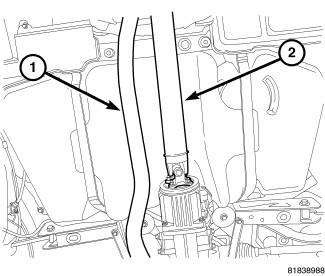
- Install exhaust system (1).
- Install drive shaft (2). Refer to Installation
.
- Install the fuel tank skid plates, if equipped.
 Courtesy of CHRYSLER LLC
- While holding the pump module in position, install lock ring and use Fuel Pump Lock Ring Wrench (special tool #9340, SAE Fuel Pump Lock Ring Wrench) or equivalent to tighten lock ring.
- Connect electrical connector and lock the connector.
- Connect the fuel line (refer to FITTING, Quick Connect
).
 Courtesy of CHRYSLER LLC
- Install plastic cover.
 Courtesy of CHRYSLER LLC
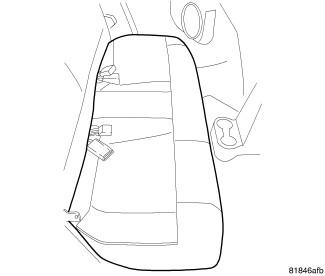
- Install rear seat cushion.
- Reconnect the negative battery cable.
- Install the air cleaner lid, connect the inlet air temperature sensor and makeup air hose.
- Fill fuel tank with clean fuel. Use a scan tool to pressurize the system and check for leaks.