Fuel Injectors
- Start engine. Using a stethoscope, ensure each injector is making a "clicking" noise during operation. If "clicking" noise is not heard, ensure wiring connector is securely fastened.
- Ensure an injector signal is present on injector harness connector. Turn engine off. Disconnect injector electrical connector. Using a DVOM, measure resistance across injector terminals.
- Resistance should be approximately 13.8 ohms. If resistance is not as specified, replace fuel injector. Disconnect negative battery cable. Remove injector from engine.
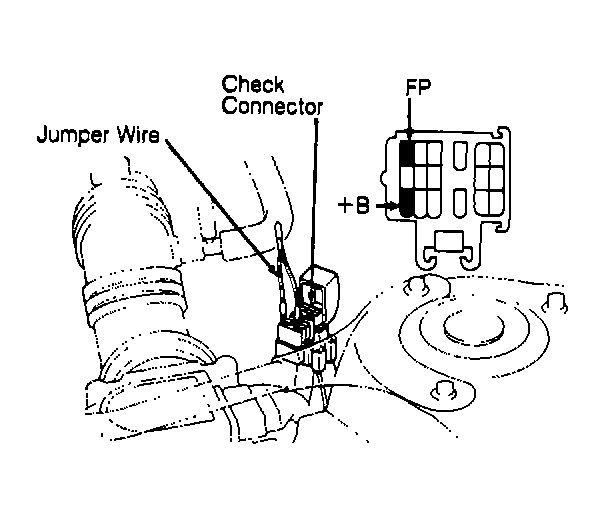
- Place injector into a container to catch fuel spray. Turn ignition on. DO NOT start engine. Using a jumper wire, connect terminals FP and +B of check connector. See Fig 1.
 Courtesy of © TOYOTA, LICENSE AGREEMENT TMS1002
- Connect battery voltage to injector terminals for 15 seconds. Ensure an even, cone-shaped fuel spray is observed from injector. If fuel spray is not satisfactory, replace injector. If fuel spray is satisfactory, check volume of fuel delivered by fuel injector.
- Fuel volume should be 1.9-2.4 ozs. (55-70 cc) for 15 seconds of operation. Check each injector 2-3 times for volume. Maximum volume difference between injectors is .17 ozs. (10 cc). If volume is not satisfactory, replace injector.
- Remove battery voltage from injector. With injector still placed in container, observe injector tip. No more than one drop in 3 minutes is acceptable.