LF Control Unit Removal/Installation
- Disconnect the negative battery cable. (See
NEGATIVE BATTERY CABLE DISCONNECTION/CONNECTION [SKYACTIV-G 2.0, SKYACTIV-G 2.5]
.)
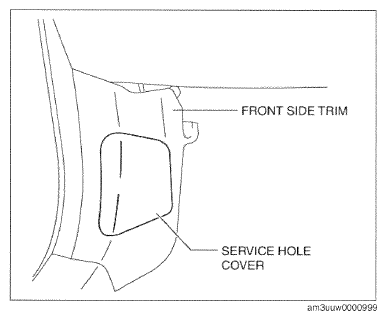
- Remove the service hole cover on the front side trim.
 Courtesy of MAZDA MOTORS CORP.
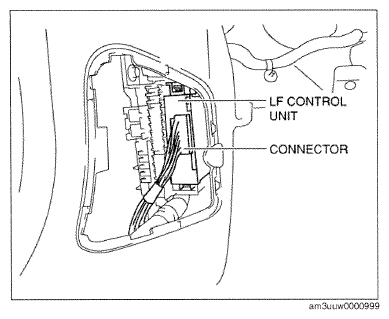
- Disconnect the connector.
 Courtesy of MAZDA MOTORS CORP.
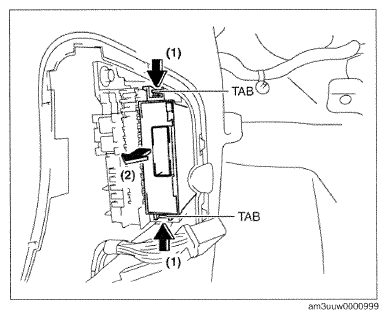
- Pull the LF control unit in the direction of the arrow (2) shown in the figure and remove it while pressing the tab in the direction of the arrow (1).
- Install in the reverse order of removal.
 Courtesy of MAZDA MOTORS CORP.