Test E: Power Window Inoperative Passenger's Door
- Review power window description and operation. See DESCRIPTION & OPERATION
. Perform preliminary inspection. See PRELIMINARY INSPECTION
under TROUBLE SHOOTING. After performing inspection, go to next step.
- Turn ignition switch to RUN position. Press rear lock-out switch to unlock position. Verify that one or more passenger windows is inoperative. If passenger windows do not operate normally, go to next step. If passenger windows operate normally, window concern may be intermittent. For aid in diagnosing intermittent problems, see PROBLEM DIAGNOSIS
under INTERMITTENTS.
- If passenger front window is operative, go to next step. If passenger front window is inoperative, go to step 5
.
- If driver's, left rear and right rear window are operative, go to step 6
. If driver's, left rear and right rear window are inoperative, go to step 9
.
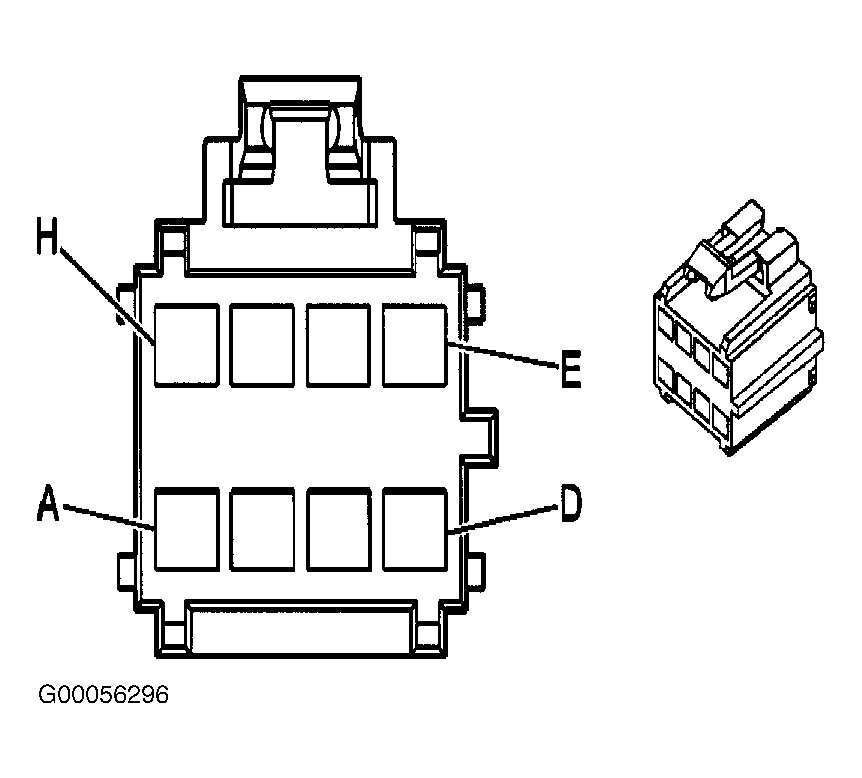
- Disconnect passenger front window switch 8-pin harness connector. Window switch is located in passenger door panel. Using a test light connected to ground, probe master window switch harness connector C1 terminal "D" (Dark Blue wire). See Figure
. If test light illuminates, go to step 7
. If test light does not illuminate, go to step 16
.
- Disconnect inoperative window switch 8-pin harness connector. Turn ignition switch to RUN position. Using test light connected to ground, probe Center Console (CC) fuse block harness connector C2 terminal D9 or E9. See Figure
. If test light illuminates, go to next step. If test light does not illuminate, go to step 10
.
- Connect test light between master window switch up and down circuits of inoperative window. See WIRING DIAGRAMS
. Operate inoperative window from master window switch. If test light illuminates, go to next step. If test light does not illuminate, go to step 11
.
- Connect inoperative window switch. Disconnect inoperative window motor 2-pin harness connector. Connect test light between inoperative window motor harness connector terminals "A" (Brown wire) and "B" (Dark Blue wire). Operate inoperative window switch to up and down positions. If test light illuminates in both positions, go to step 14
. If test light does not illuminate in either positions, go to step 12
.
- Check for open in voltage supply circuit to inoperative window. See WIRING DIAGRAMS
. If problem is found, repair as necessary and go to step 20
. If no problem is found, go to step 13
.
- Check for open in Dark Blue wire between inoperative window switch harness connector terminal "A" and master window switch harness connector C1 terminal "D". See Figure
and Fig 1
. If problem is found, repair as necessary and go to step 20
. If no problem is found, go to step 13
.
- Check for open or short to voltage between inoperative window switch and master window switch up and down circuits. See WIRING DIAGRAMS
. If problem is found, repair as necessary and go to step 20
. If no problem is found, go to step 13
.
- Check for open between inoperative window motor and inoperative window switch up and down circuits. If problem is found, repair as necessary and go to step 20
. If no problem is found, go to step 15
.
- Check for poor, loose or corroded terminals in master window switch harness connector. If problem is found, repair as necessary and go to step 20
. If no problem is found, go to step 17
.
- Check for poor, loose or corroded terminals in inoperative window motor harness connector. If problem is found, repair as necessary and go to step 20
. If no problem is found, go to step 18
.
- Check for poor, loose or corroded terminals in inoperative window switch harness connector. If problem is found, repair as necessary and go to step 20
. If no problem is found, go to step 19
.
- Repair open in accessory voltage circuit of inoperative window switch. See WIRING DIAGRAMS
. After repairs are made, go to step 20
.
- Replace driver's window switch. See WINDOW SWITCH
under REMOVAL & INSTALLATION. After repairs are made, go to step 20
.
- Replace inoperative window motor. See WINDOW MOTOR
under REMOVAL & INSTALLATION. After repairs are made, go to step 20
.
- Replace inoperative window switch. See WINDOW SWITCH
under REMOVAL & INSTALLATION. After repairs are made, go to next step.
- Check power window system for proper operation. If system operates properly, test is complete. If system does not operate properly, go to step 2
.
 Courtesy of GENERAL MOTORS CORP.