To remove
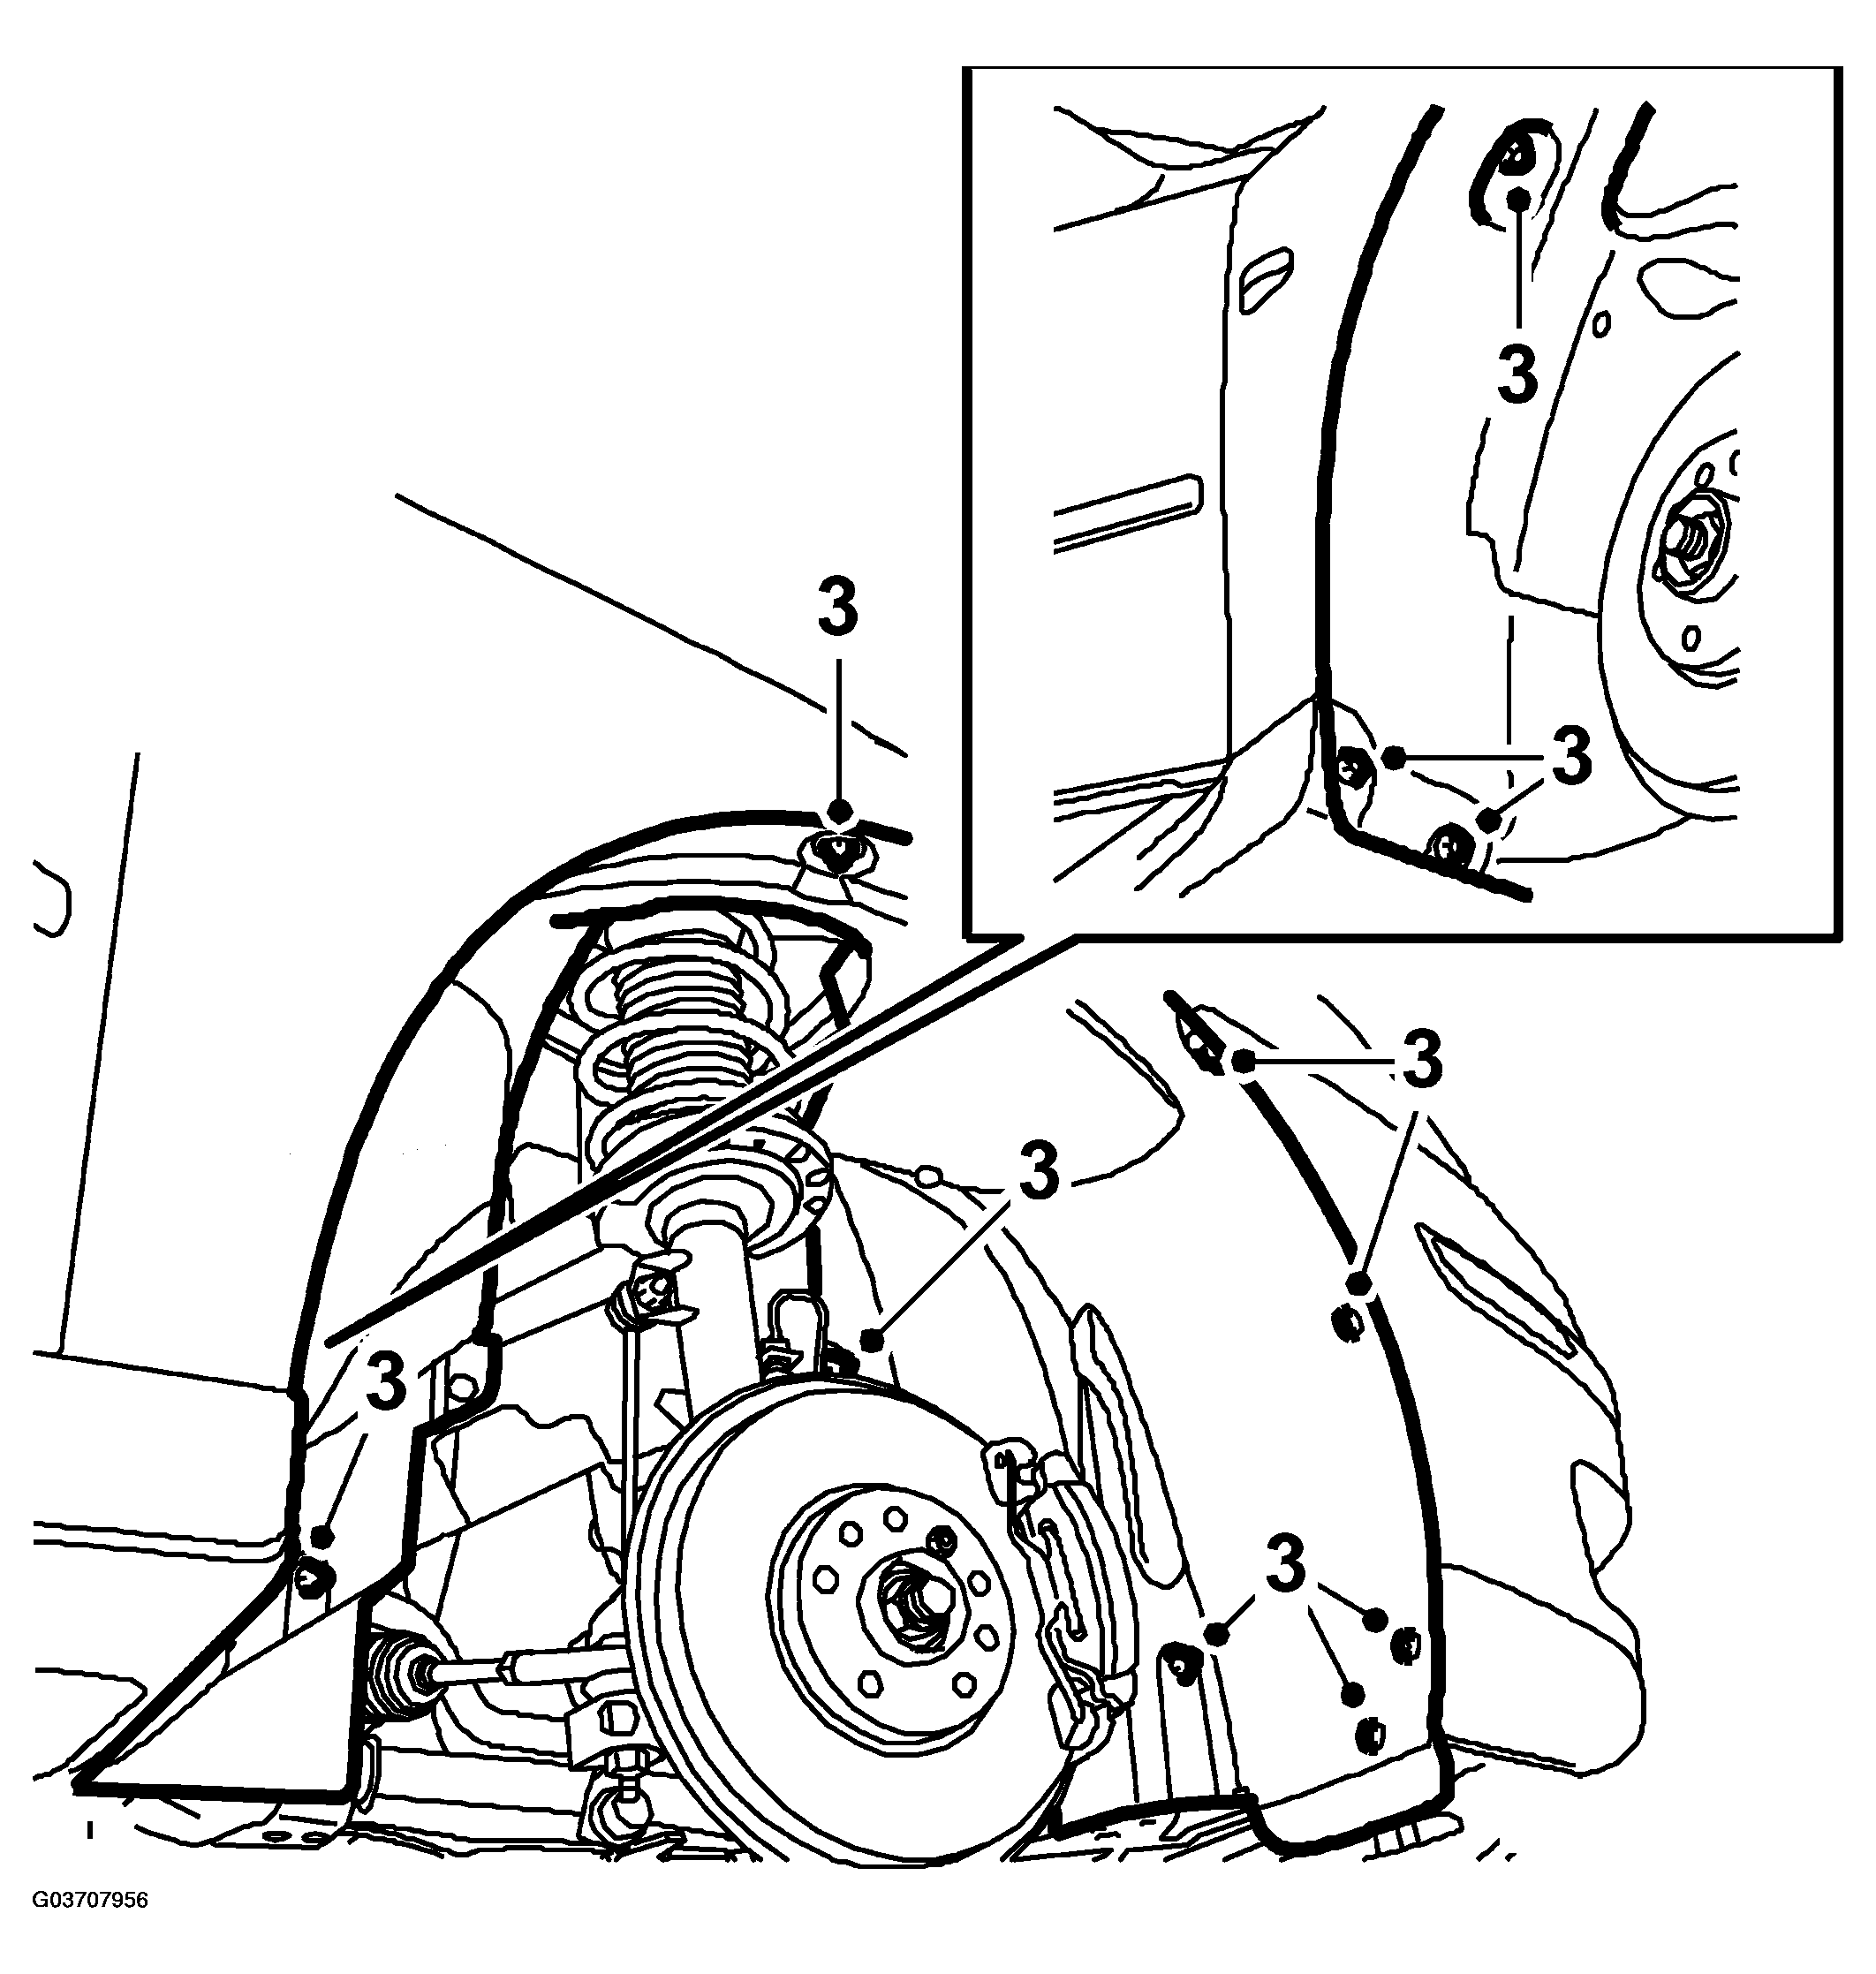
- Raise the car.
- Remove the right front wheel.
- Remove the right wing liner and raise the car further. CV:
Remove Chassis reinforcement, front supporting frame, CV
 Courtesy of SAAB-SCANIA OF AMERICA, INC.
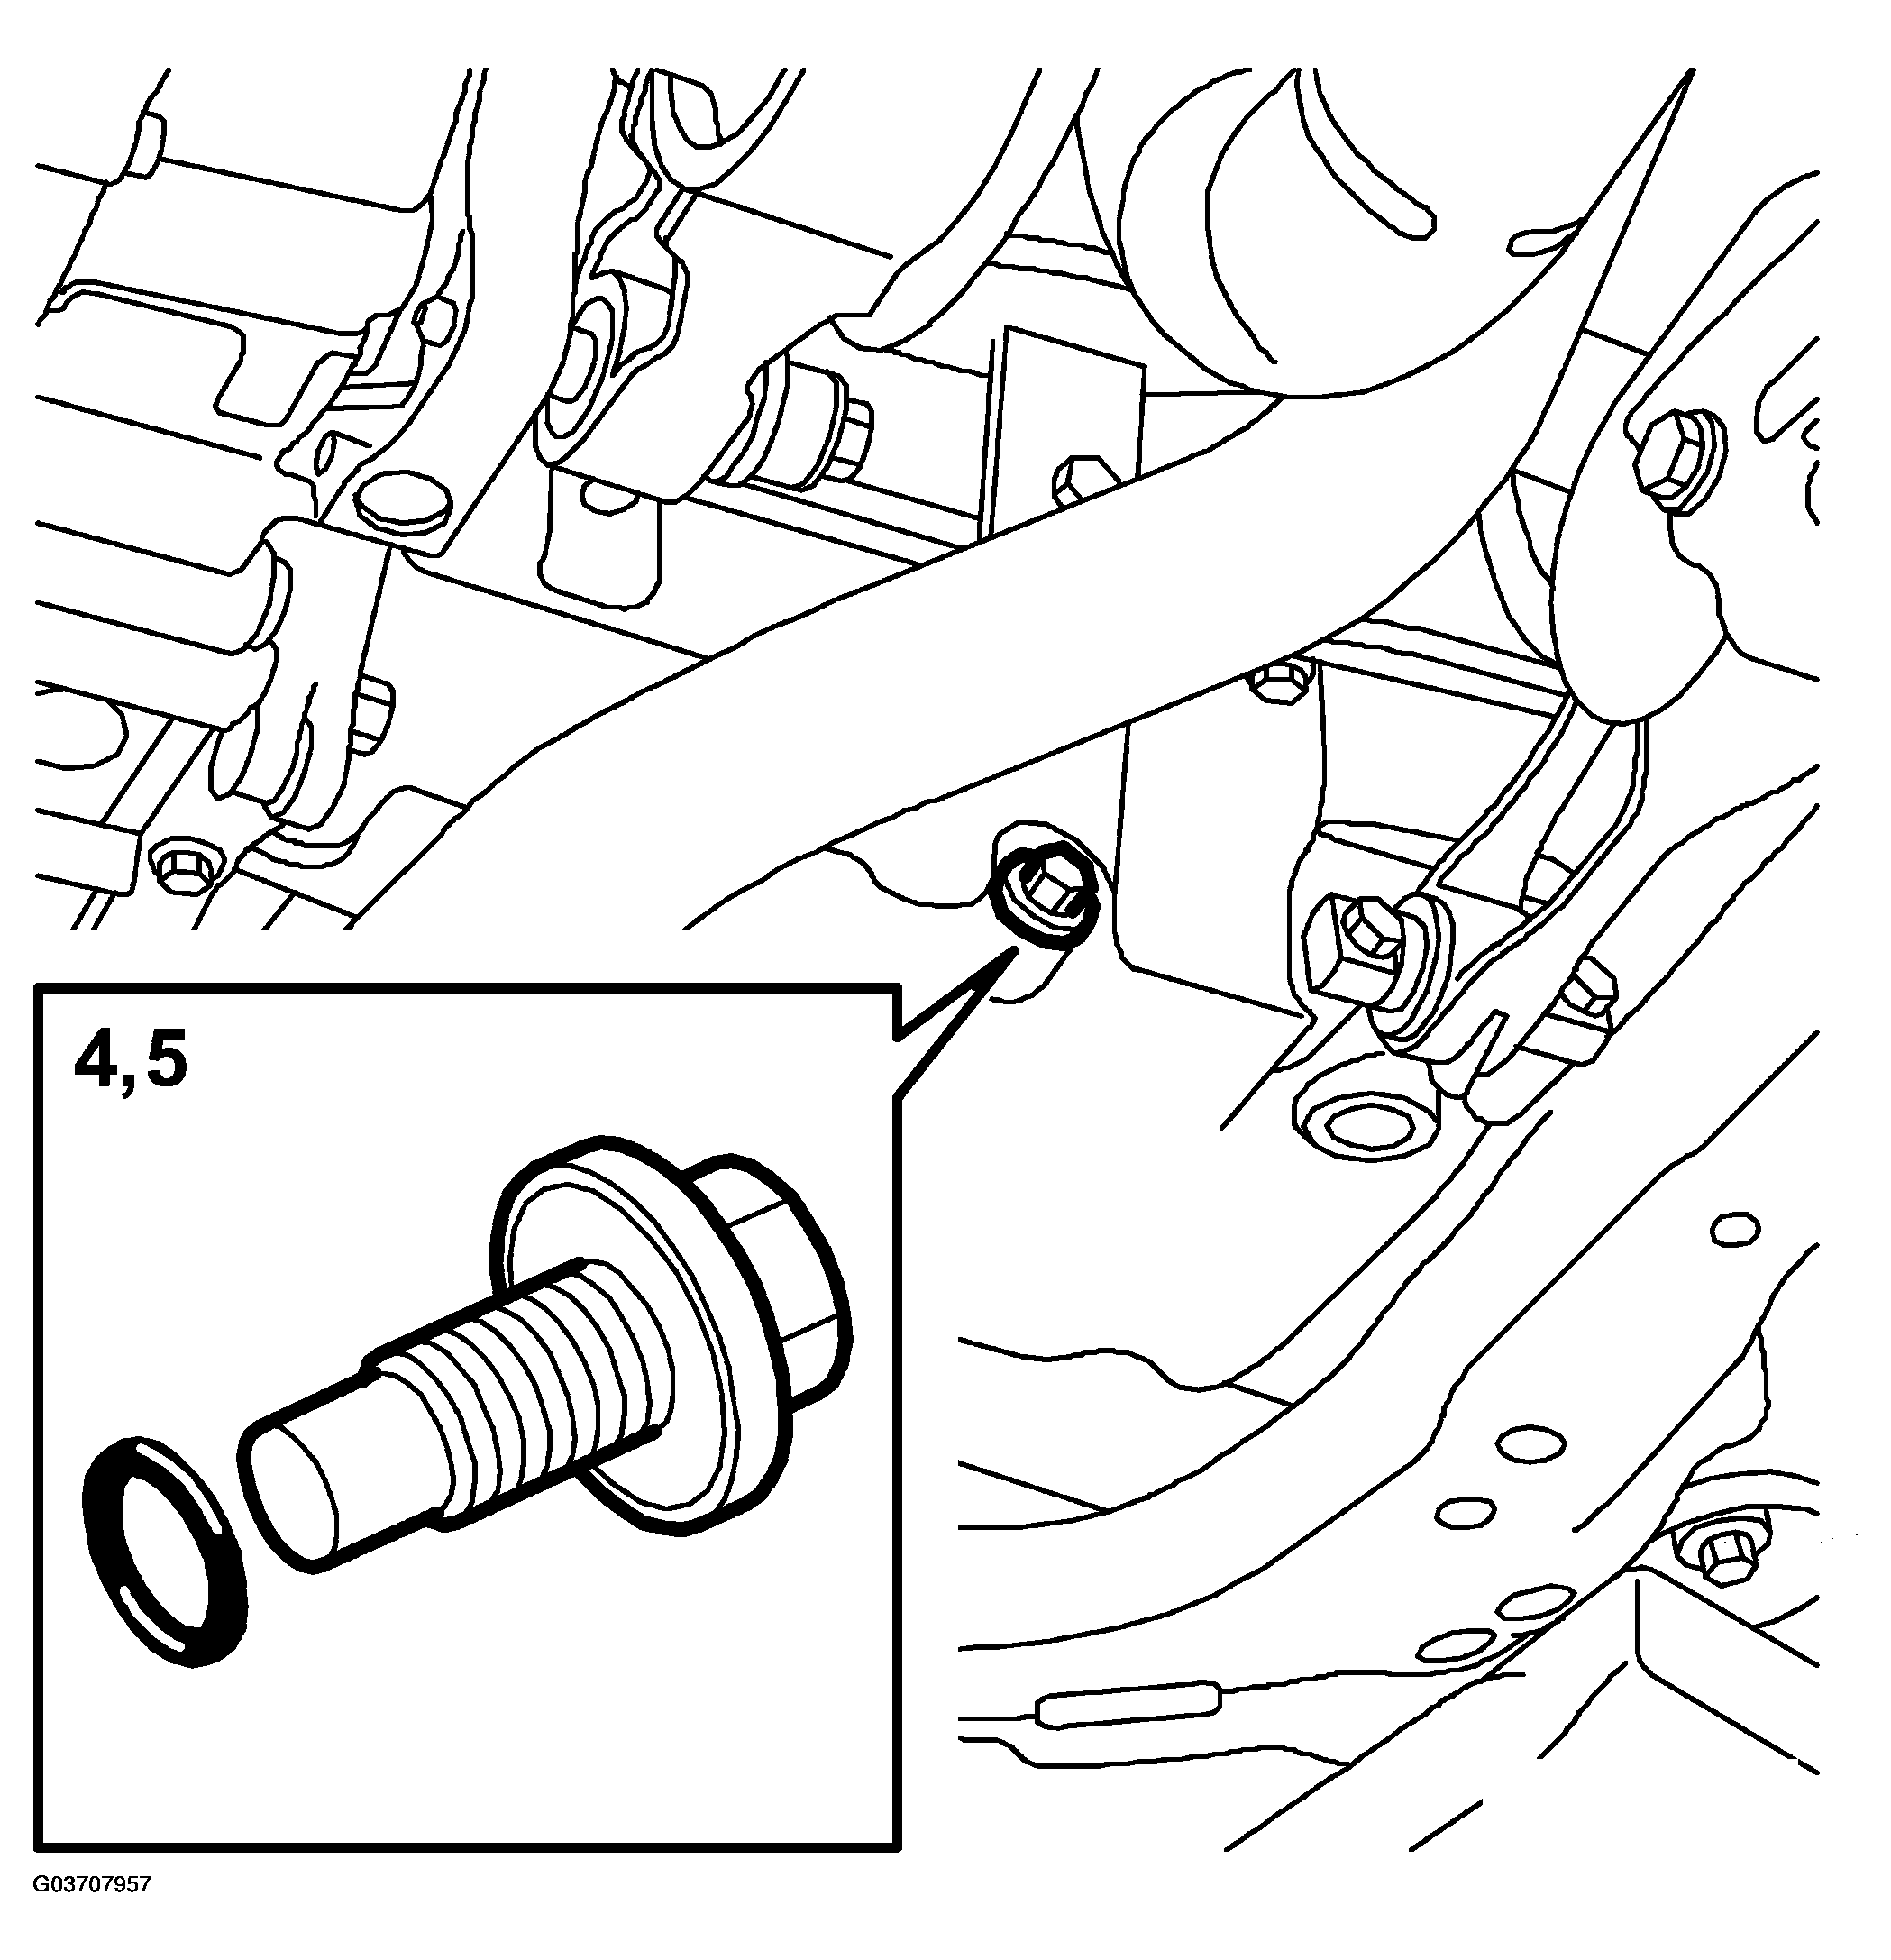
- Place a receptacle under the car and drain the engine oil.
 Courtesy of SAAB-SCANIA OF AMERICA, INC.
- Fit the sump plug with a new gasket and lower the car.
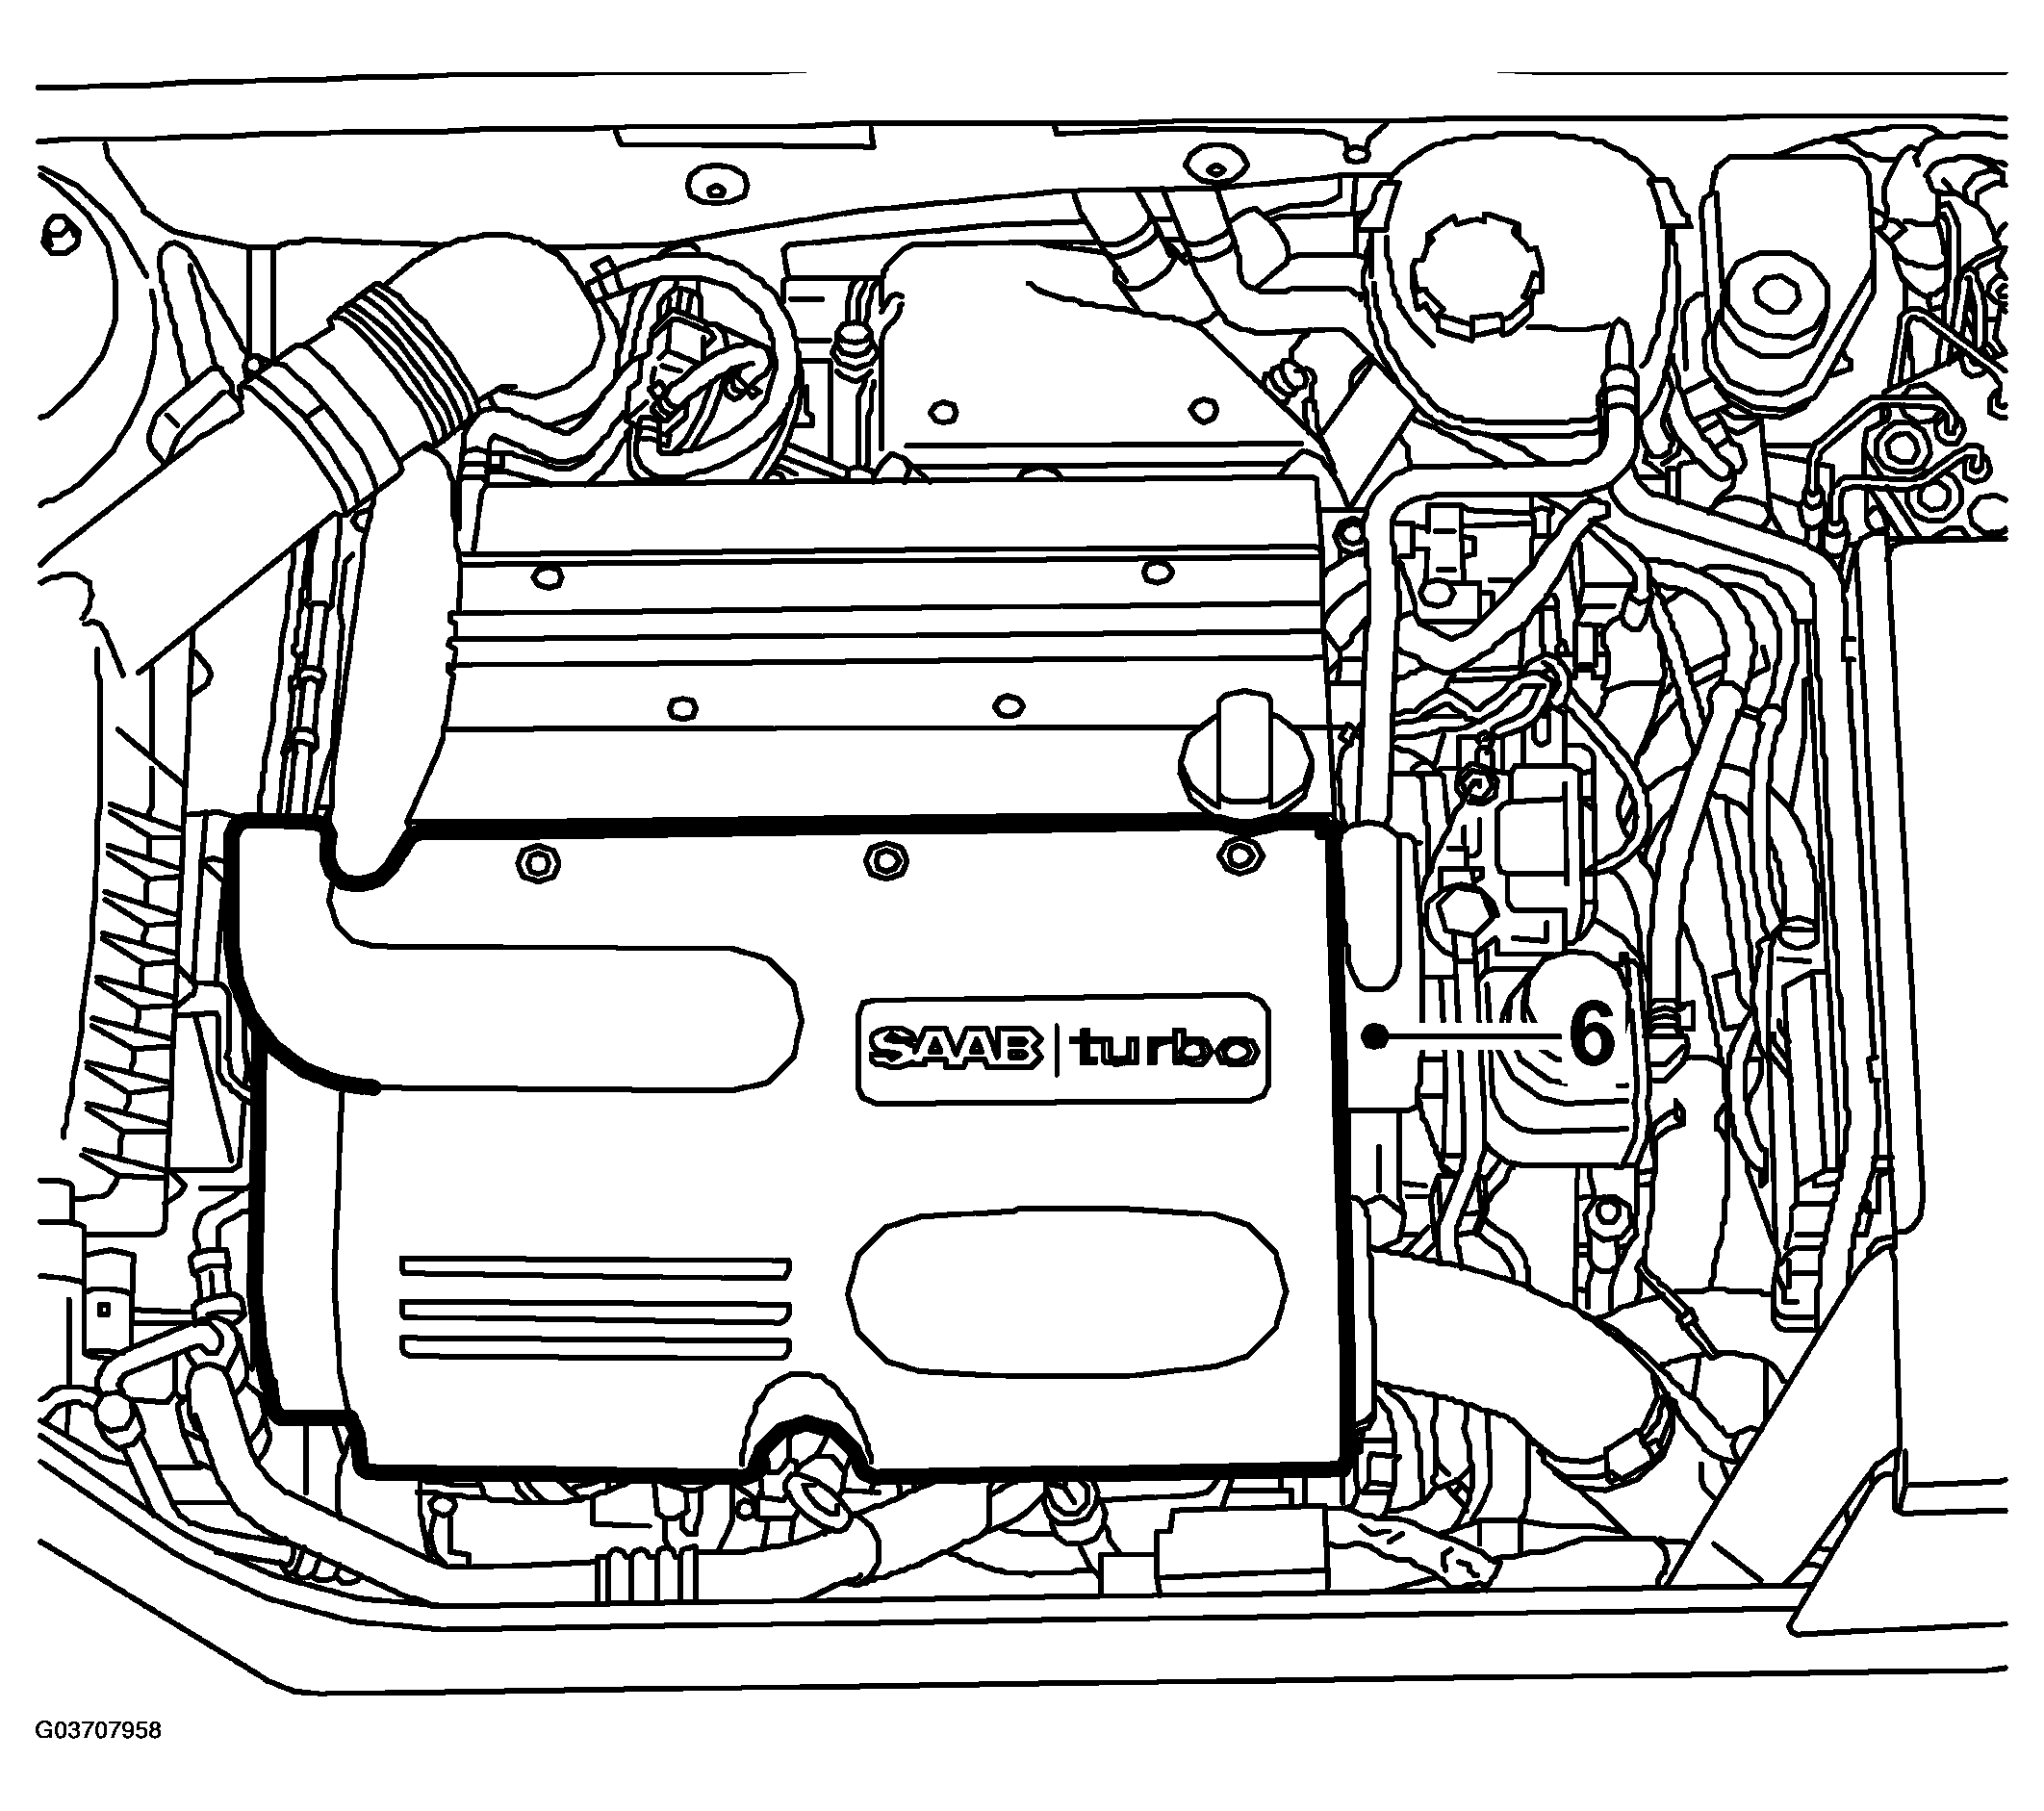
- Remove the upper engine cover.
 Courtesy of SAAB-SCANIA OF AMERICA, INC.
- Remove the dipstick.
- Remove the dipstick tube fixing bolt.
 Courtesy of SAAB-SCANIA OF AMERICA, INC.
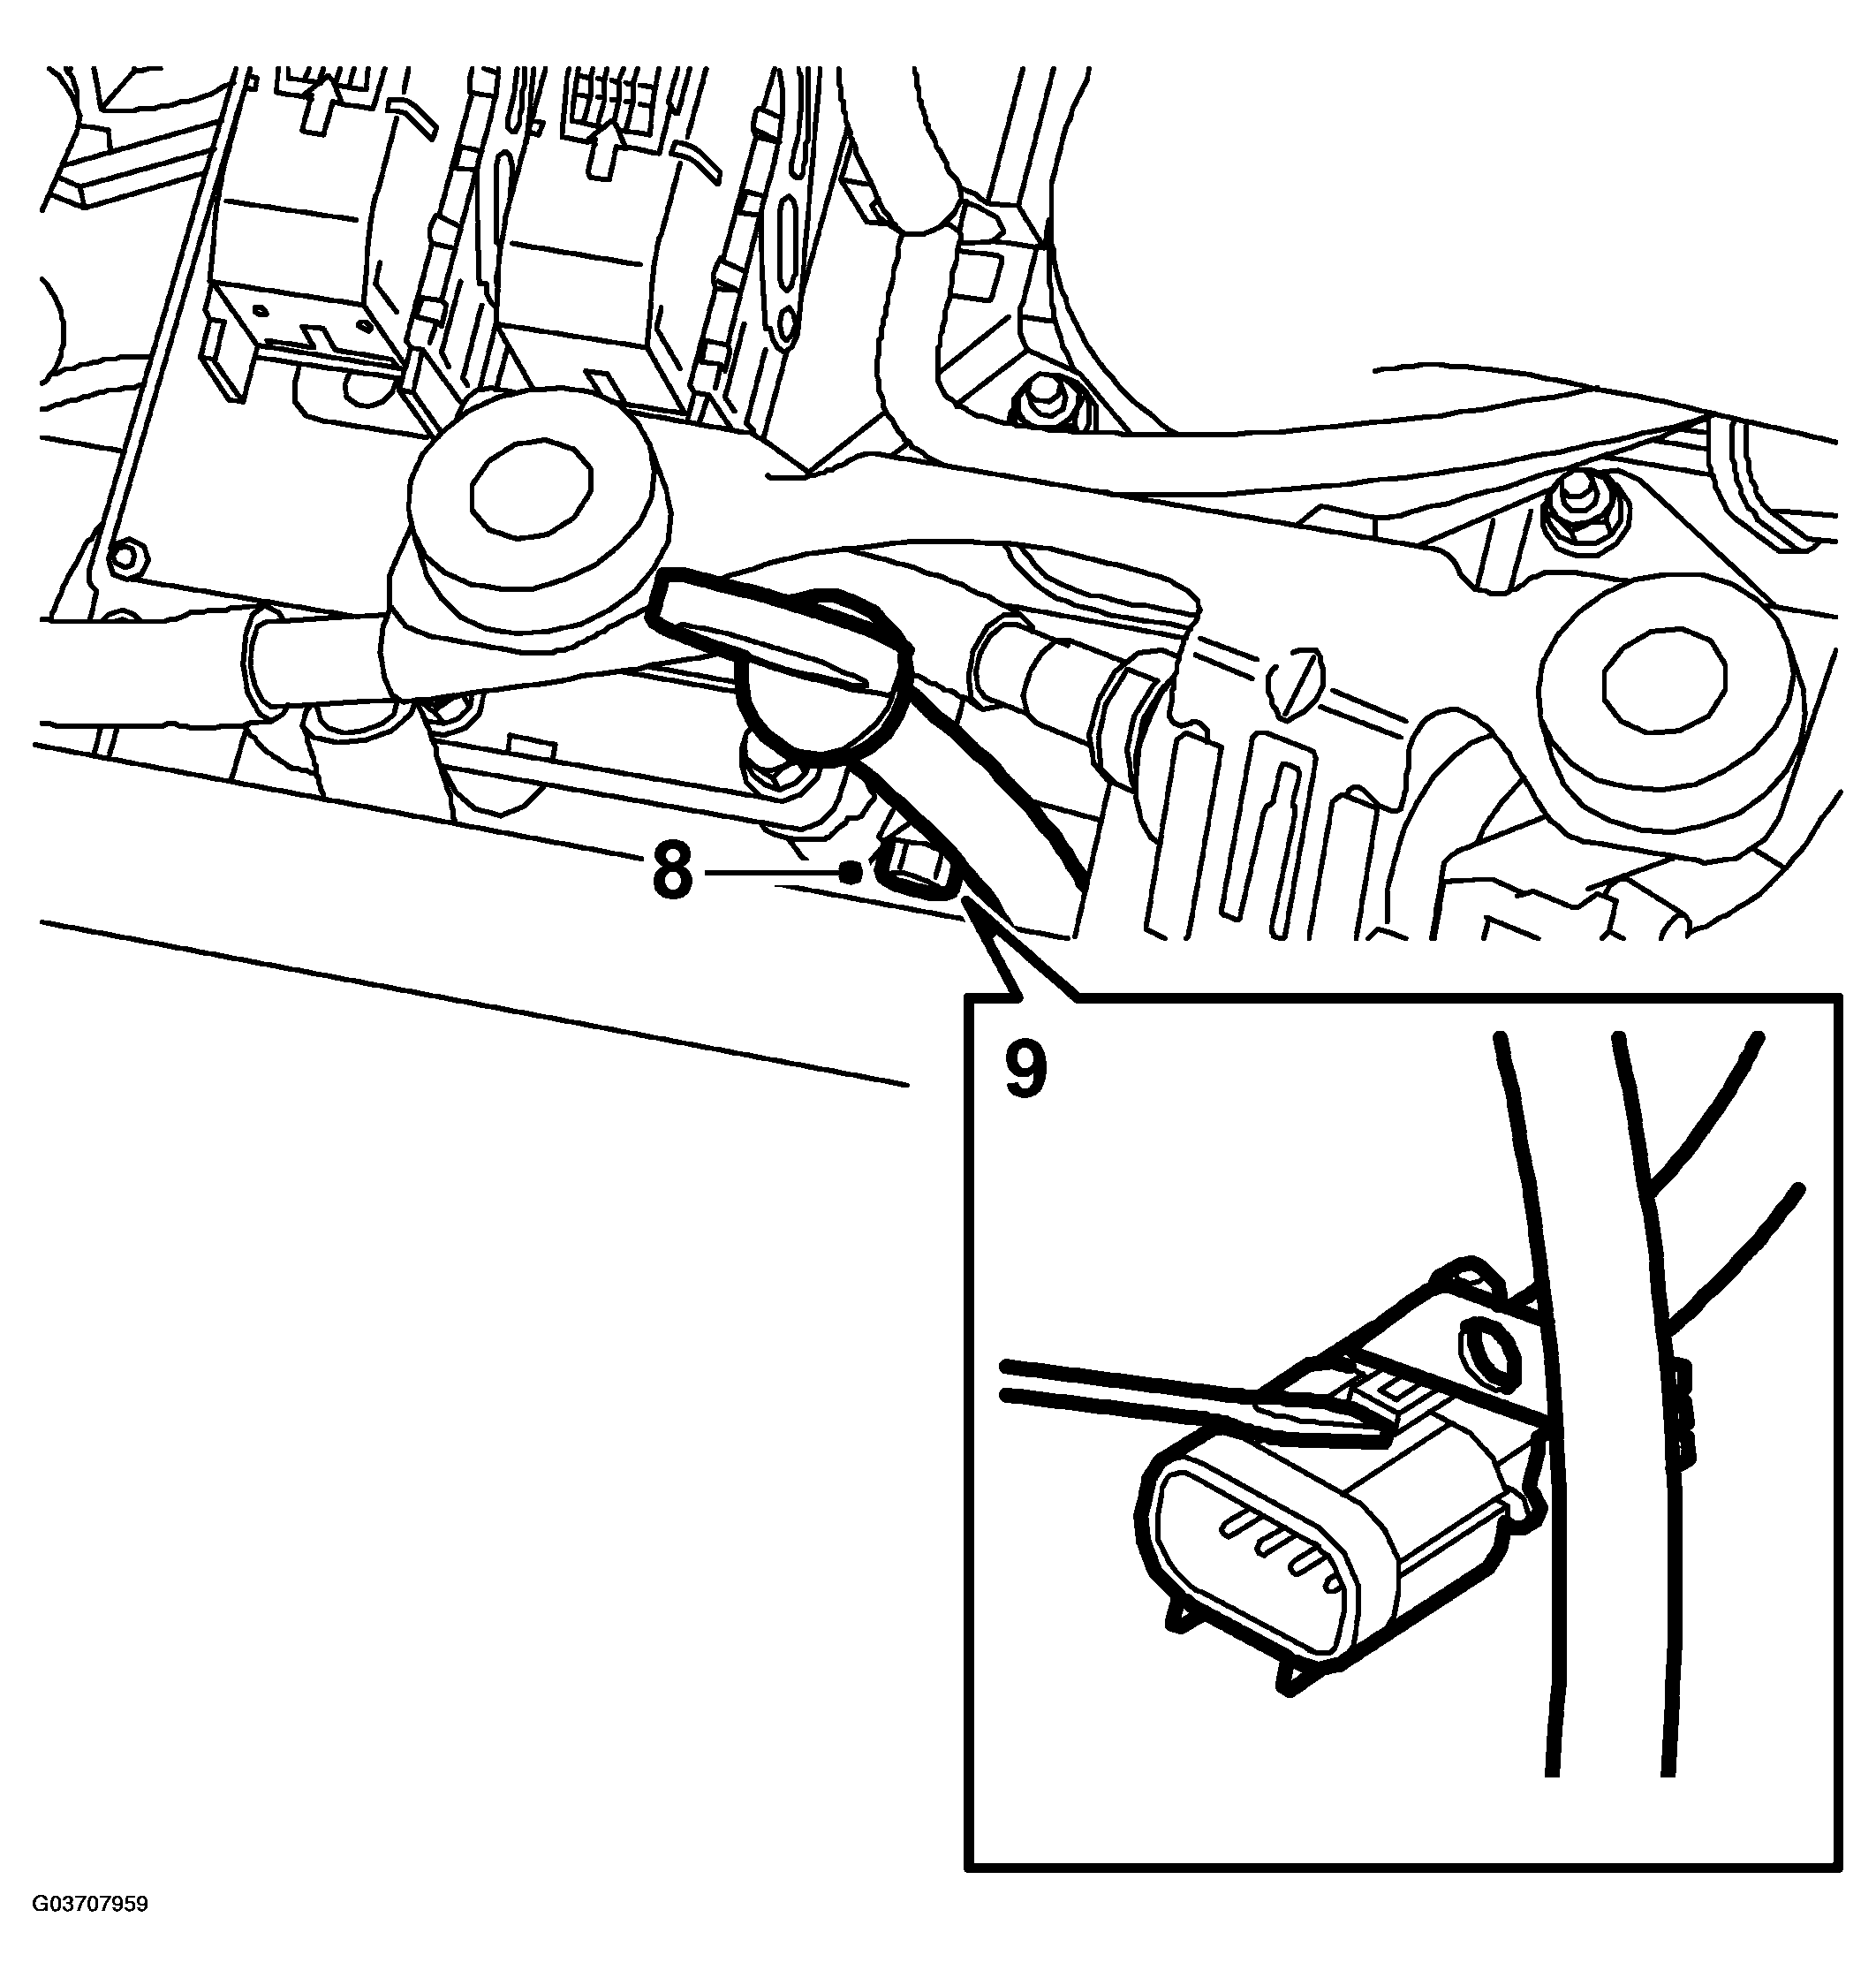
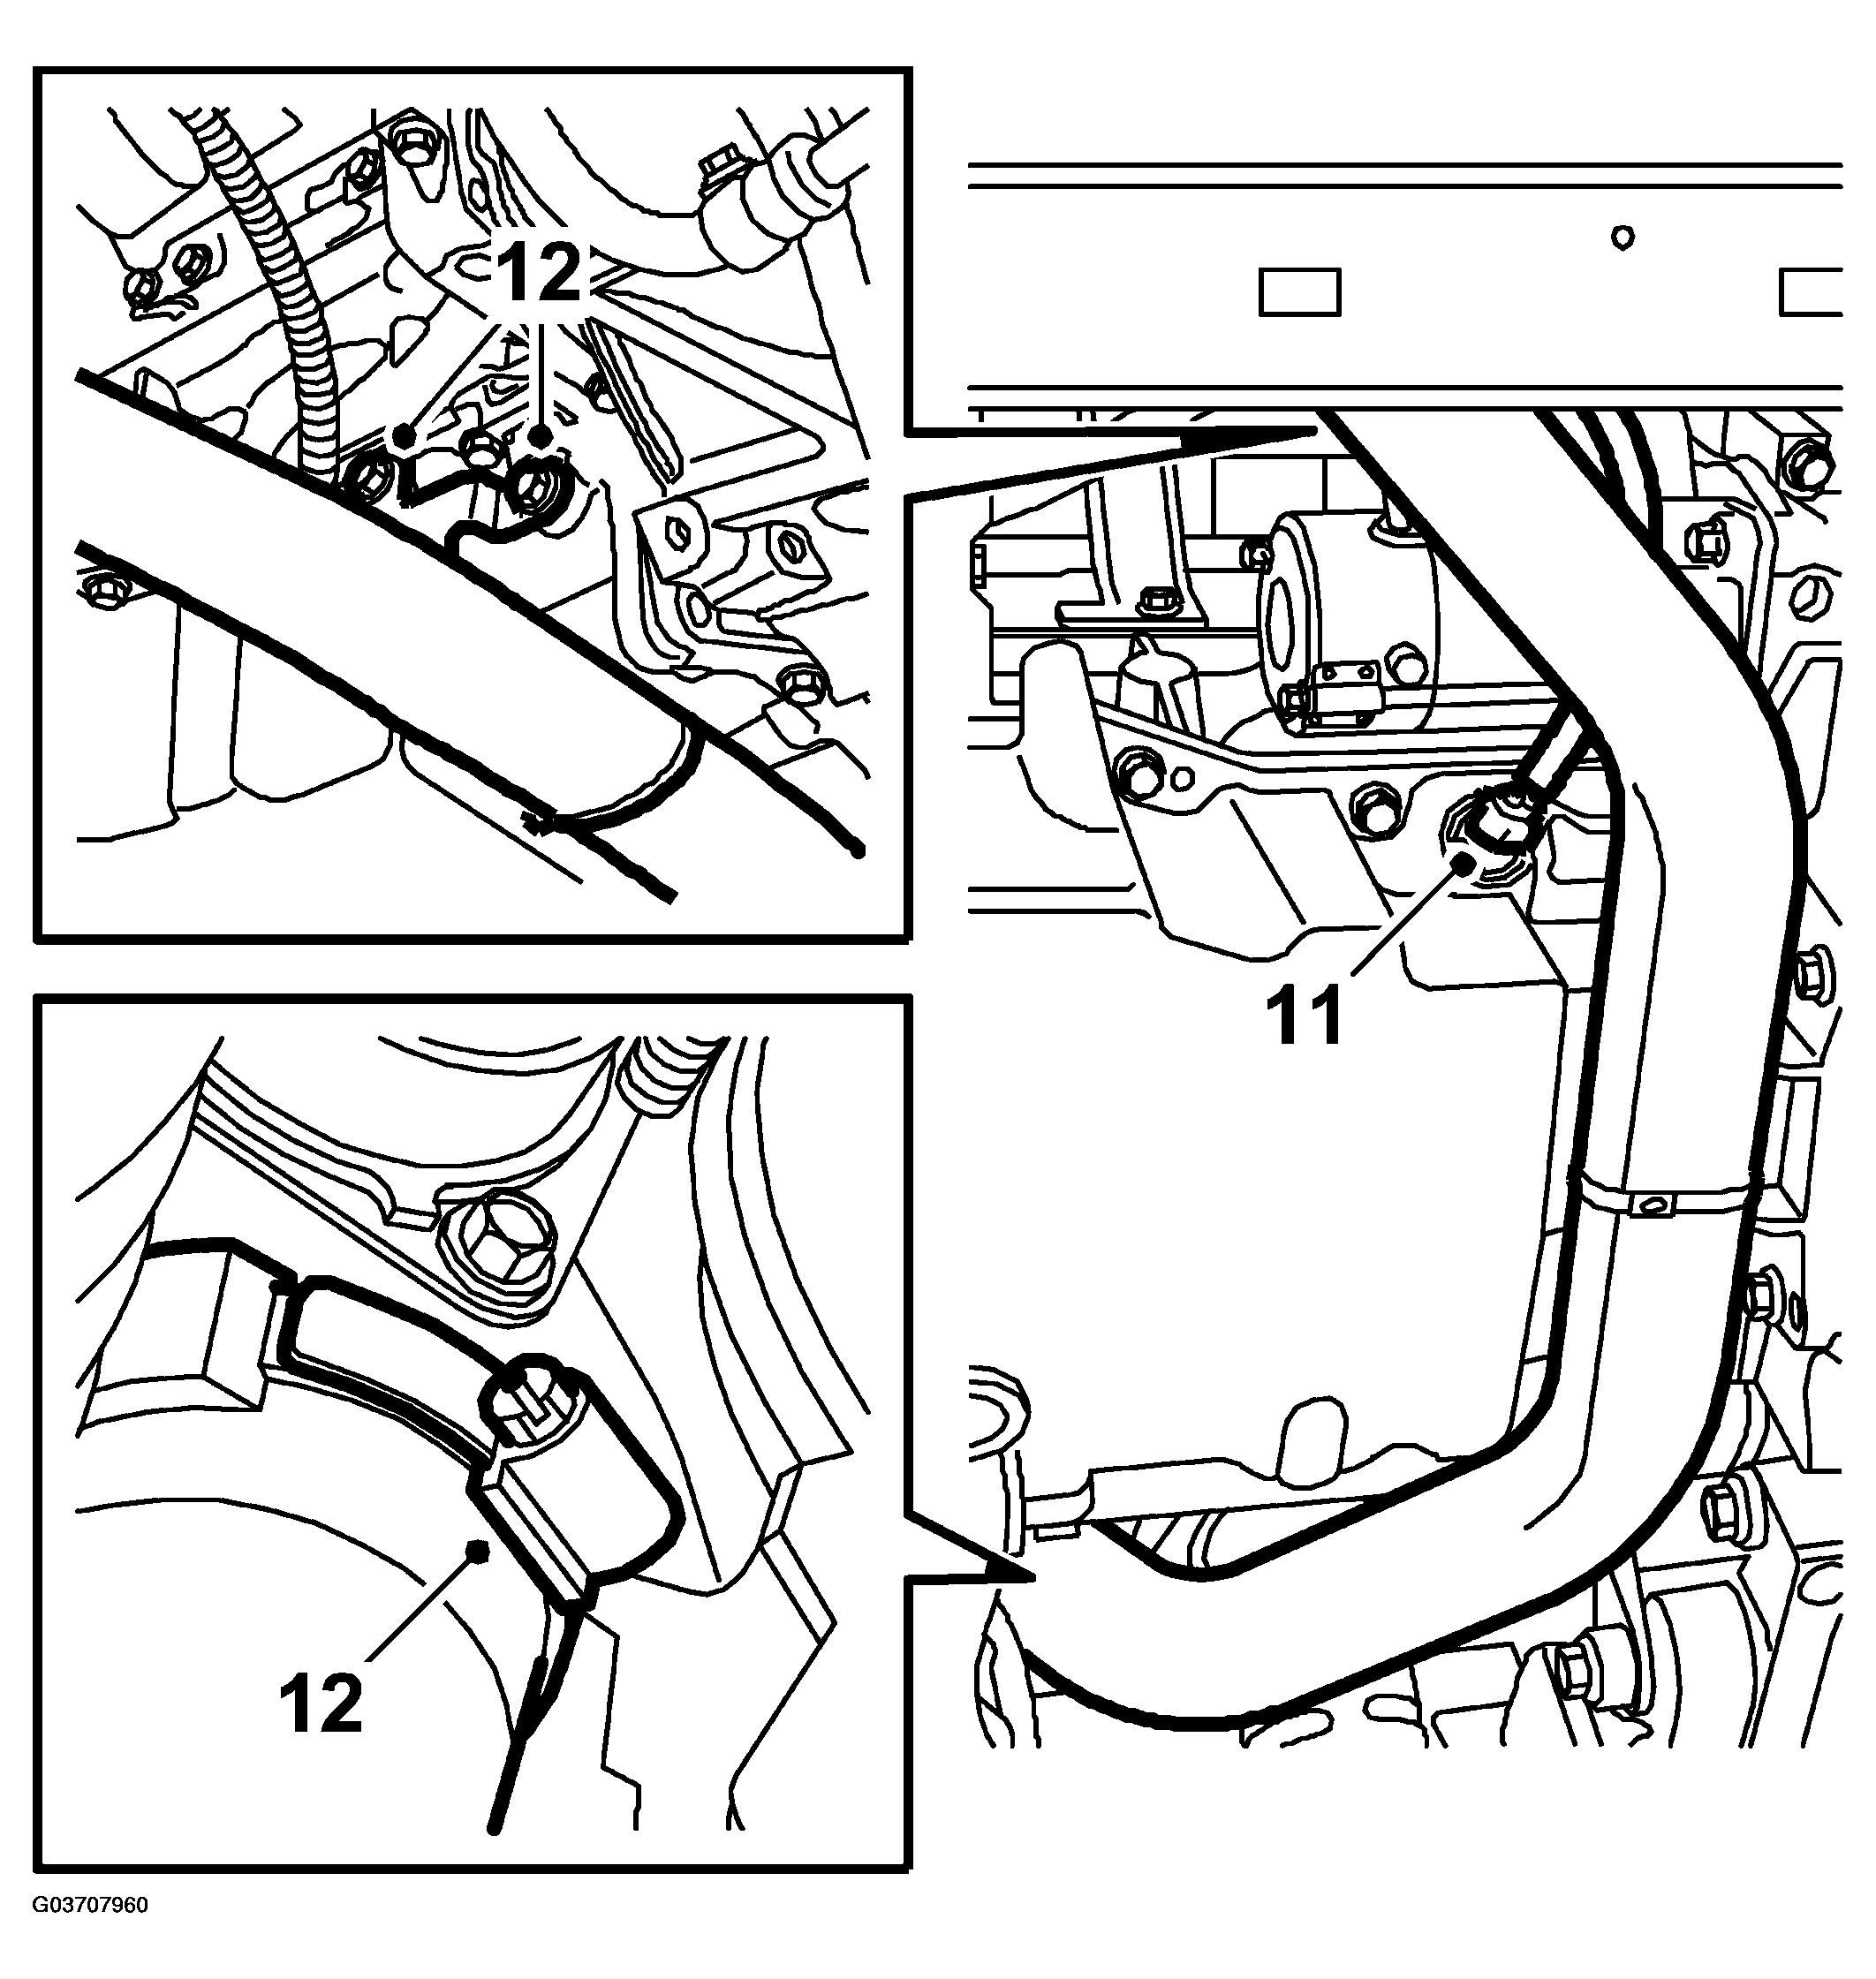
- Separate and detach the connector from the fixing on the dipstick.
- Release the clip and unscrew the dipstick tube from the oil sump.
- Raise the car and separate the connector for the oil level sensor.
- Remove the lower charge air pipe.
 Courtesy of SAAB-SCANIA OF AMERICA, INC.
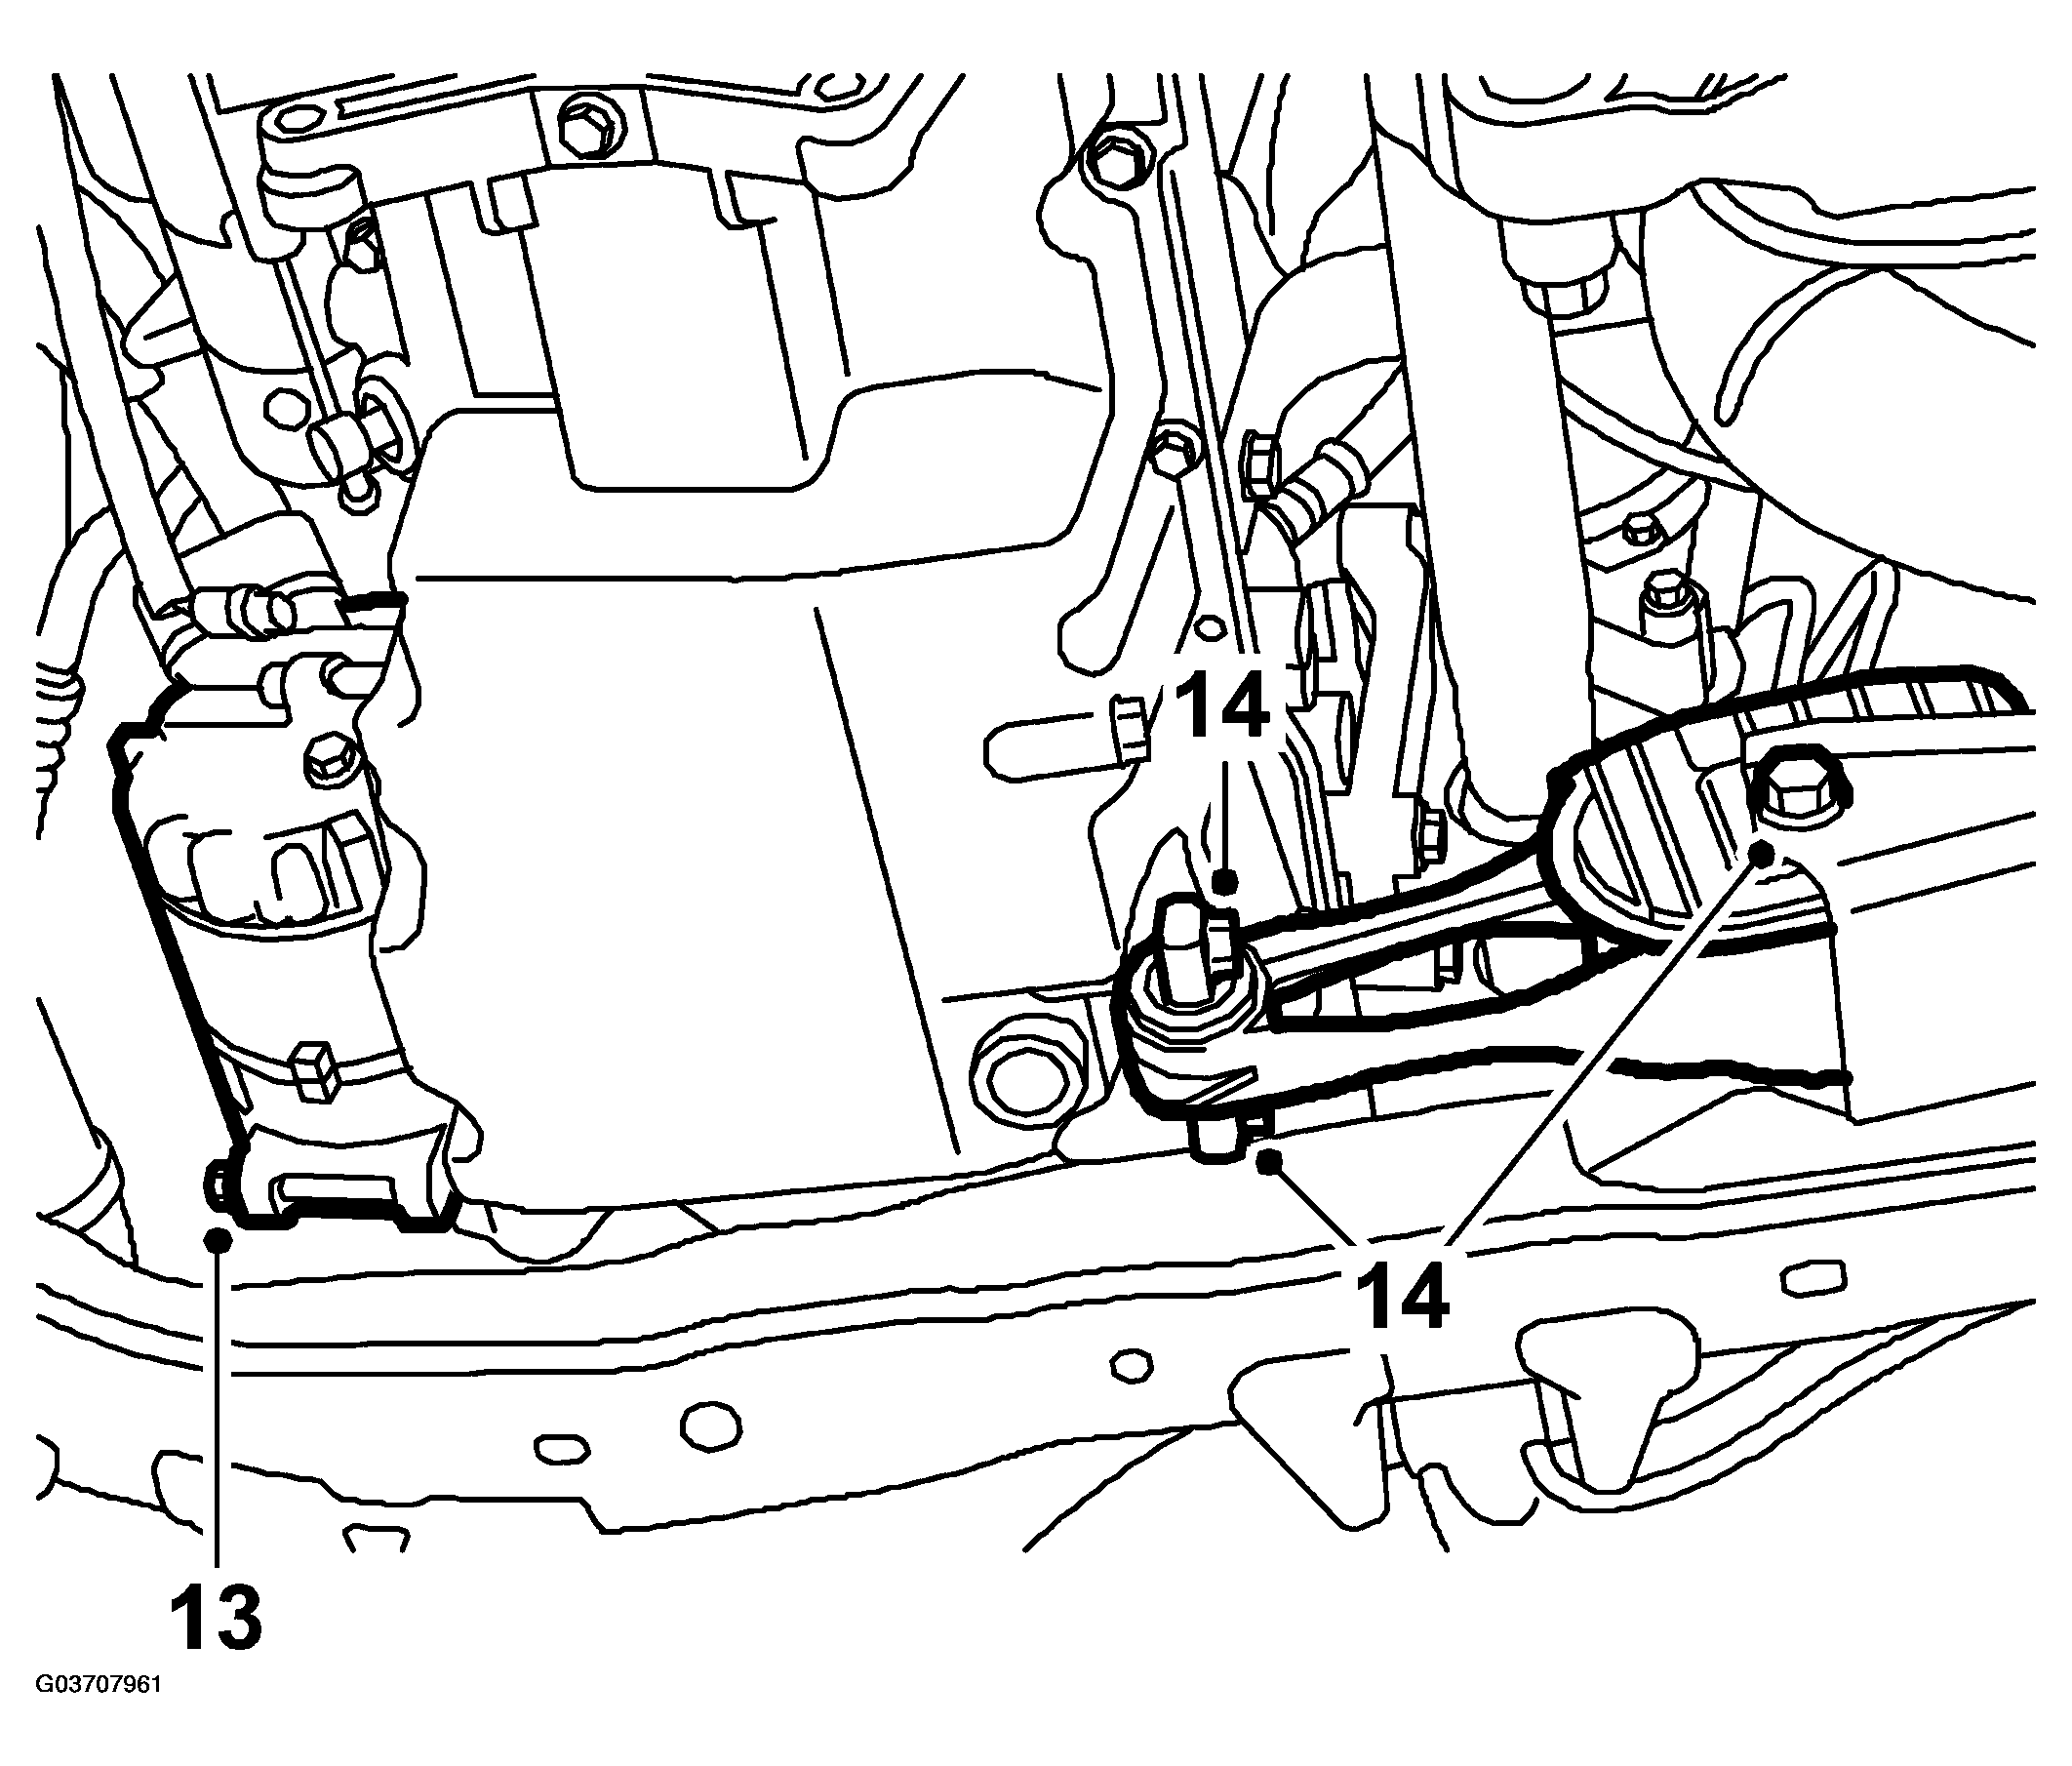
- Remove the lower fixing bolt for the A/C compressor.
 Courtesy of SAAB-SCANIA OF AMERICA, INC.
- Up to M04 inclusive:
Undo the rear torque arm bolt and remove the front bolts.
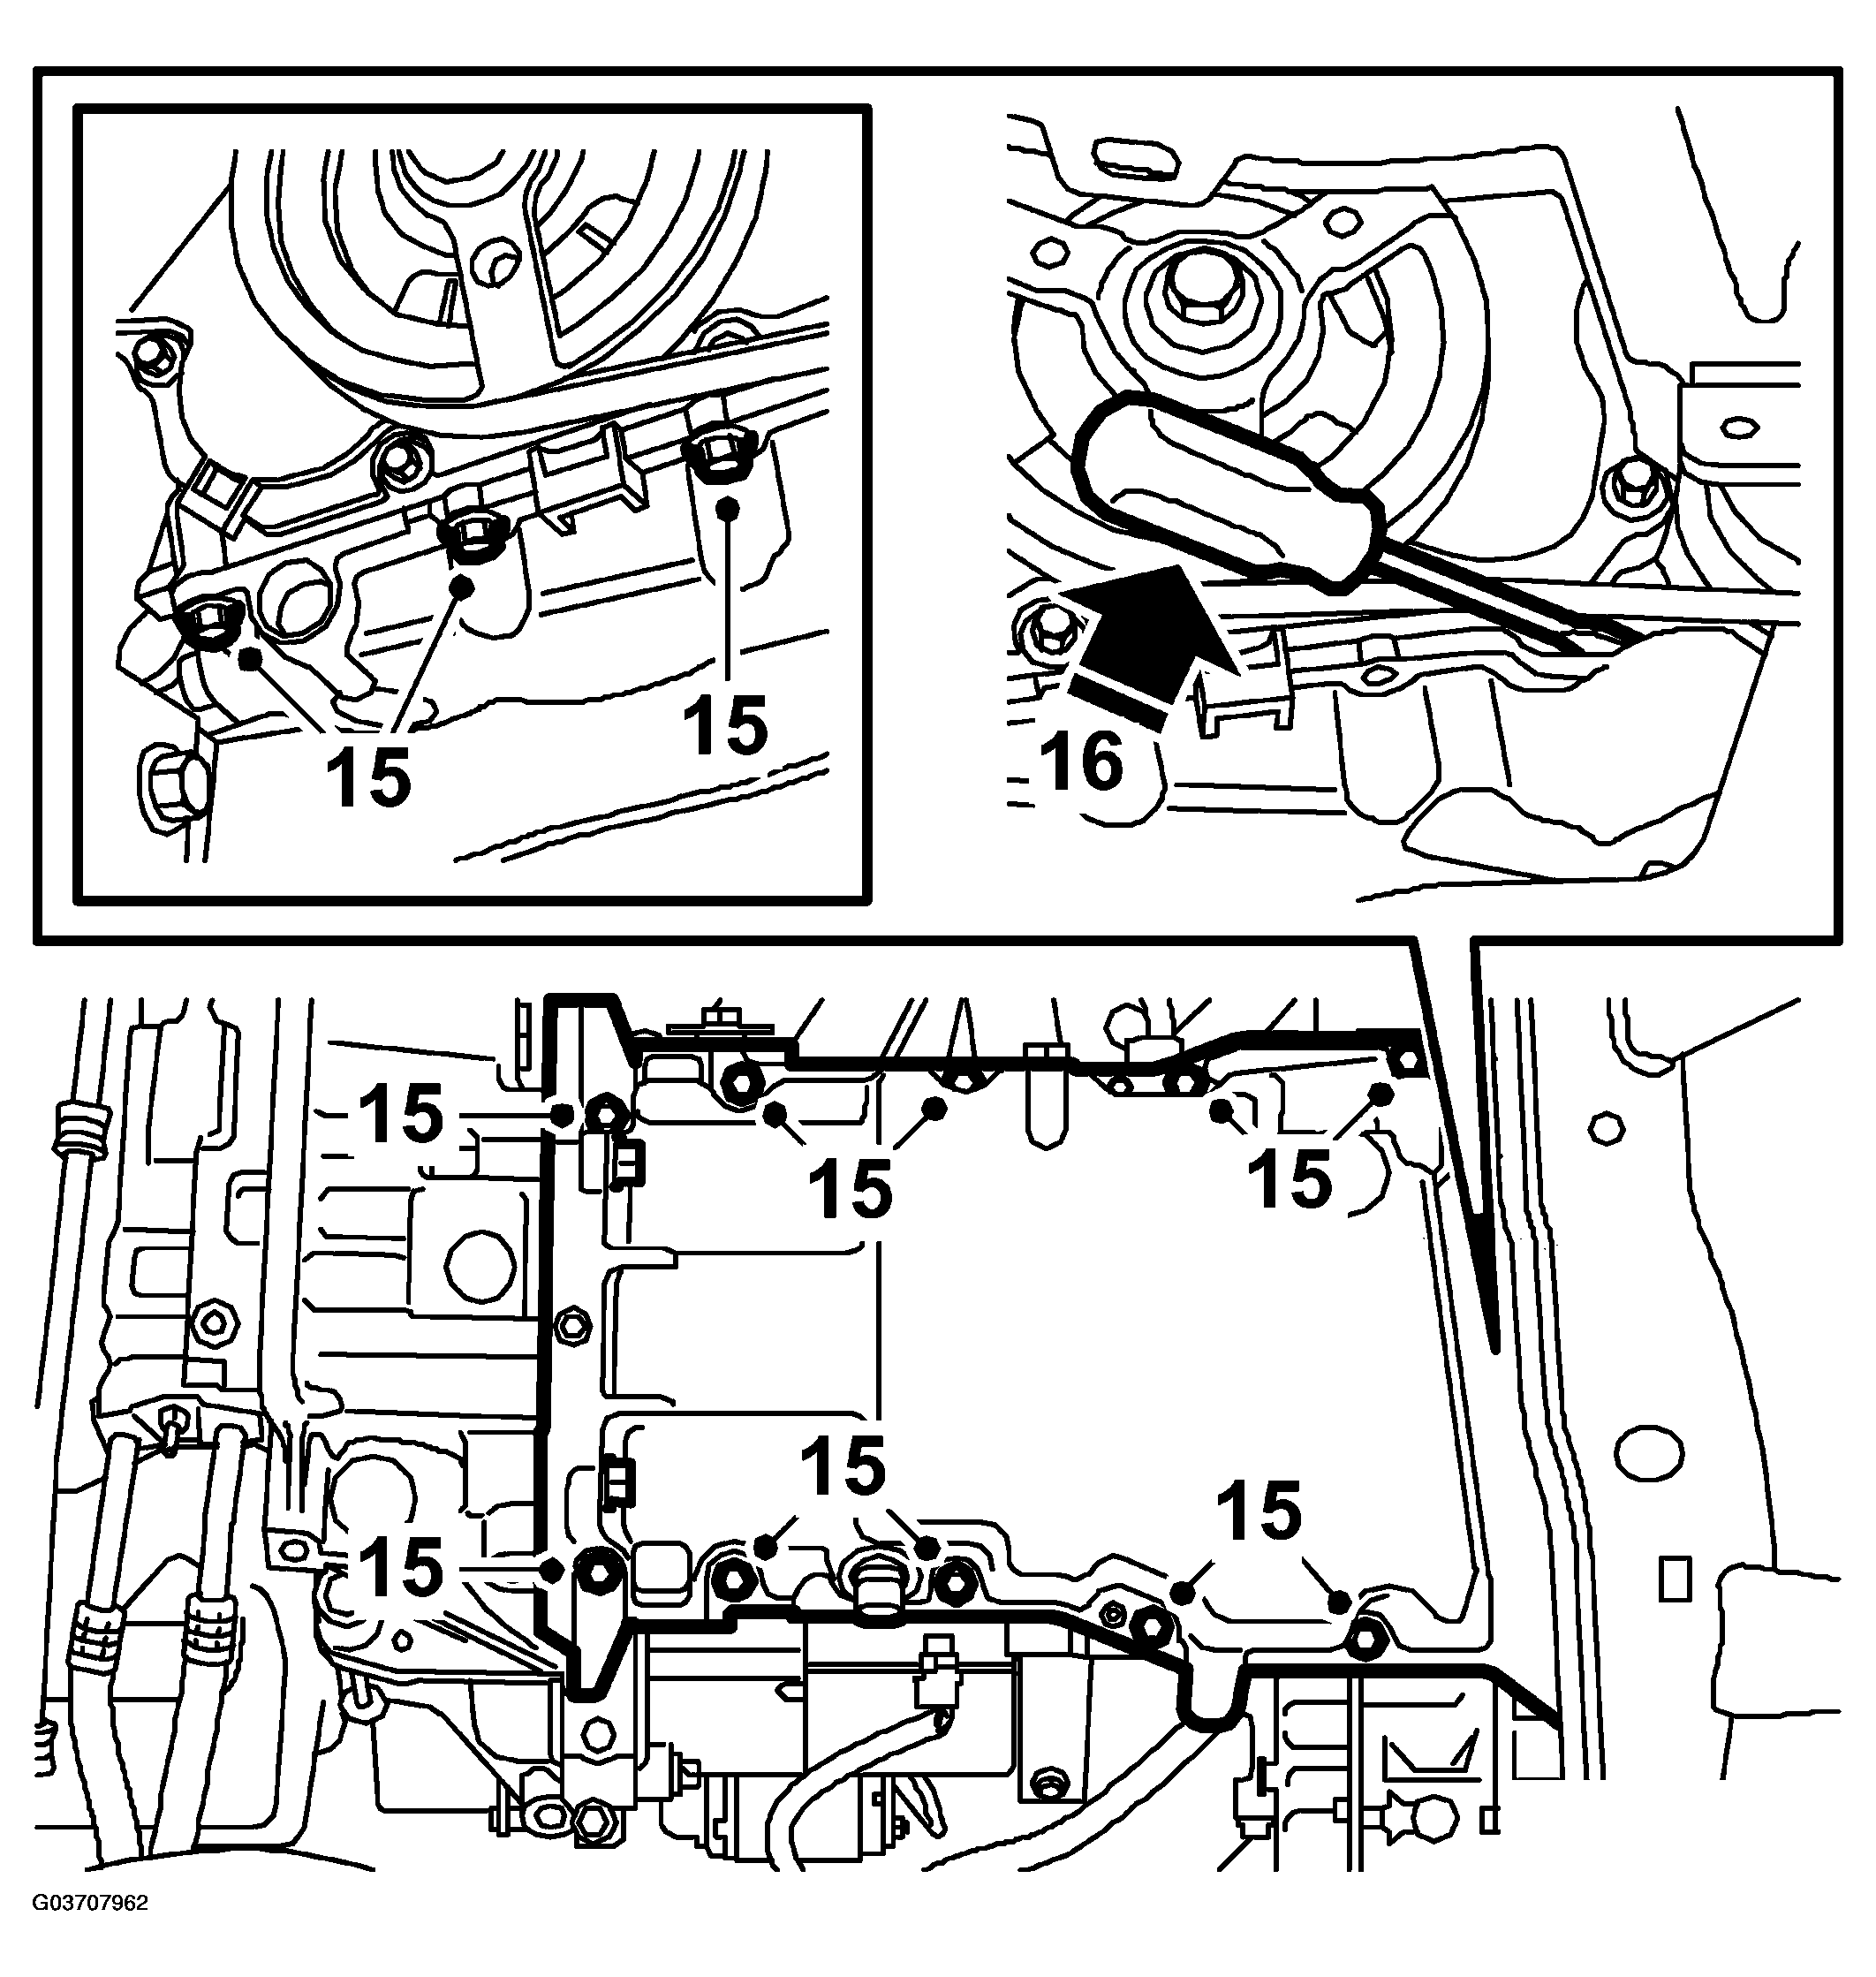
- Remove the oil pan fixing bolts.
 Courtesy of SAAB-SCANIA OF AMERICA, INC.
- Place a screwdriver between the pan and the timing cover at the AC compressor, and carefully pry the oil sump loose.