To remove
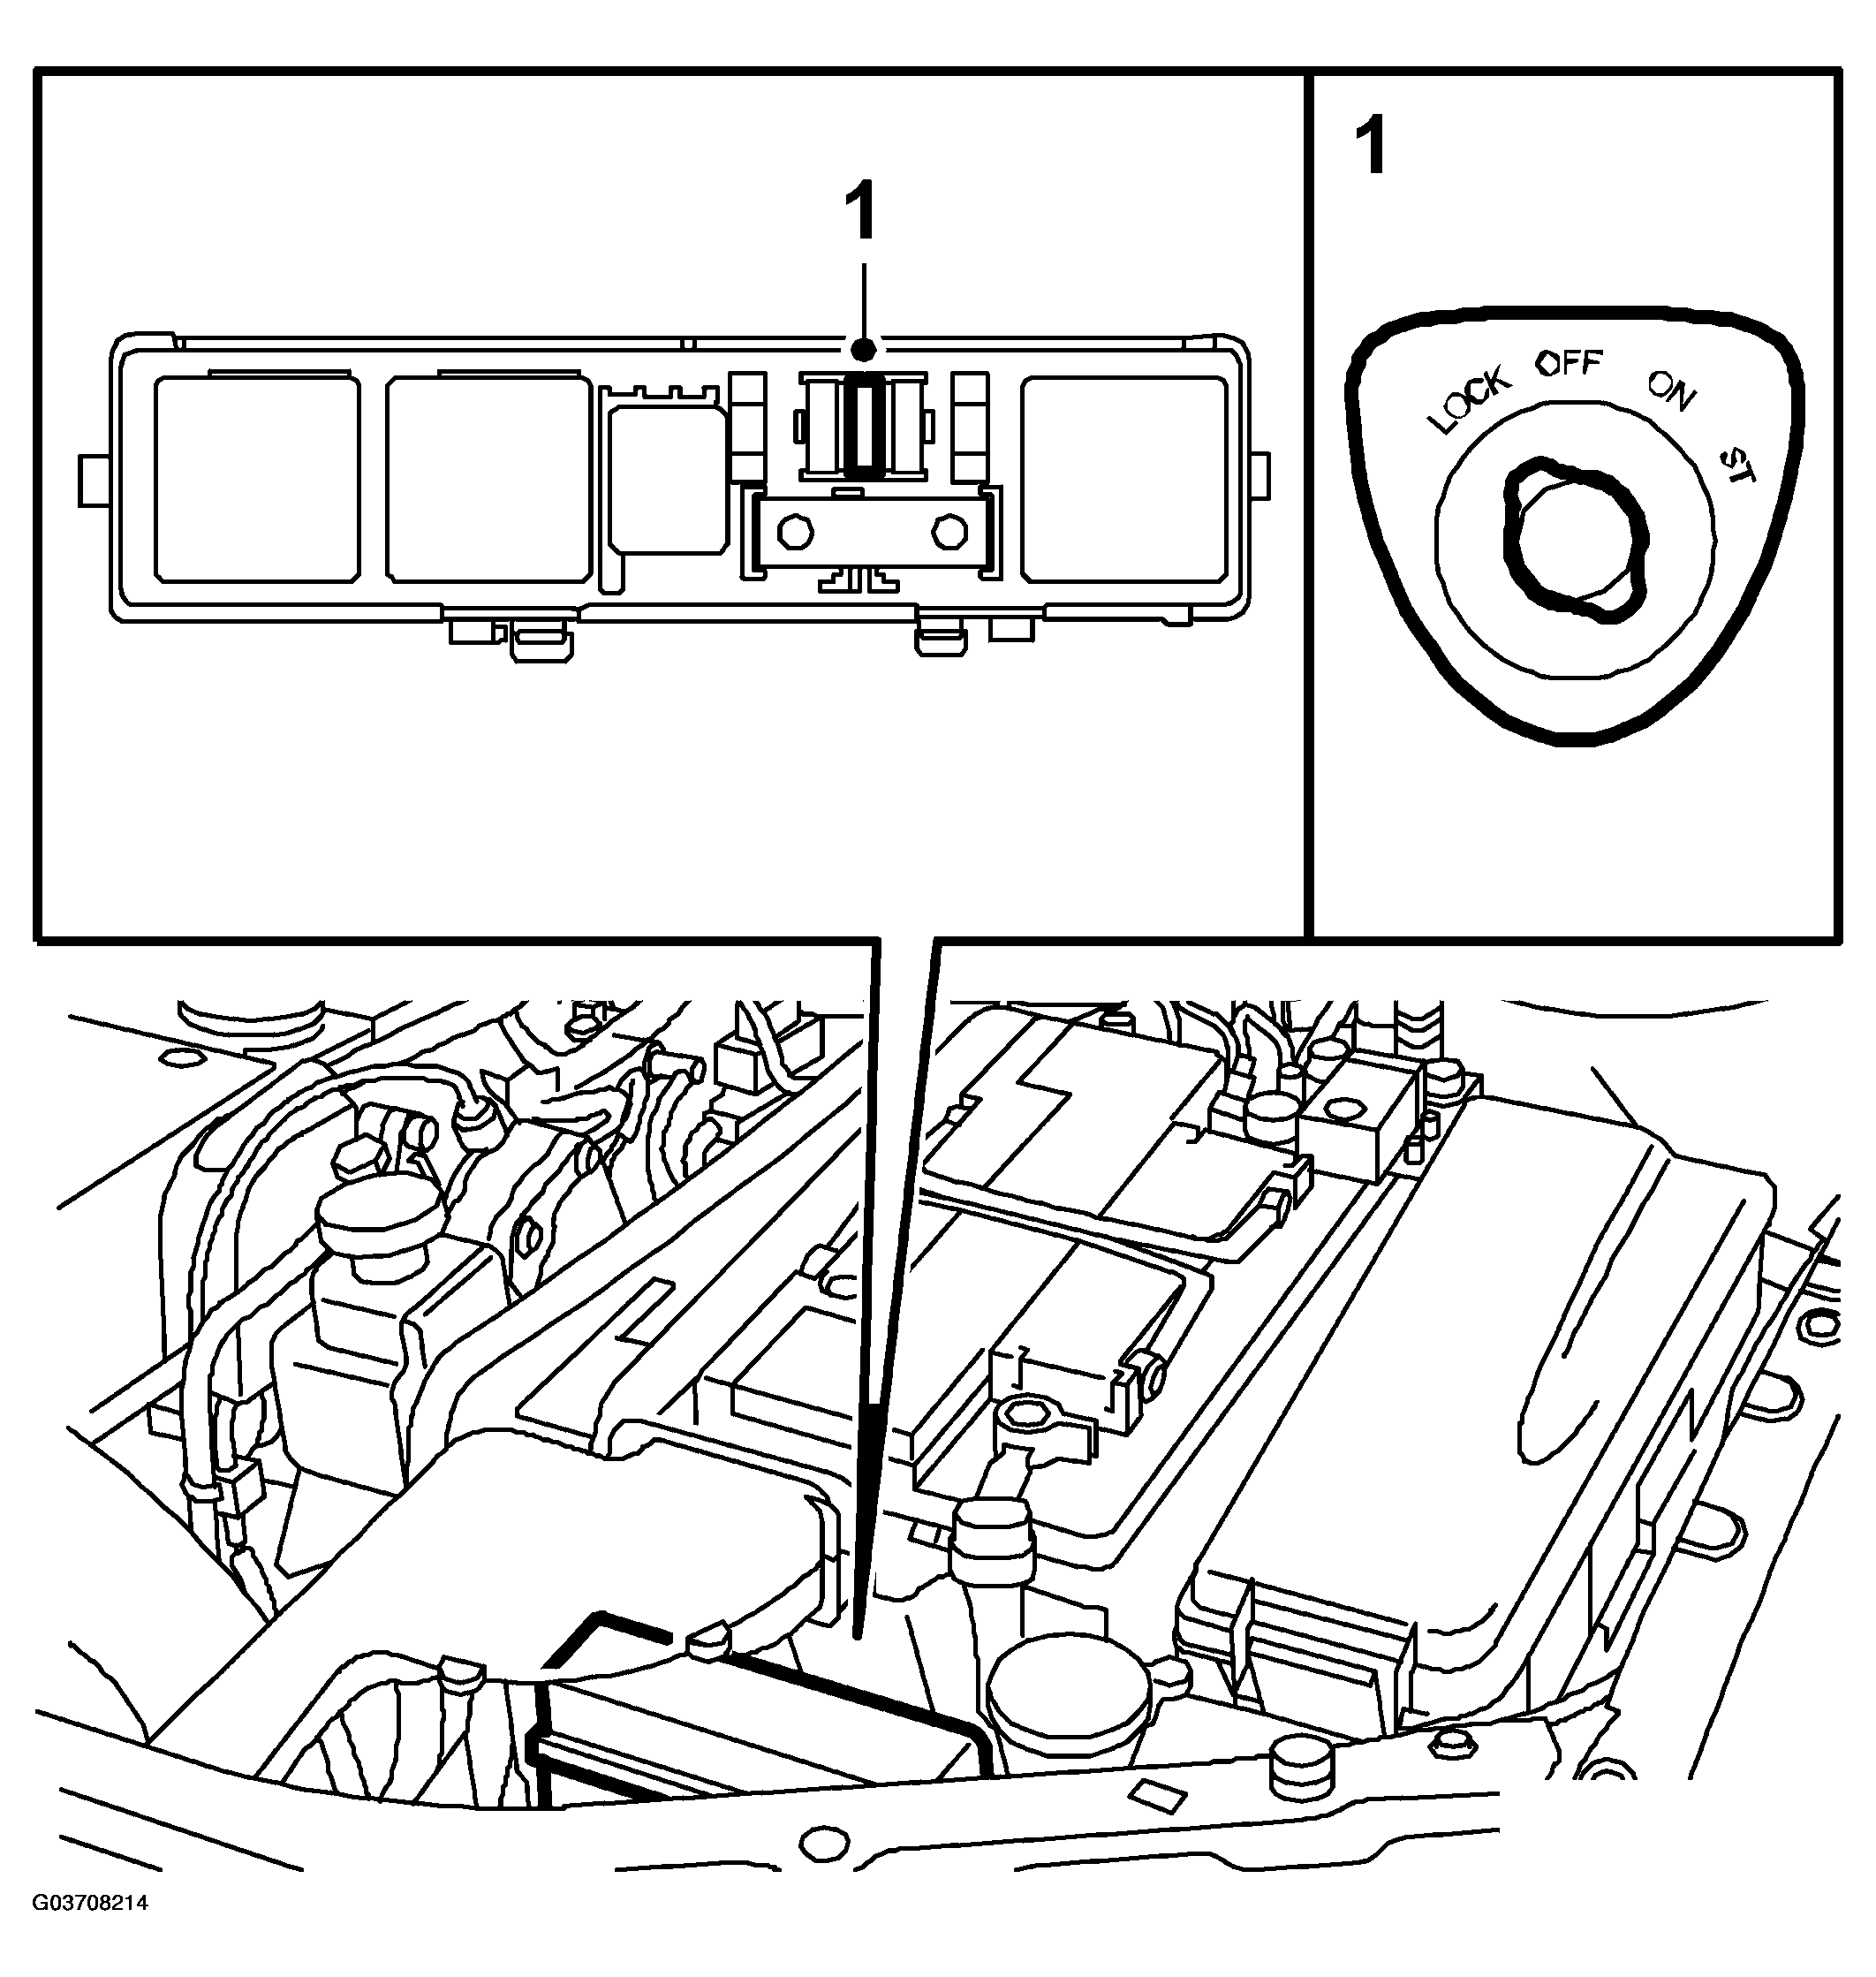
- Reduce the fuel pressure by removing fuse 2 when the engine is running (fuse 2 is in the electrical box in front of the battery). When the engine has stopped, turn the ignition key to LOCK and refit the fuse.
 Courtesy of SAAB-SCANIA OF AMERICA, INC.
- Drain the fuel tank. See EMPTYING THE FUEL TANK
. Remove the tank cap.
- Place the car on a lift.
- Raise the car.
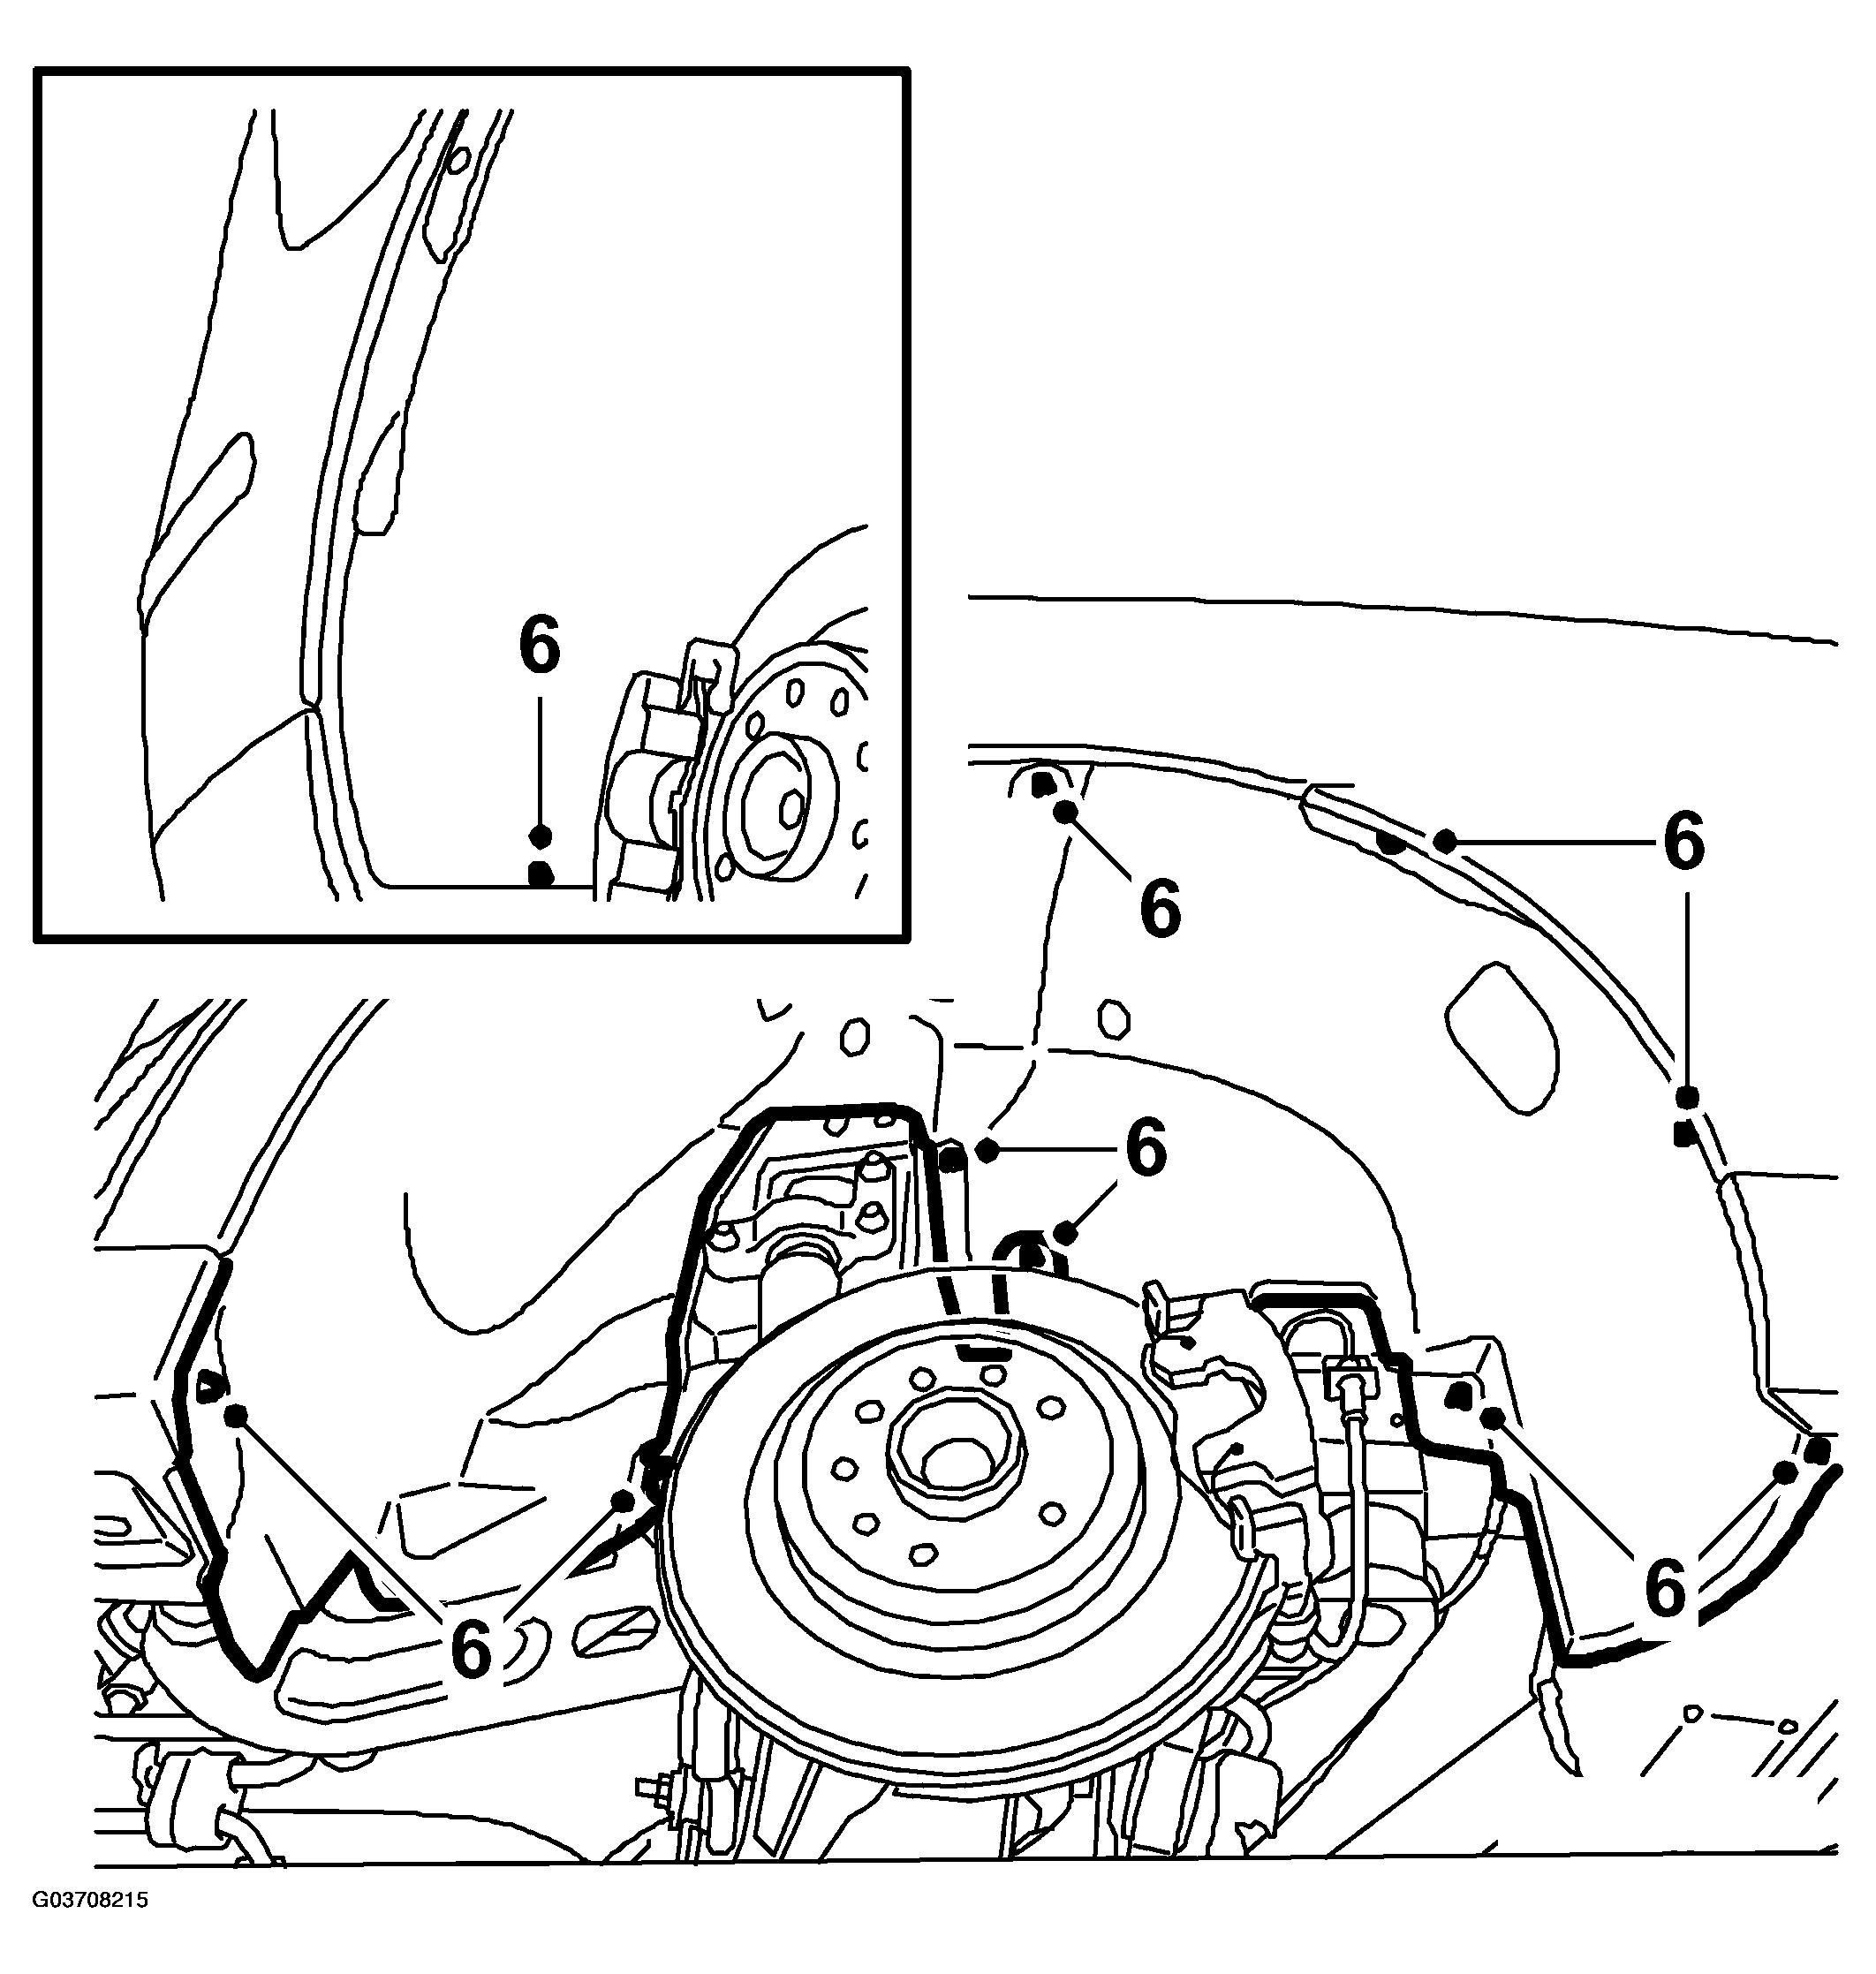
- Remove the right rear wheel.
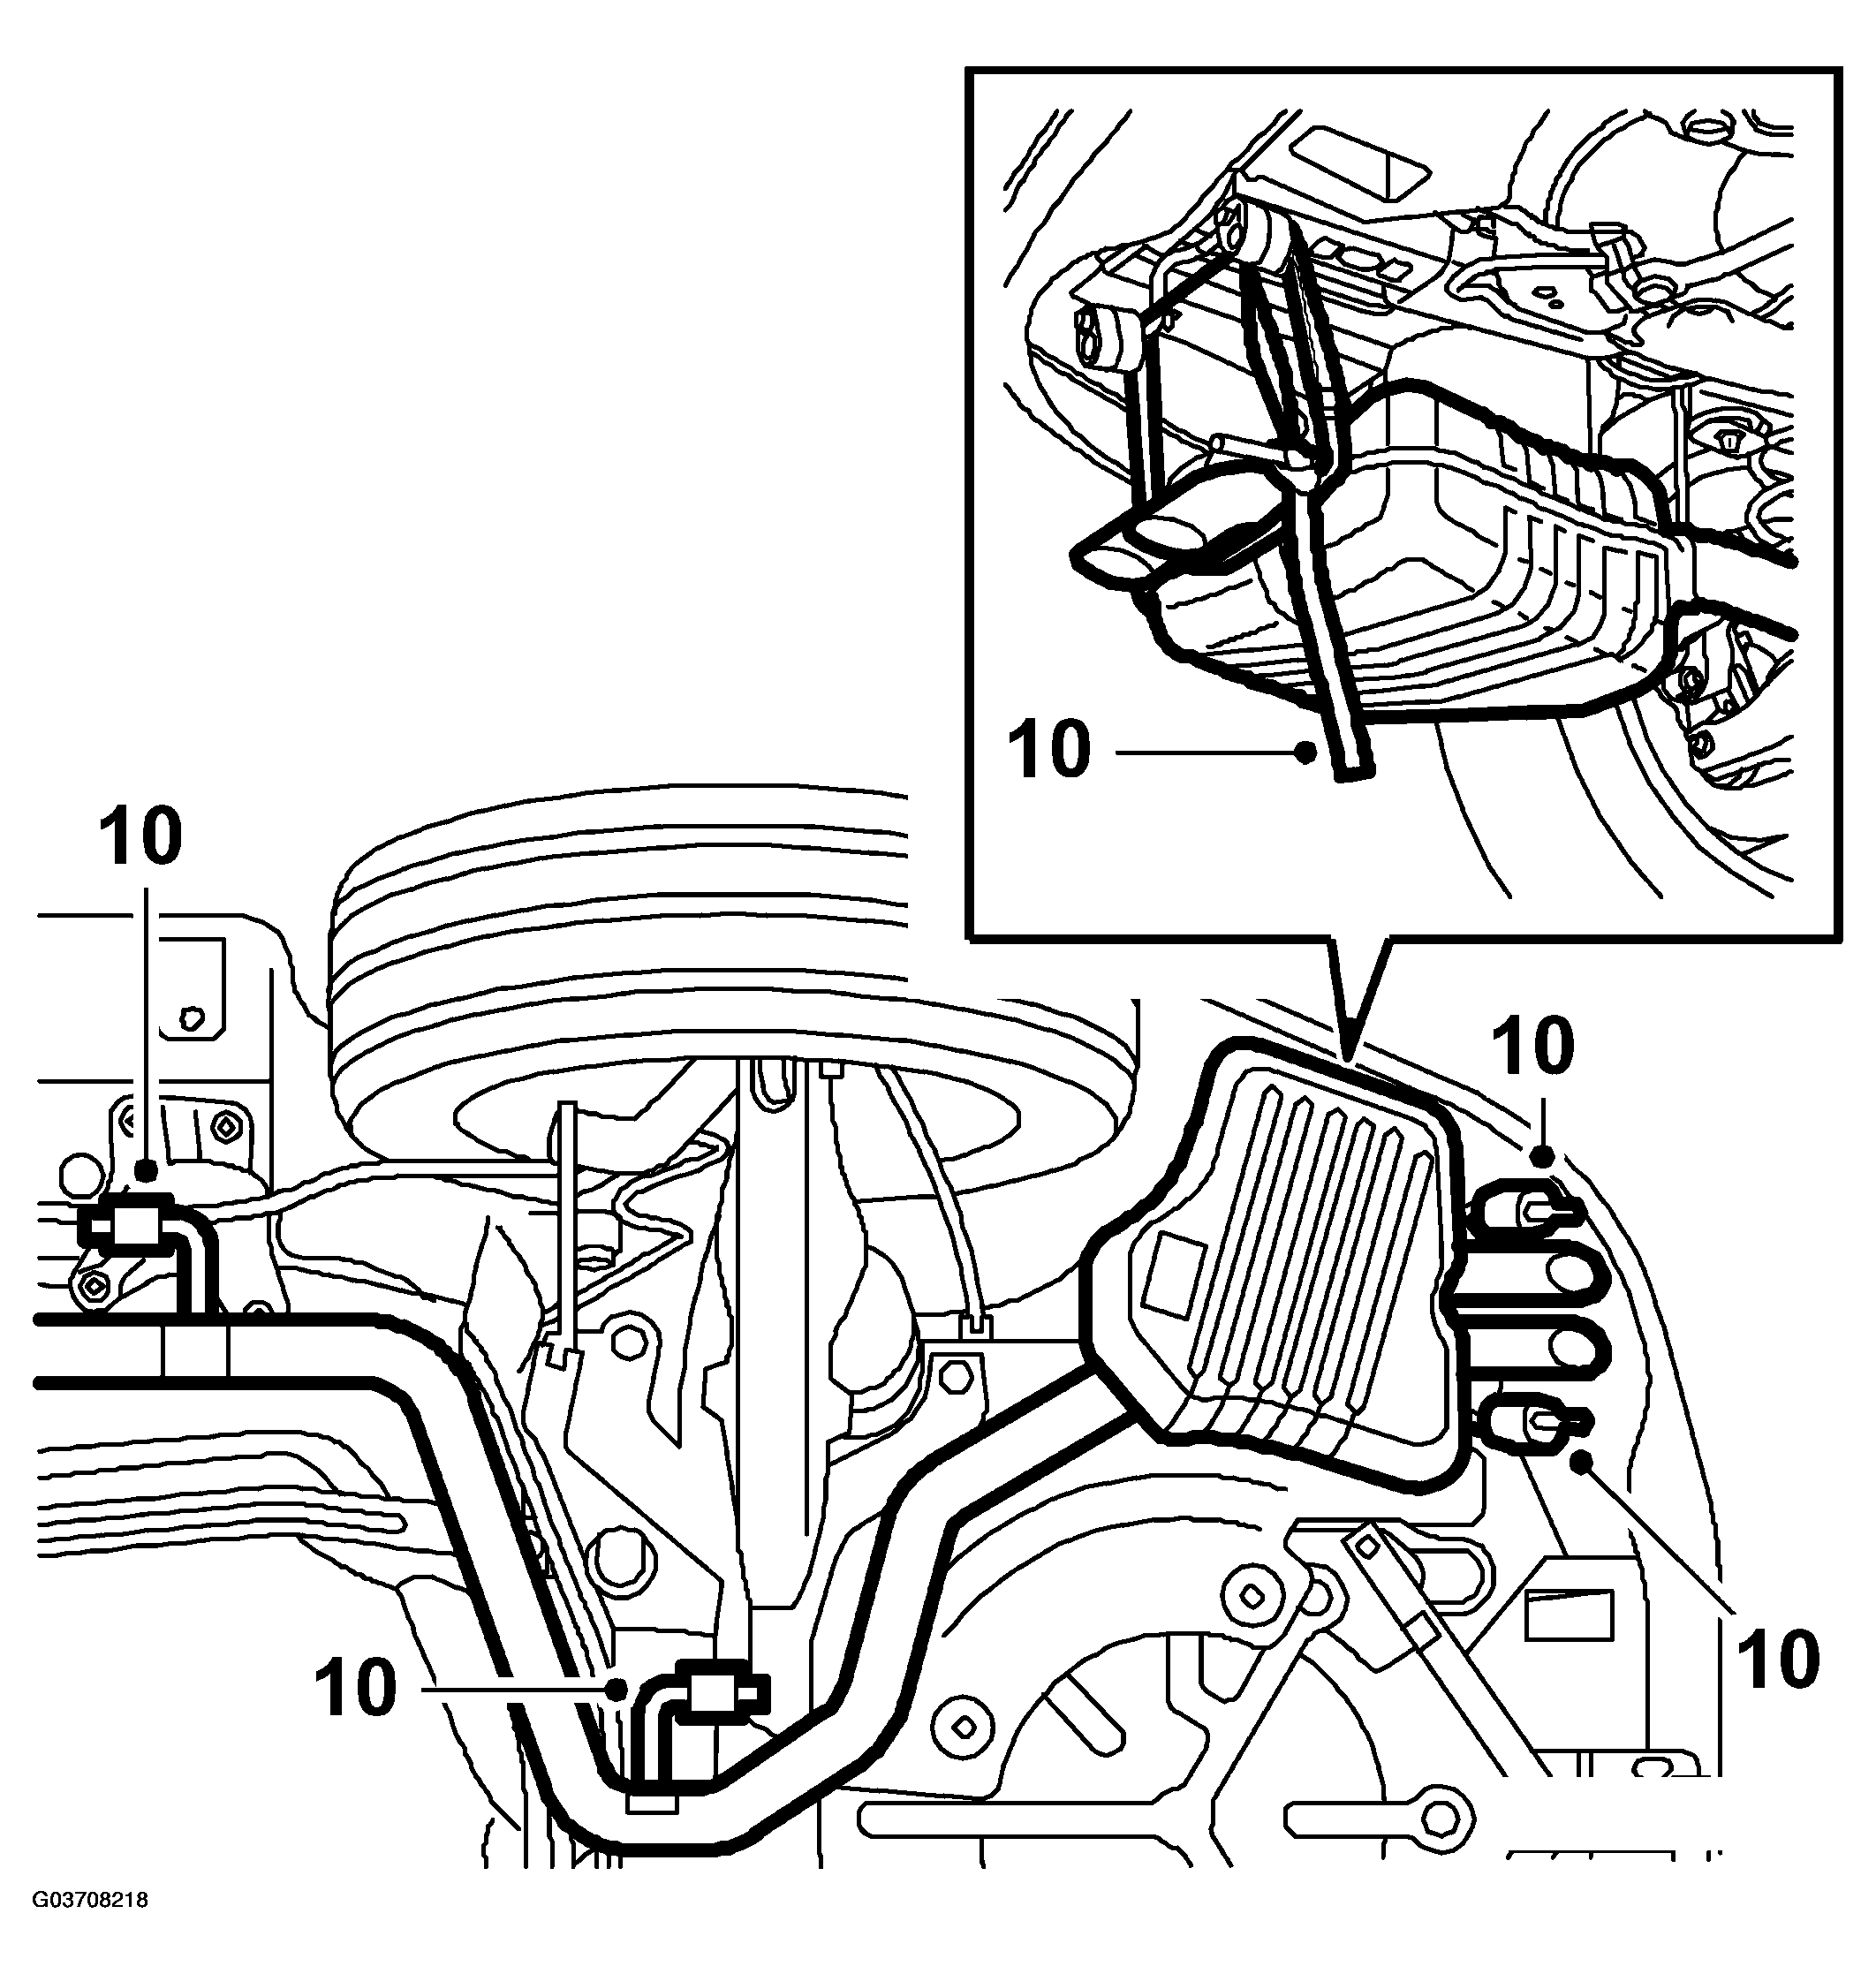
- Remove the bolts and nuts to the wing liner.
 Courtesy of SAAB-SCANIA OF AMERICA, INC.
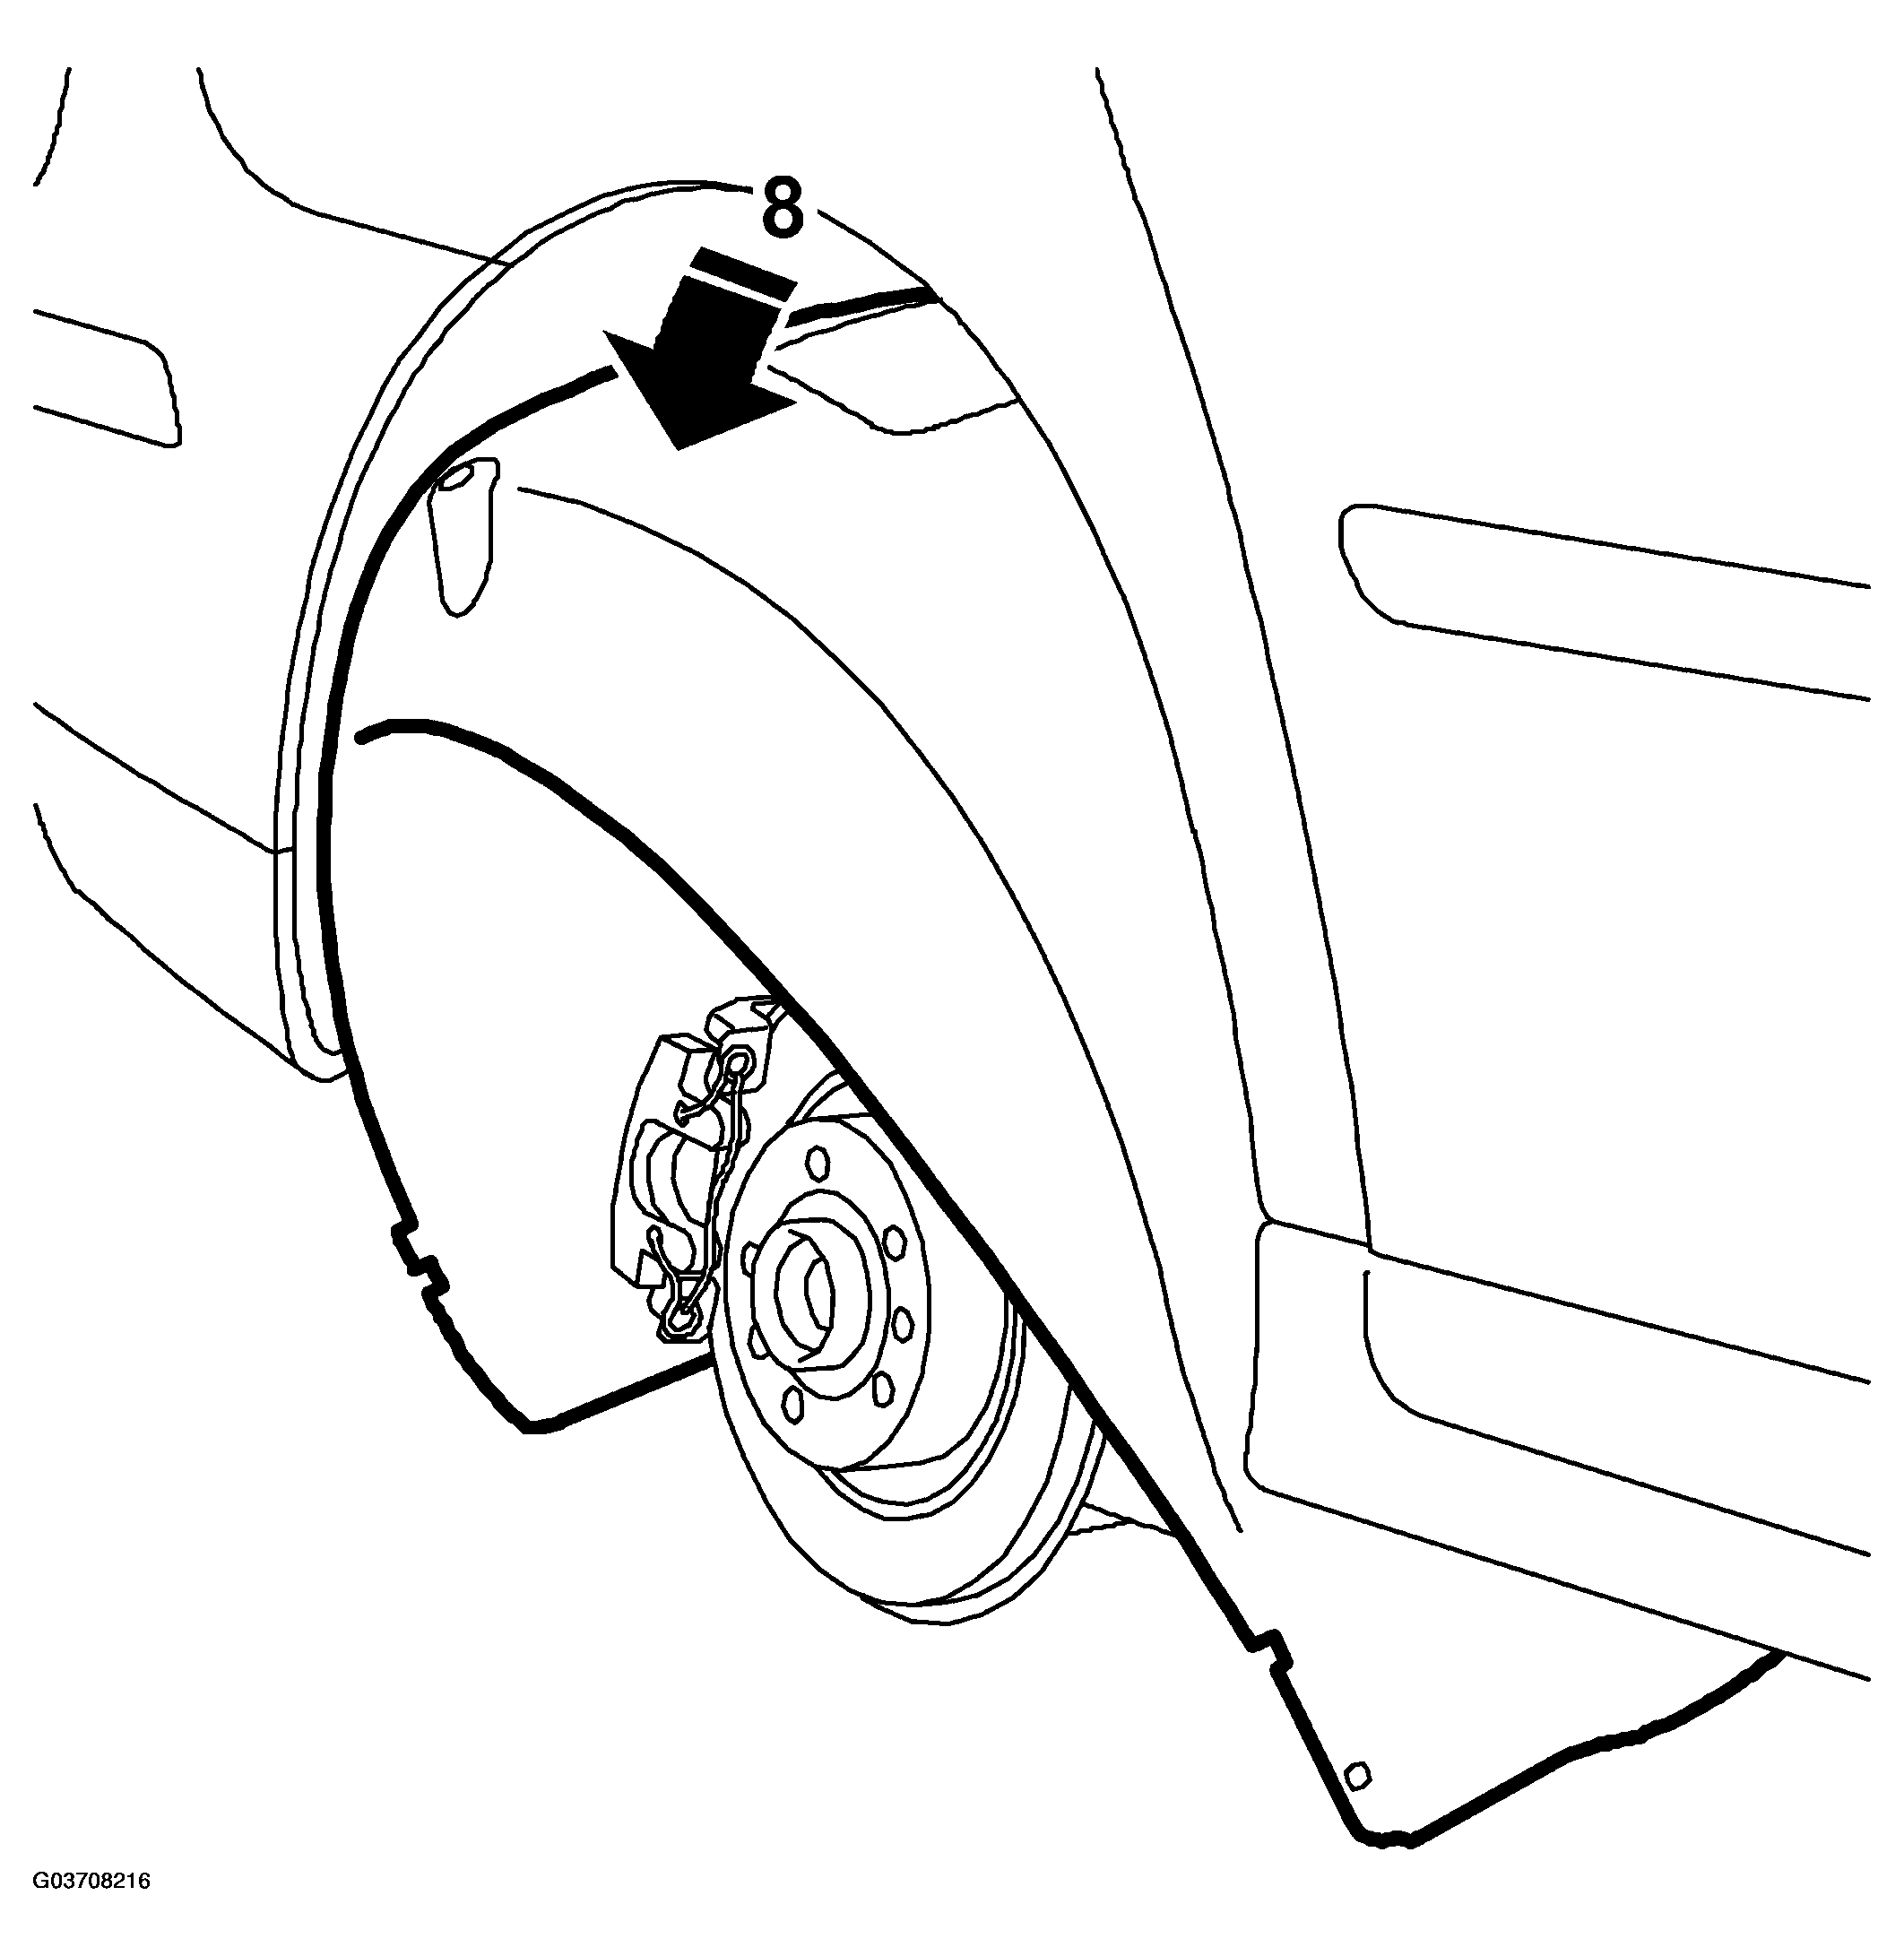
- Release the wing liner from the stud bolts.
- Release the wing liner from the liner edge starting at the back. Then release the entire liner edge. Remove the wing liner.
 Courtesy of SAAB-SCANIA OF AMERICA, INC.
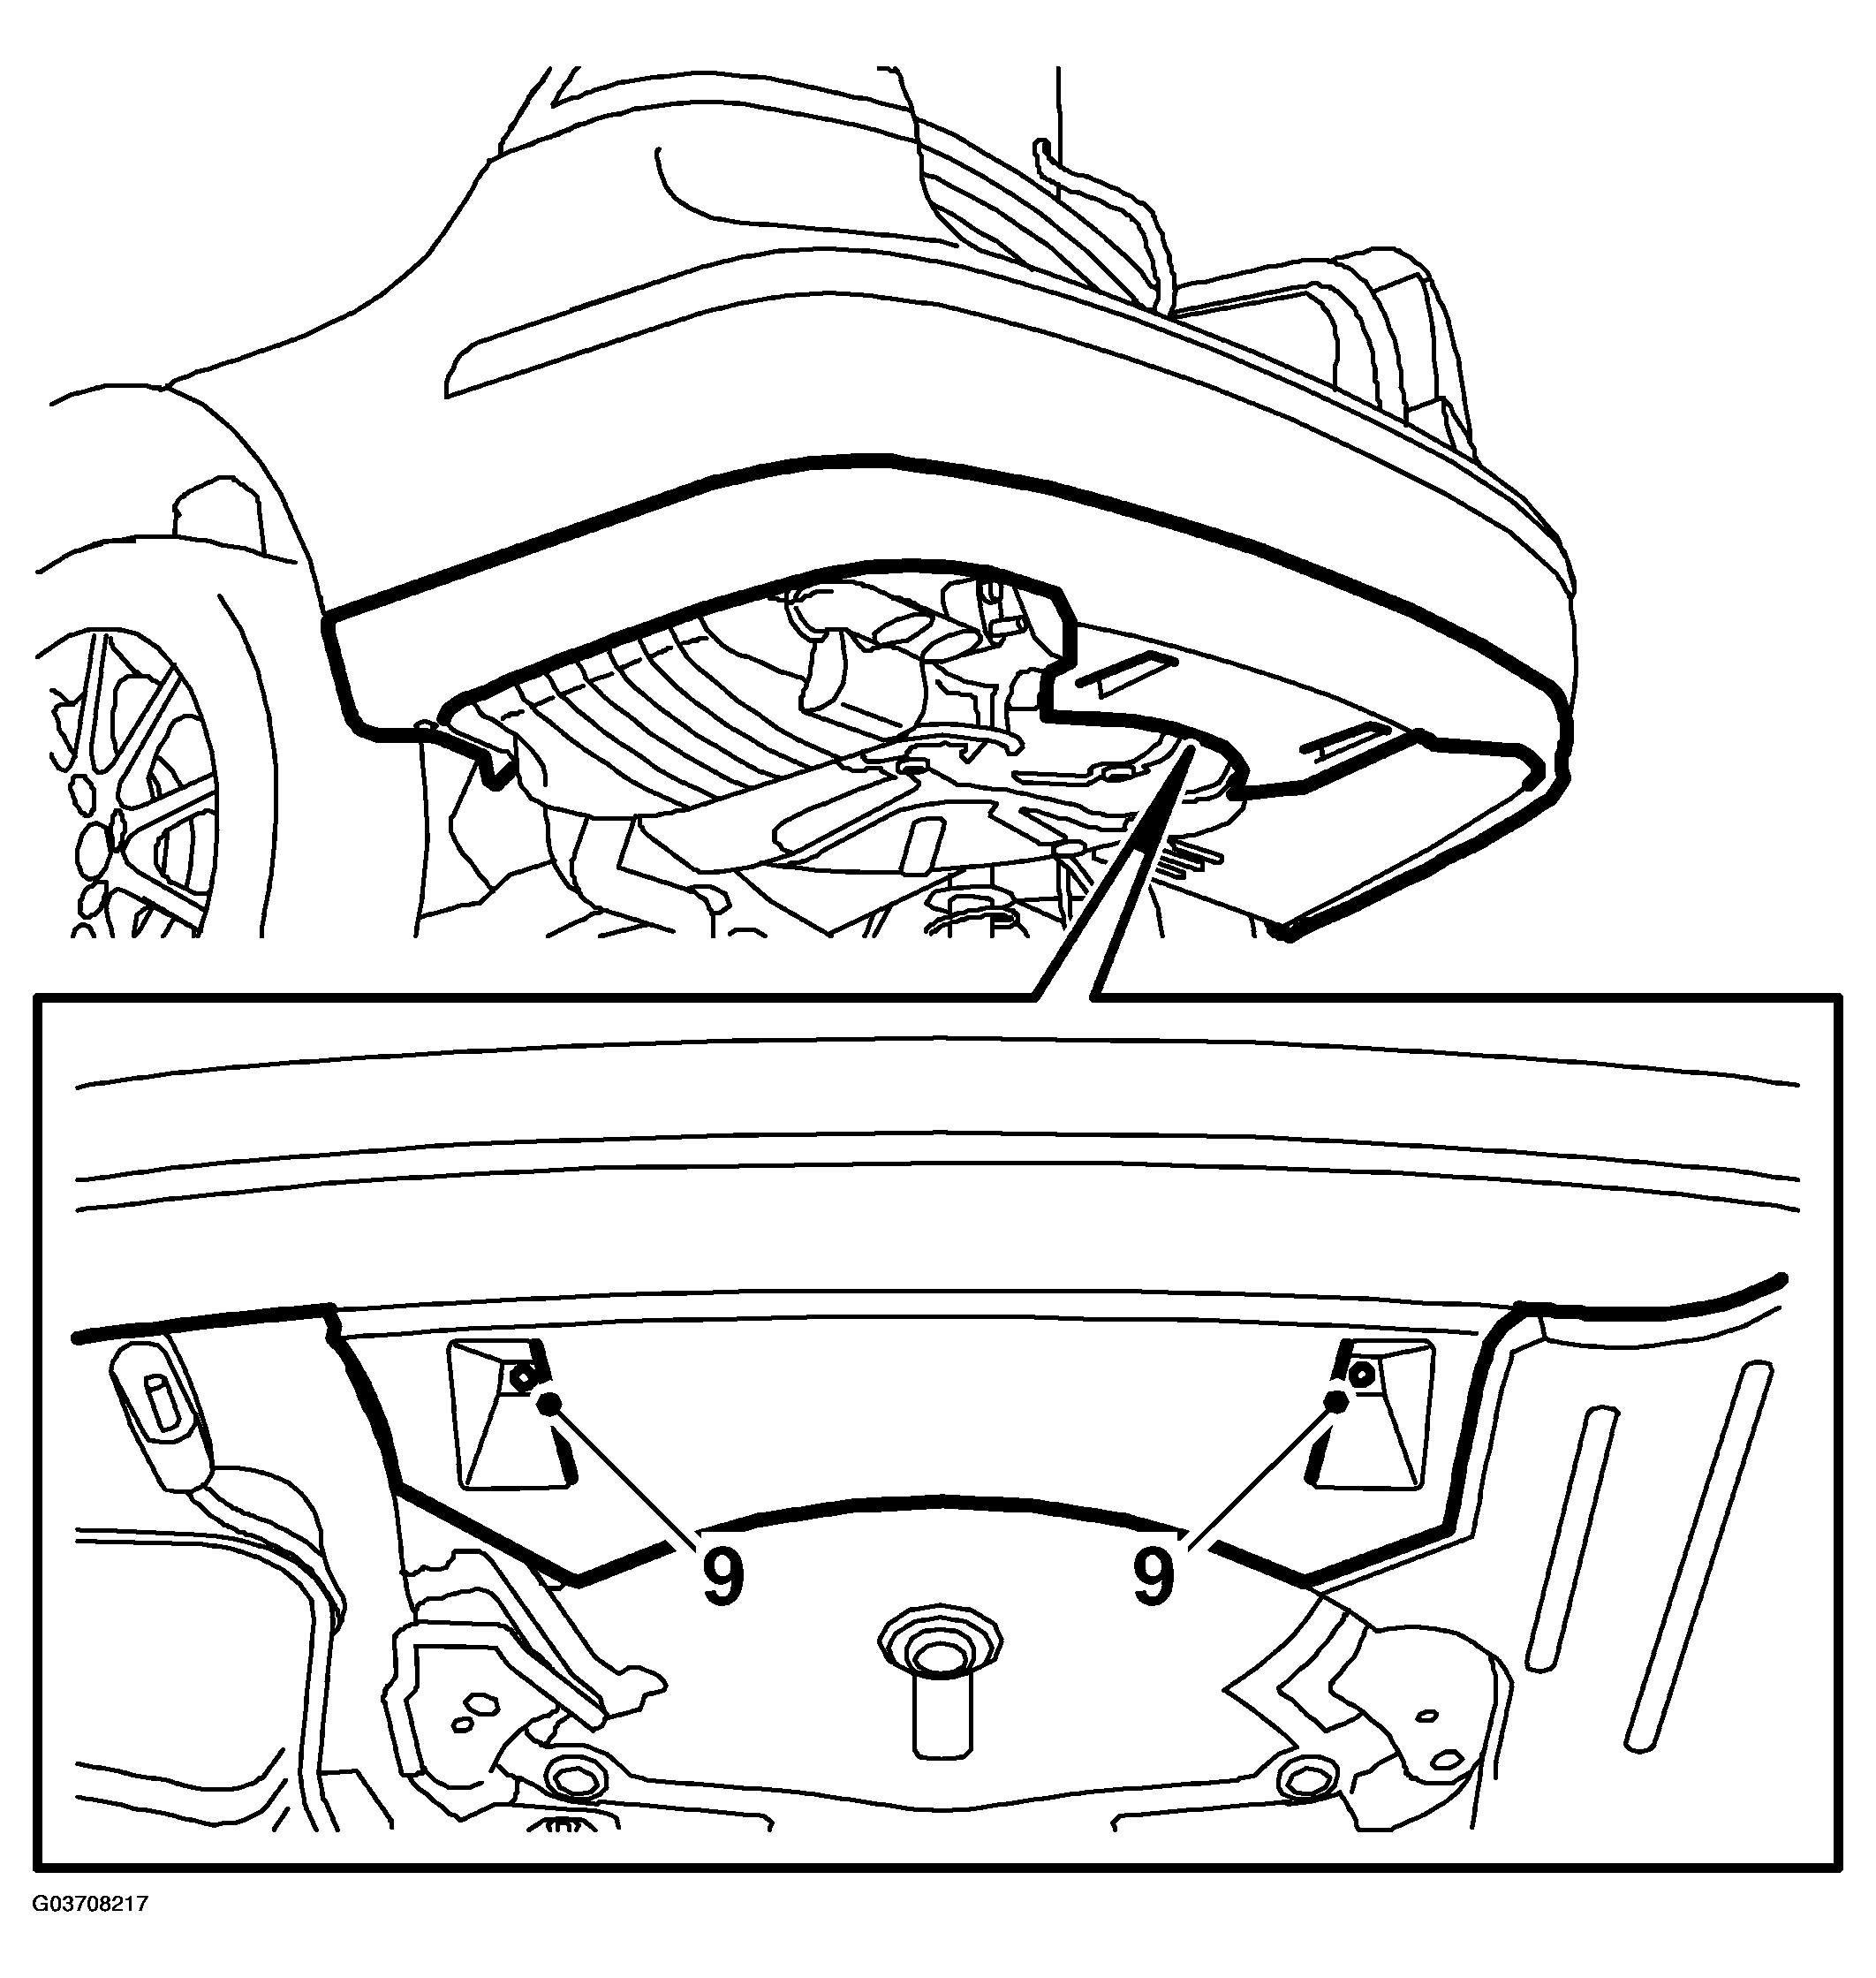
- Release the rear spoiler shield. CV:
Remove Chassis reinforcement, center tunnel, CV and Chassis reinforcement, rear support frame, CV, right side.
 Courtesy of SAAB-SCANIA OF AMERICA, INC.
- Remove the rubber mounts and carefully lower the exhaust system, fasten with 83 95 212 STRAP
.
 Courtesy of SAAB-SCANIA OF AMERICA, INC.
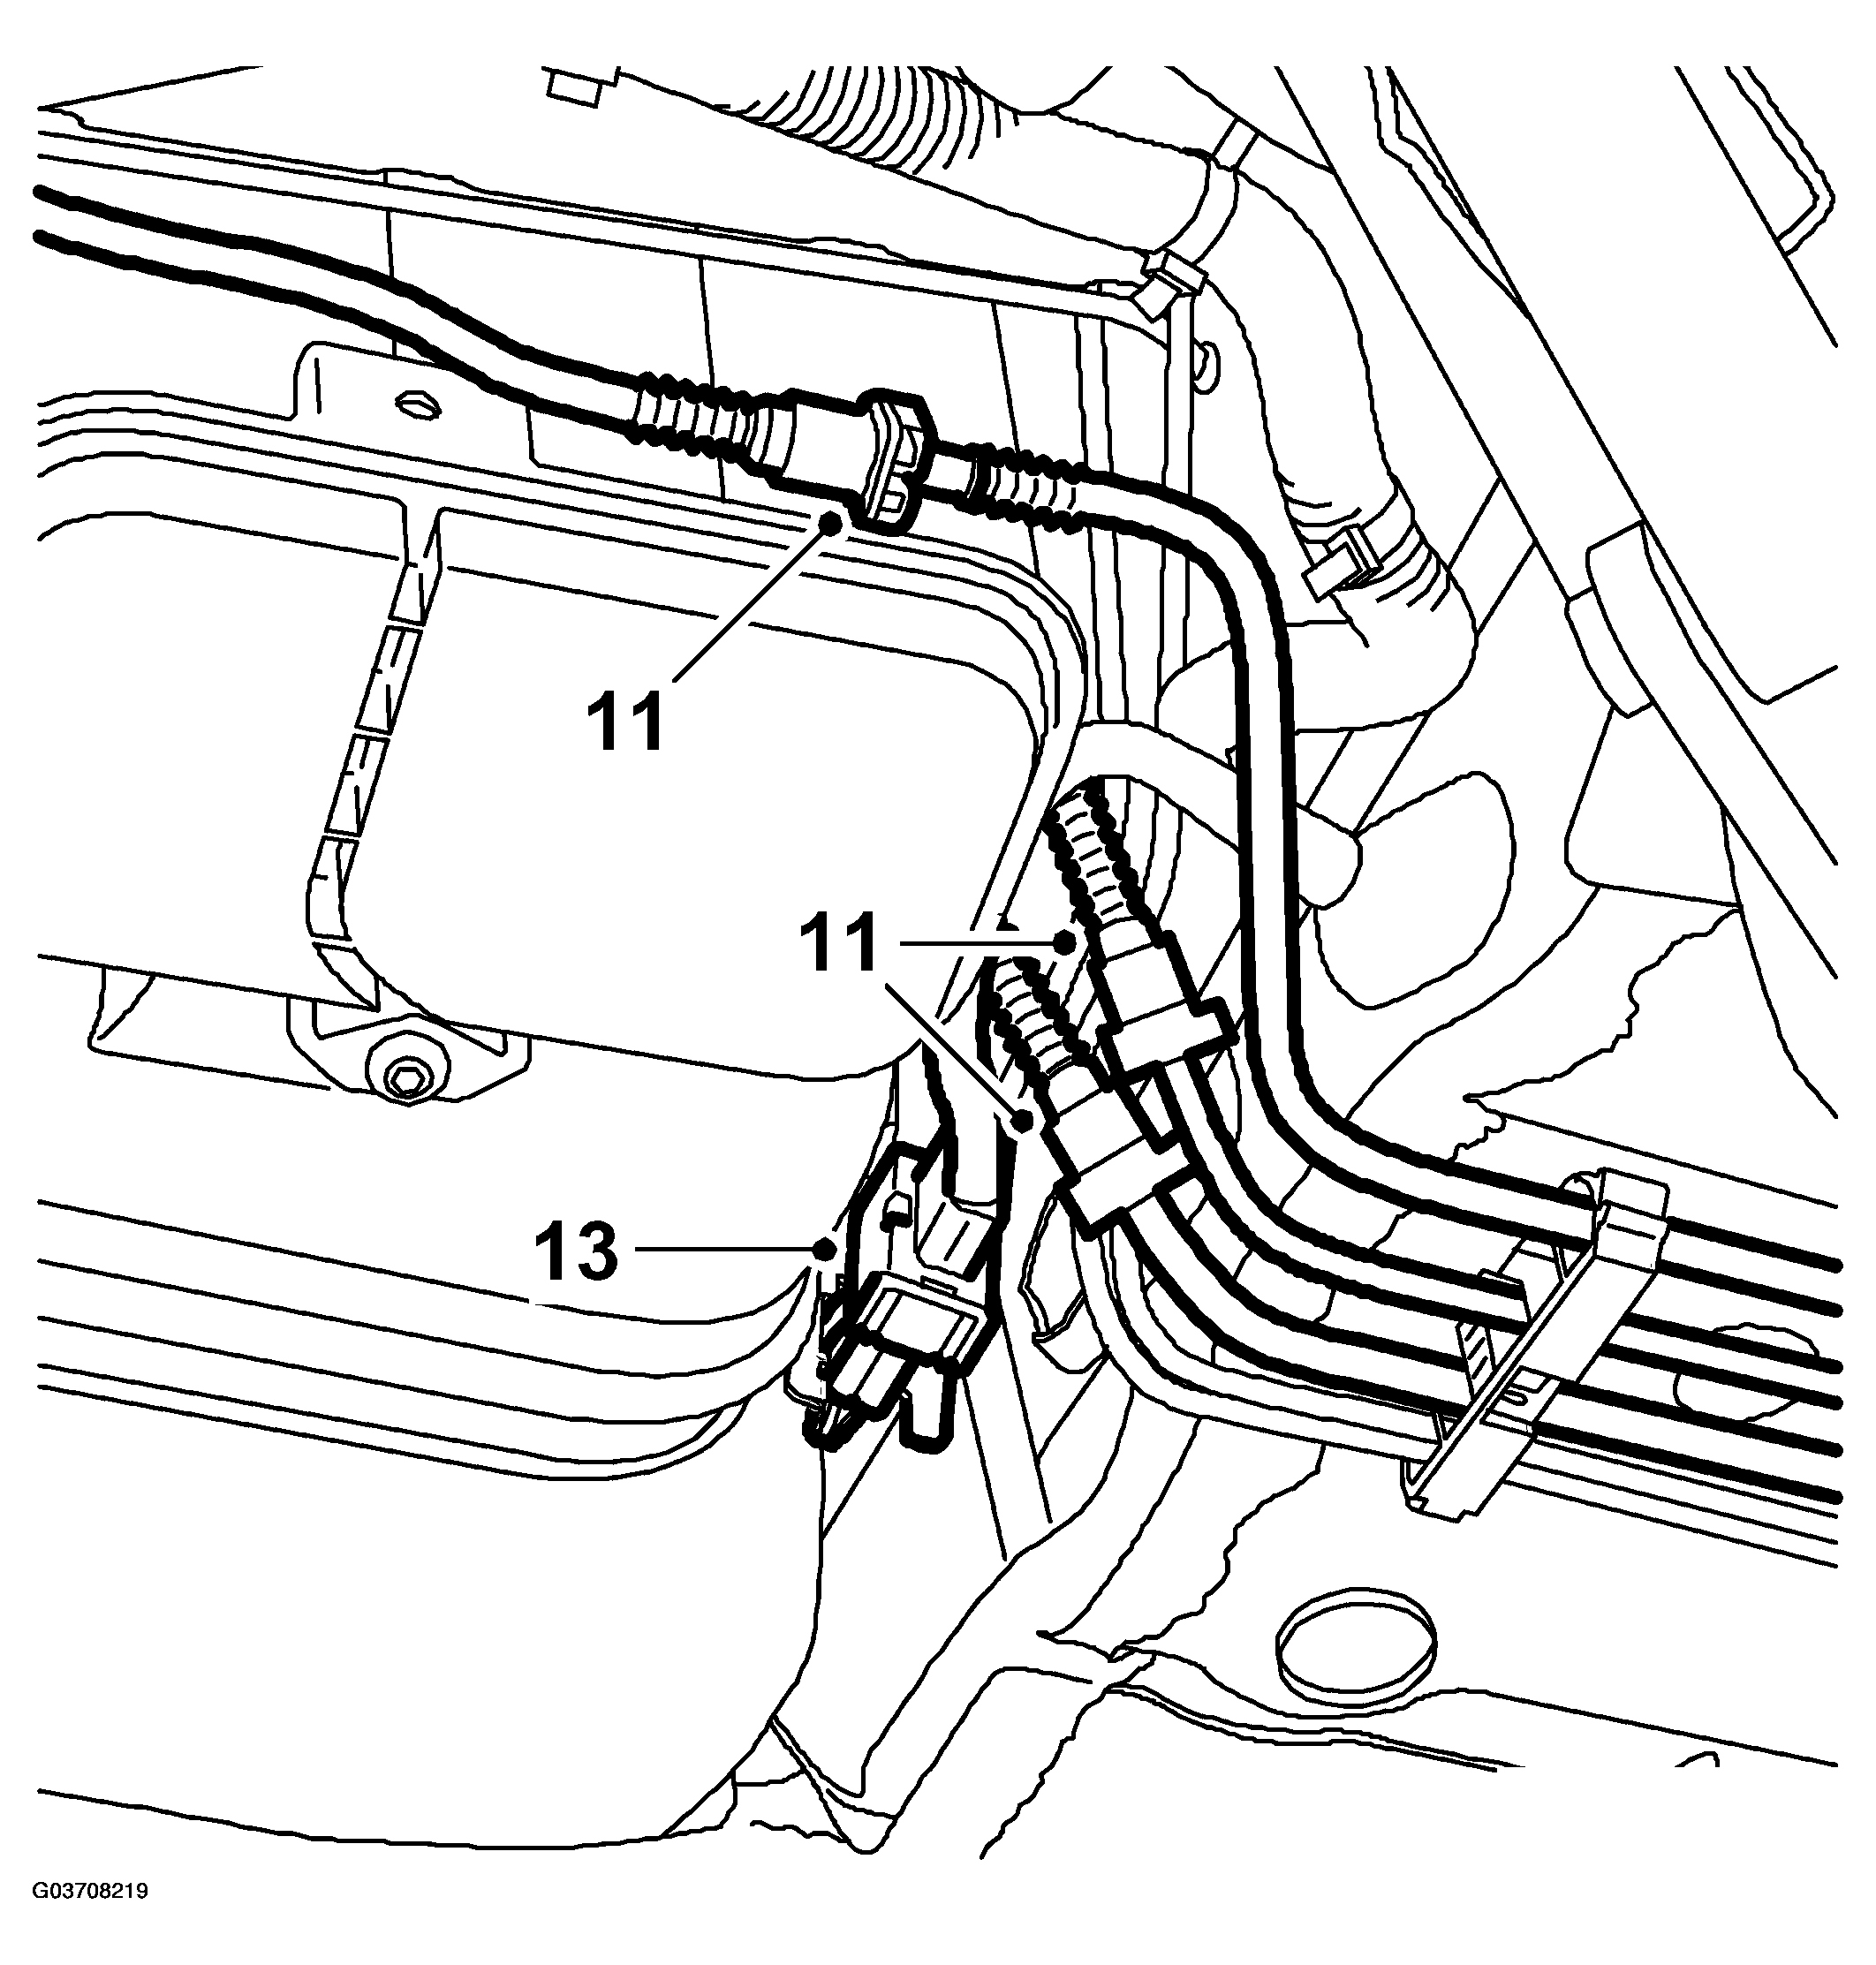
- Separate the fuel connections and vent connections at the carbon canister. Catch any split fuel.
 Courtesy of SAAB-SCANIA OF AMERICA, INC.
- Seal the connections to the outlet line from the fuel pump.
- Separate and remove the connector at the evaporative emission canister.
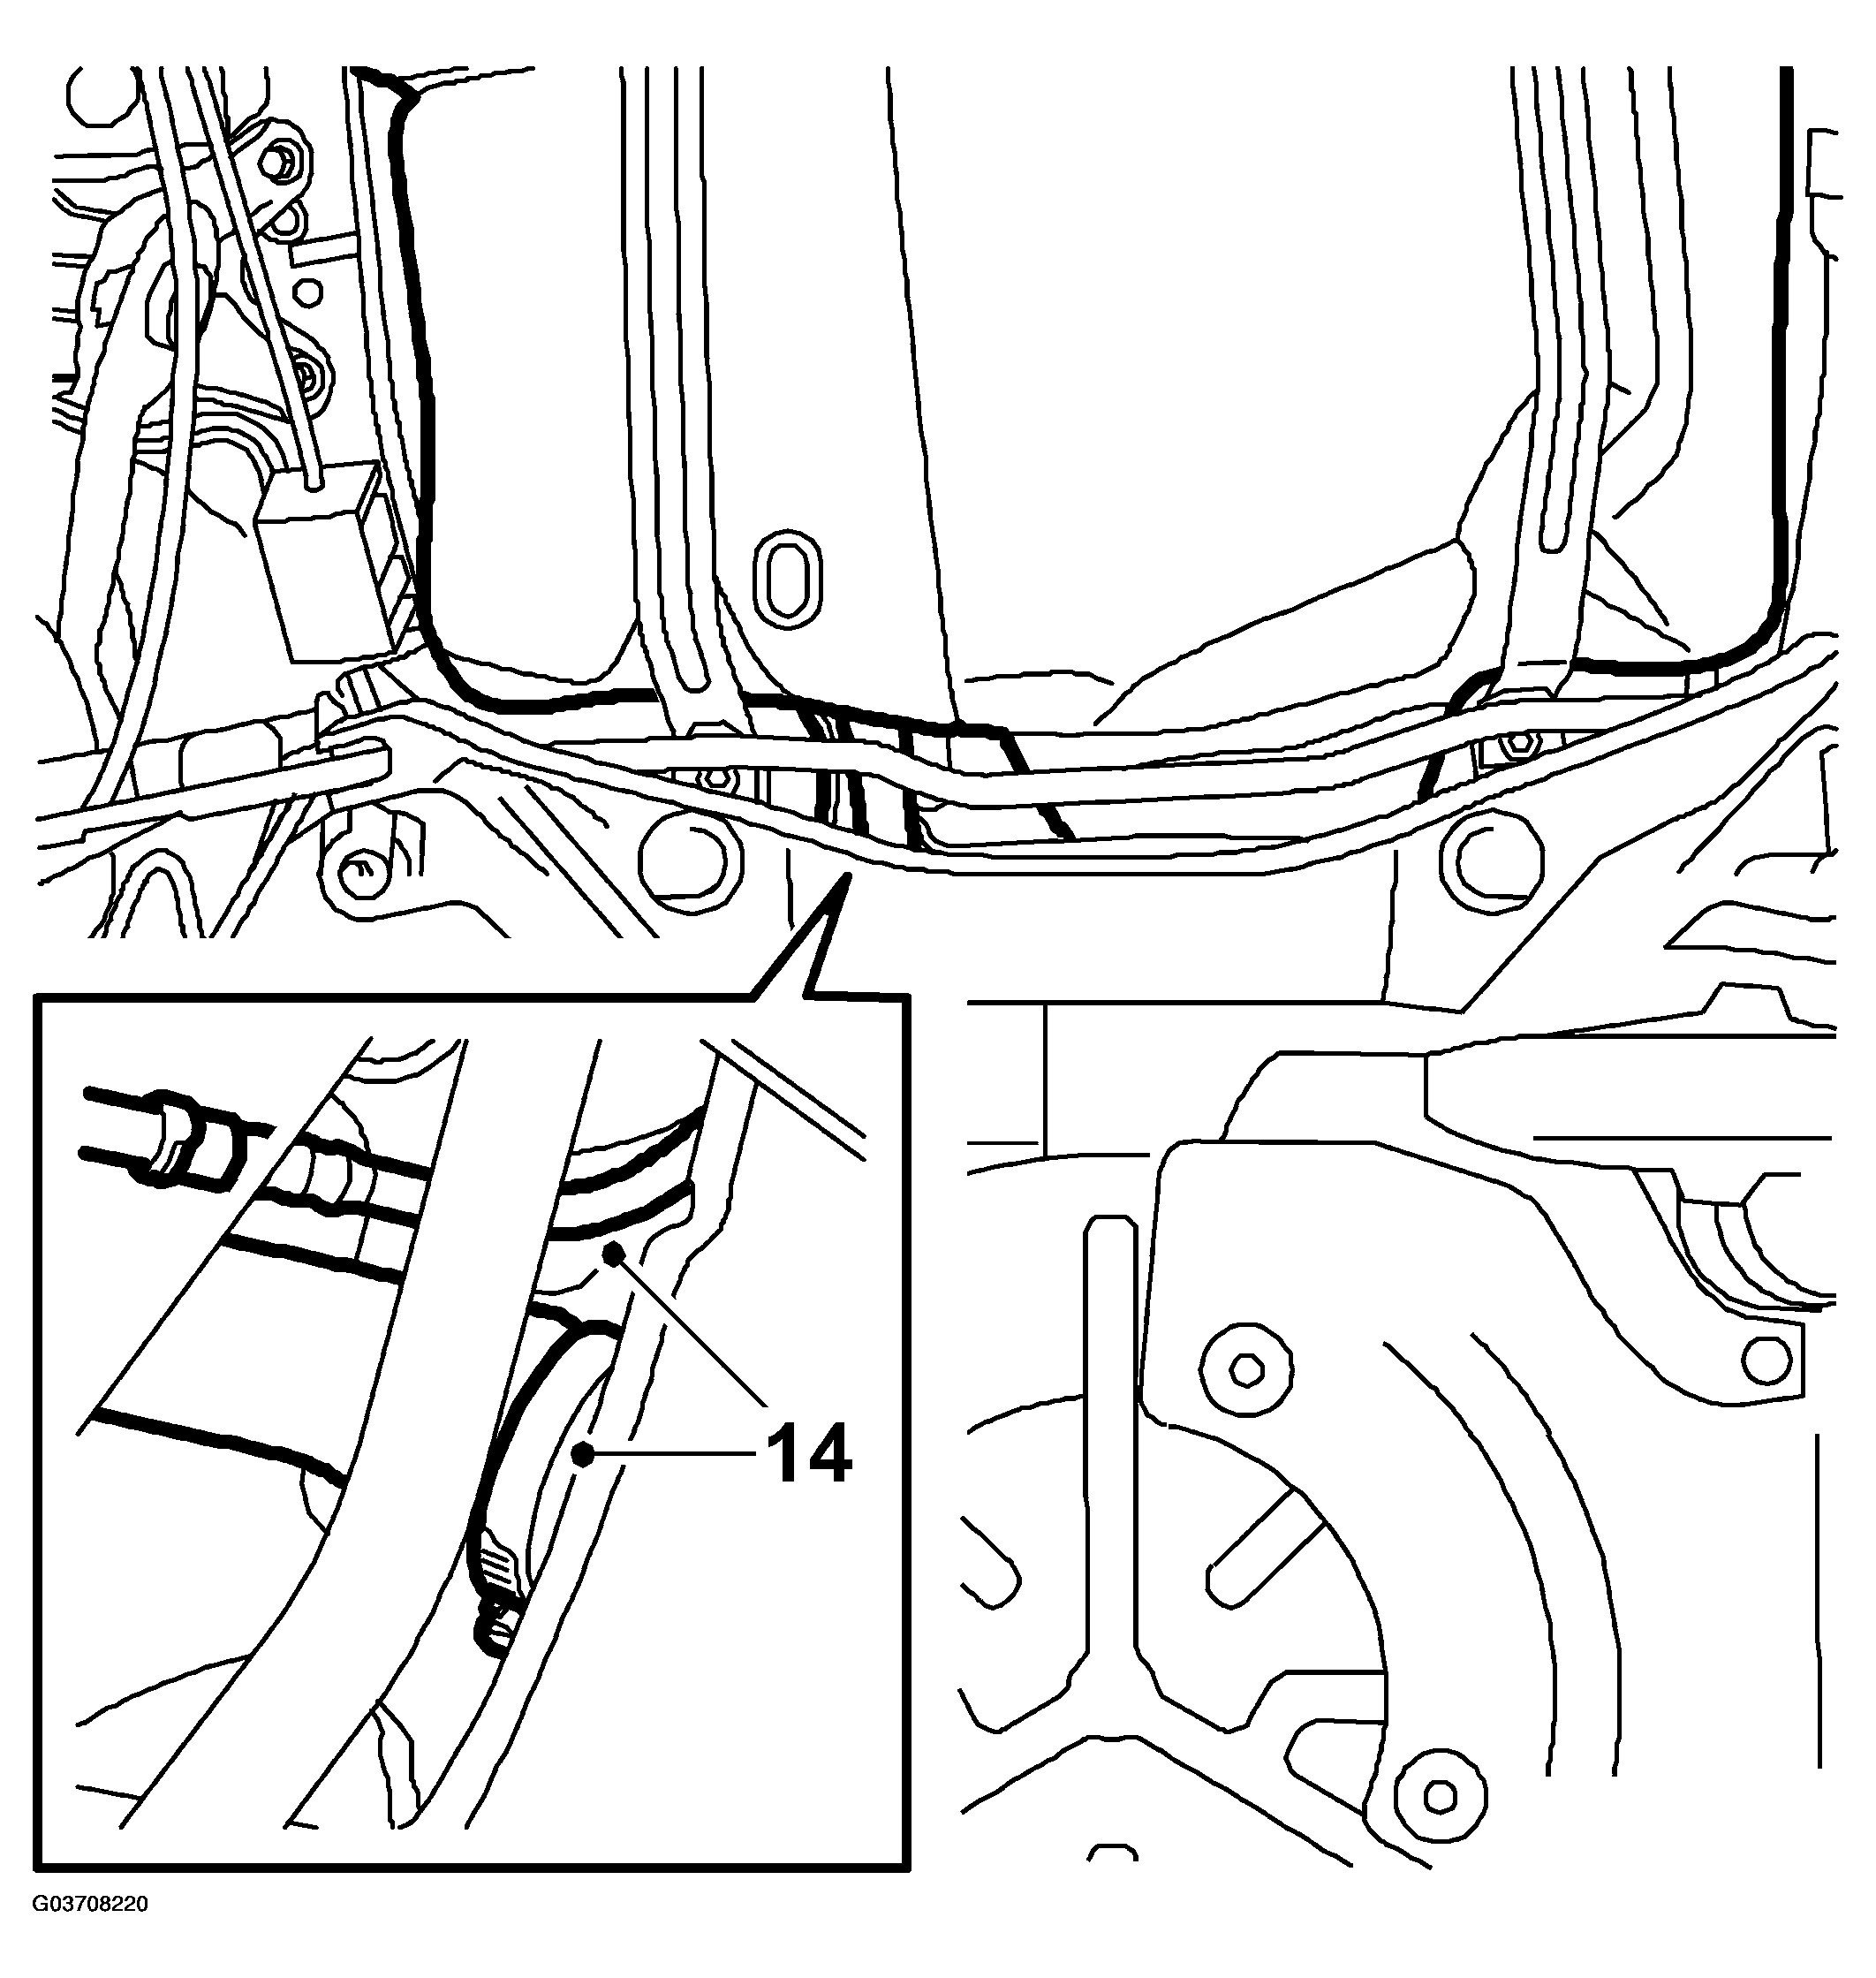
- Detach the hose between the filler pipe and tank, and separate the fast coupling on the vent.
 Courtesy of SAAB-SCANIA OF AMERICA, INC.
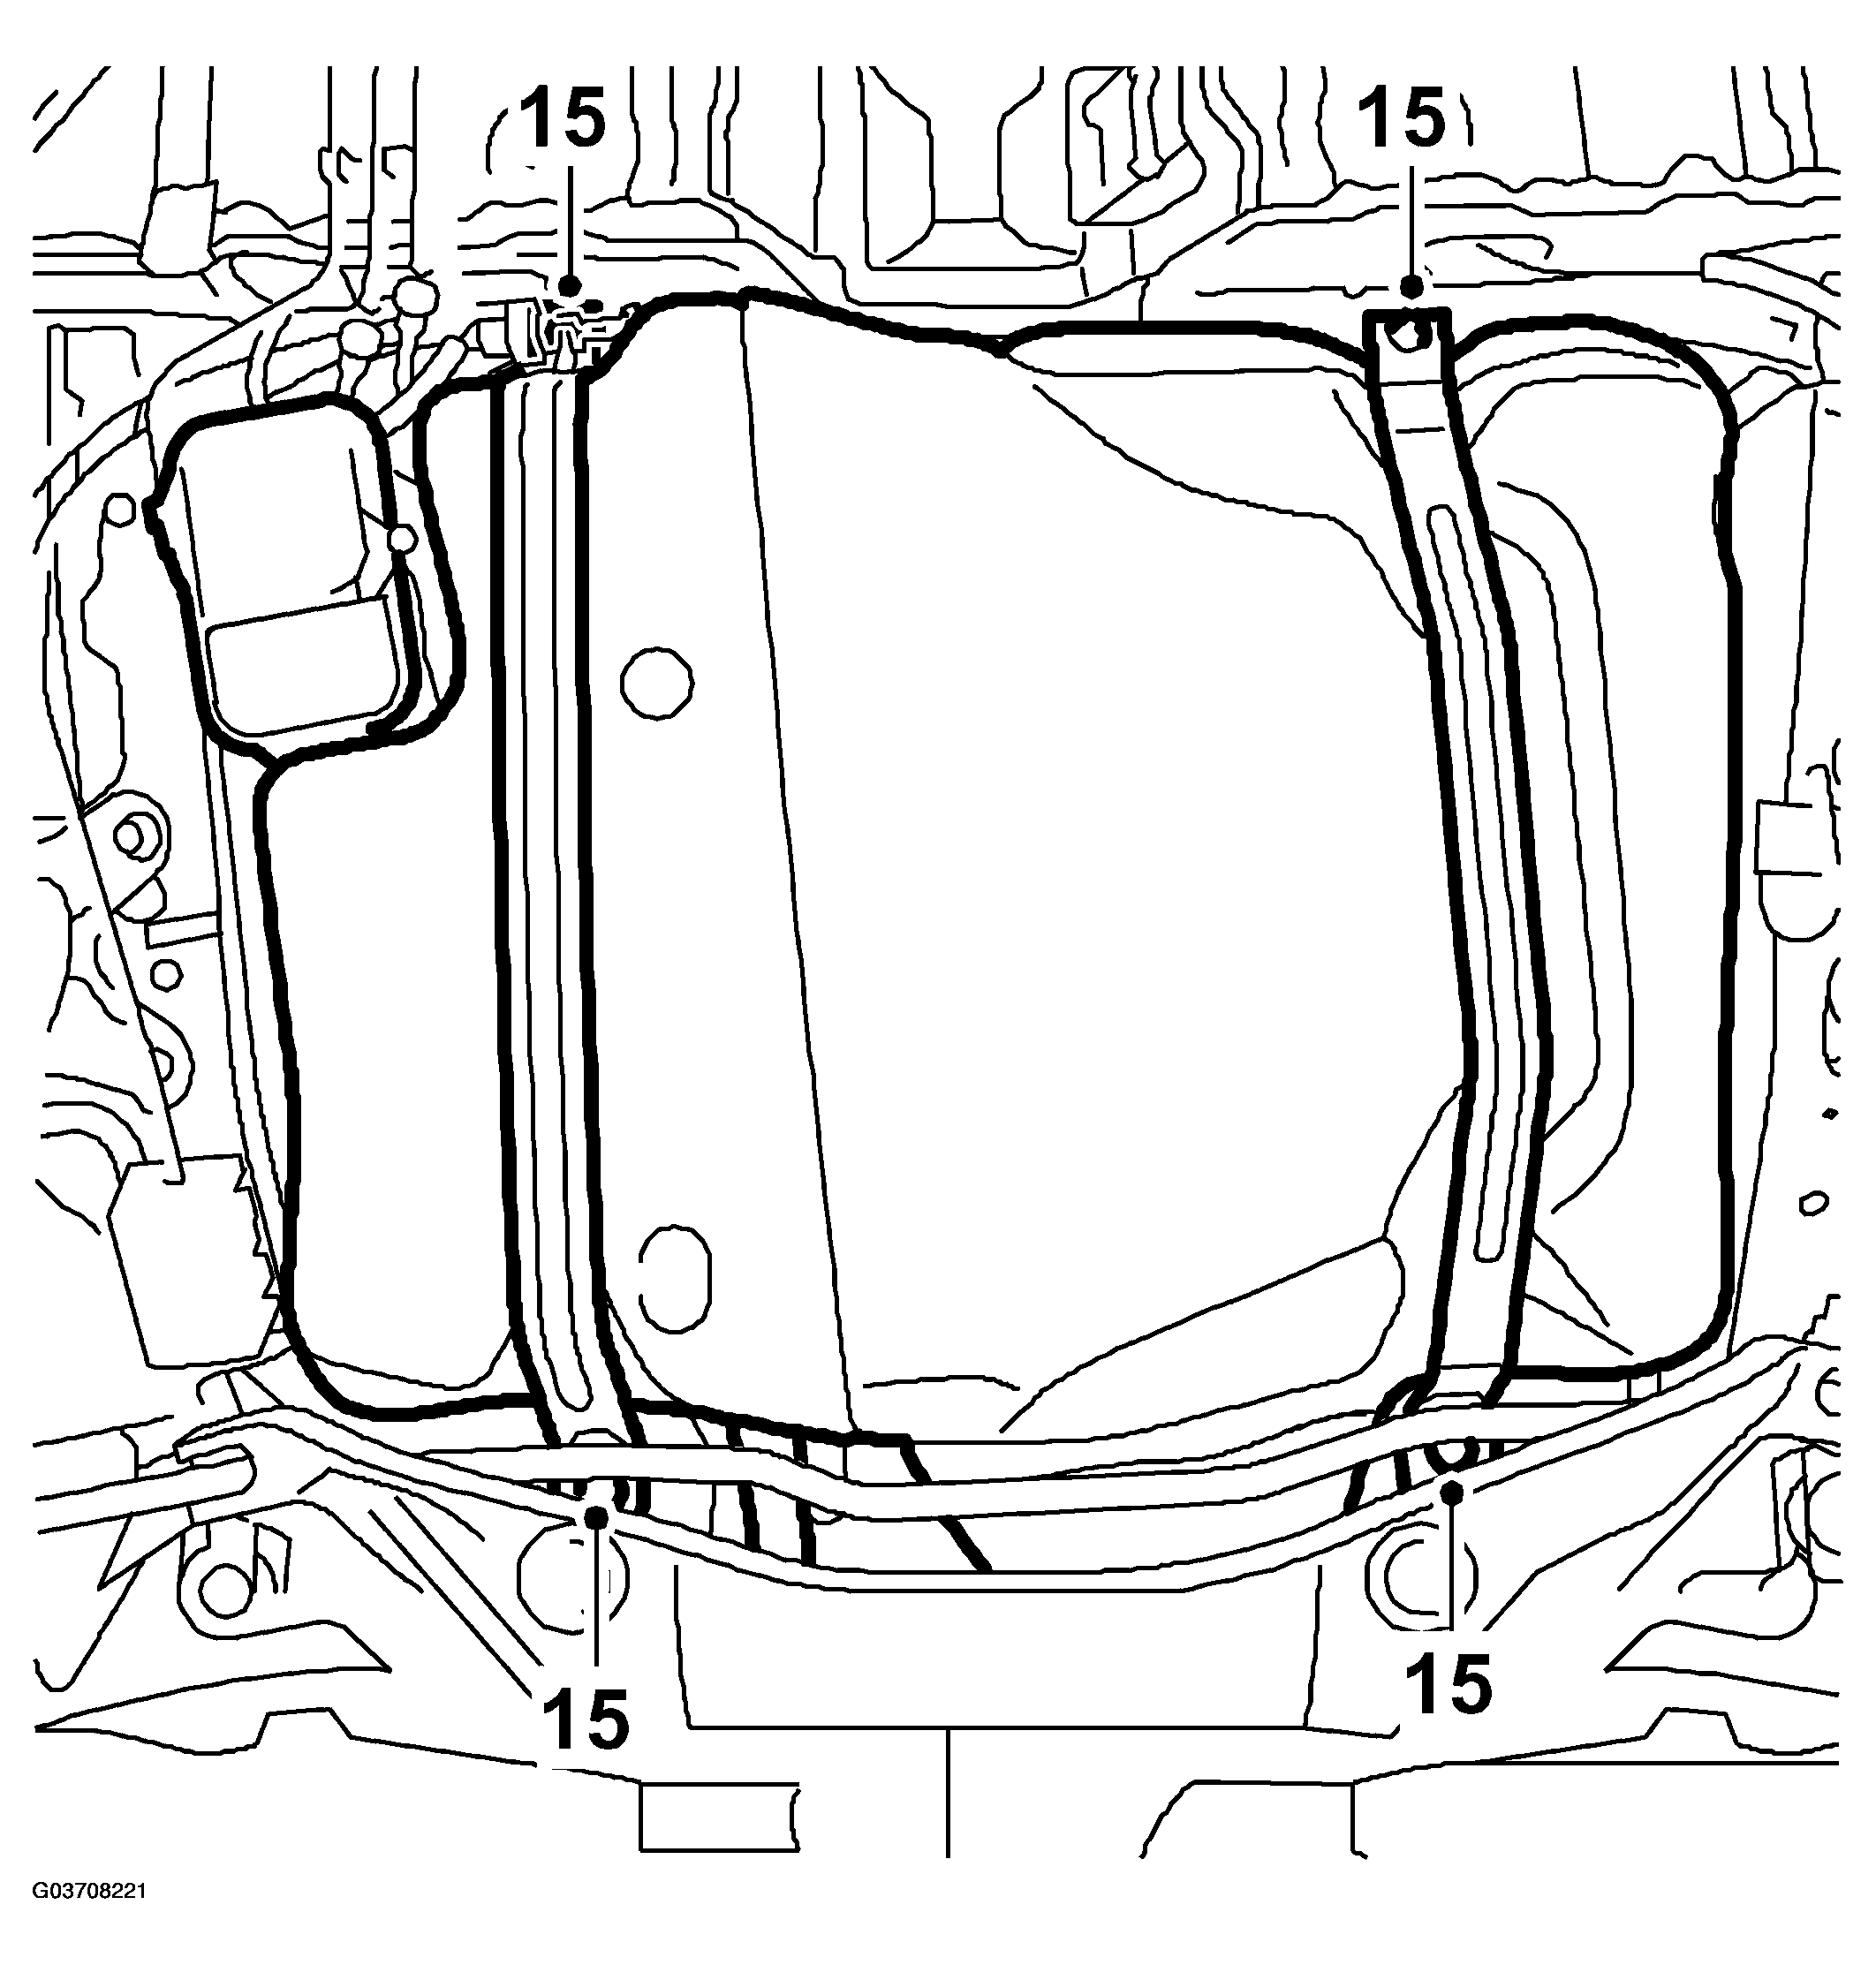
- Place a single-support lift under the tank, remove the tank straps and fuel tank. Be careful when removing the tank, ensure that no components or connections are damaged.
 Courtesy of SAAB-SCANIA OF AMERICA, INC.