Anti-Lock Brake Control Assembly (ABCA): Reassembly
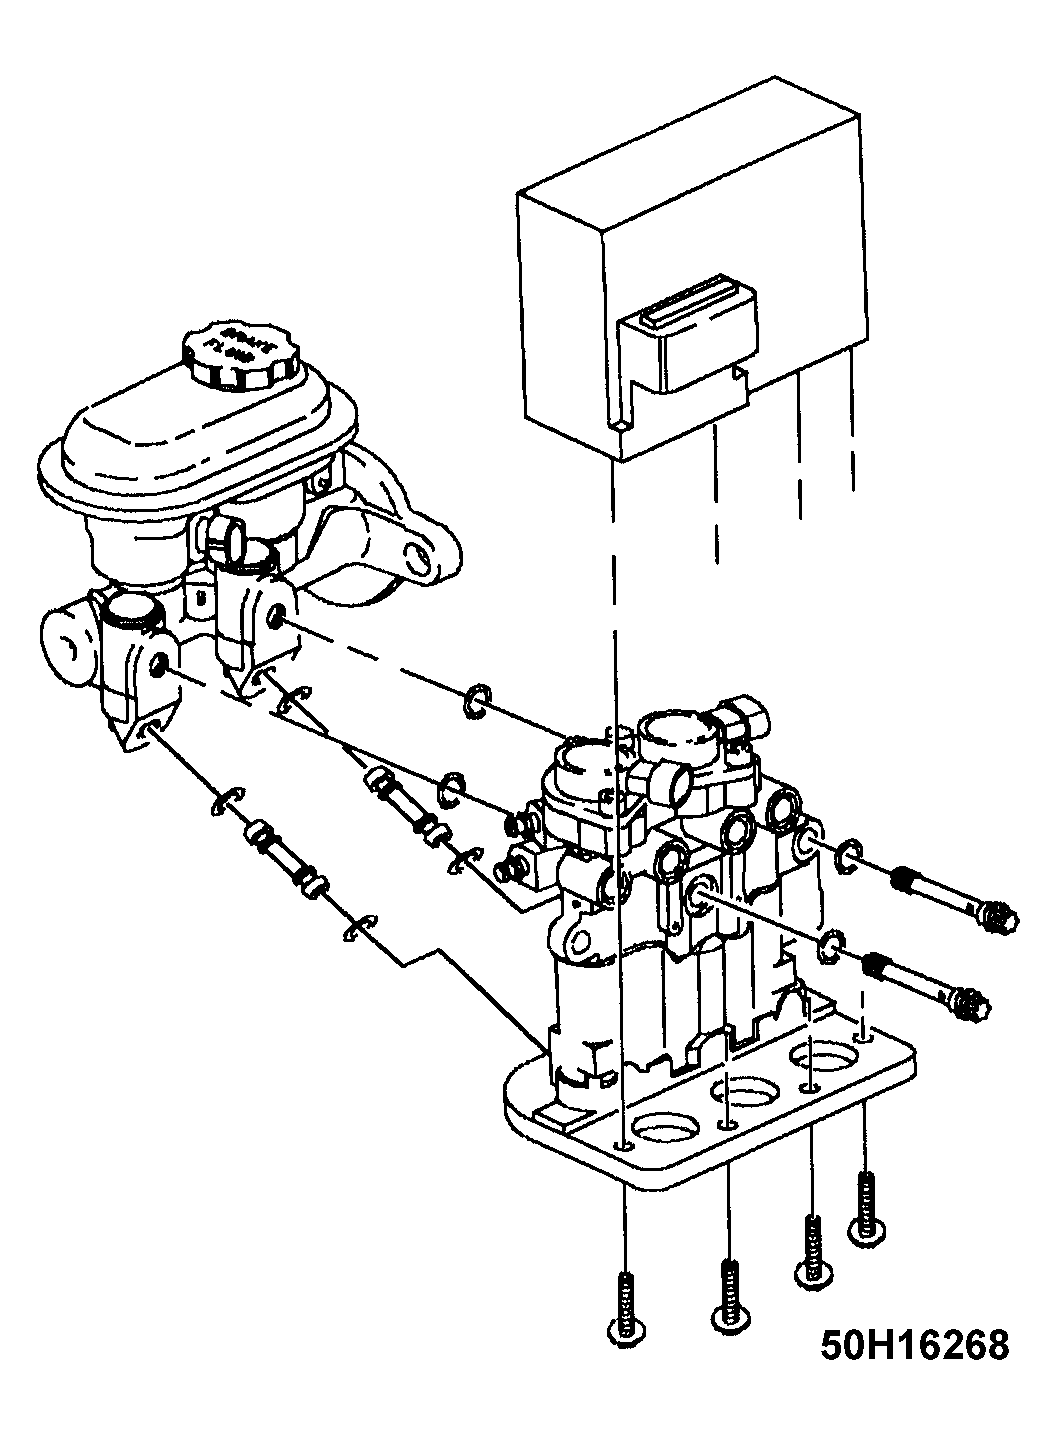
- Lubricate new transfer tube O-rings with clean brake fluid. Install transfer tubes (with O-rings) into modulator by pressing in tubes by hand, until bottomed in modulator. Make sure to use new O-rings and transfer tubes. Lubricate new through-bolt O-rings with clean brake fluid and install into master cylinder and modulator.
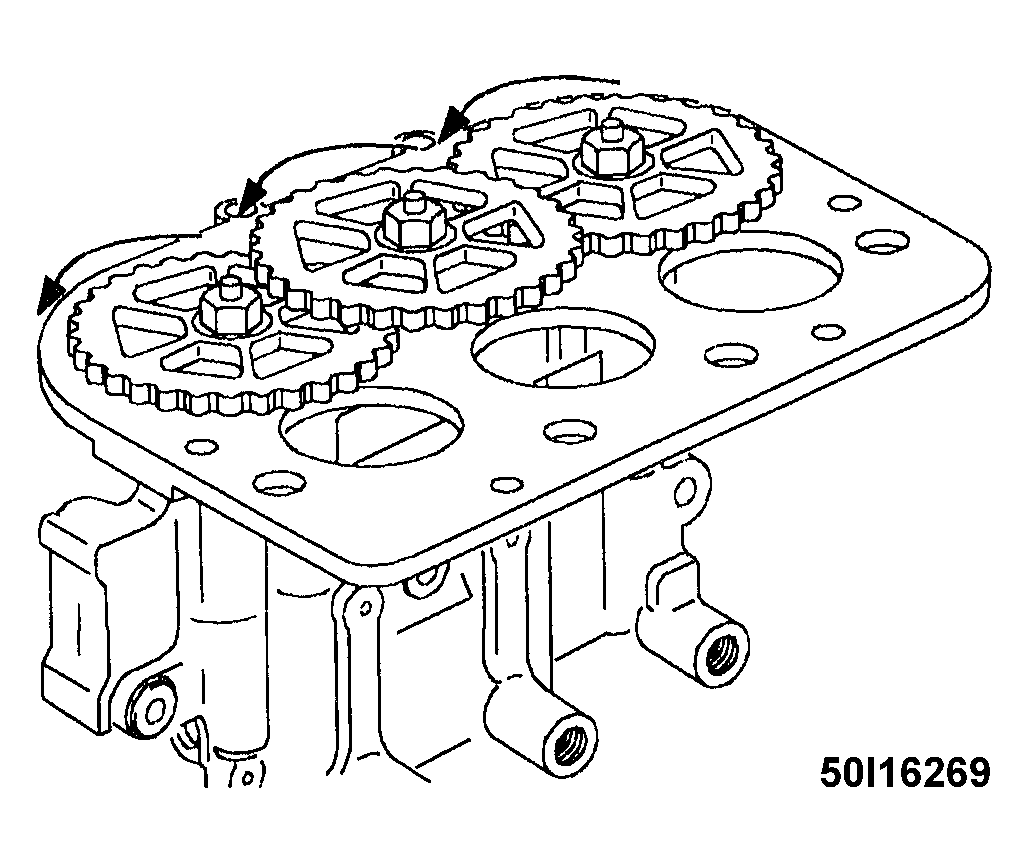
- Install master cylinder onto modulator. Install two modulator-to-master cylinder through-bolts and tighten to 146 inch lbs (16.5 Nm). Position modulator drive gears onto drive shafts and install three gear to drive shaft retaining nuts and tighten to 75 inch lbs. (8.5 N.m).
- With modulator upside down, and gears facing you, rotate each gear counterclockwise until movement stops. This procedure will position pistons very close to top of modulator bore, simplifying brake bleeding procedure.
 Courtesy of GENERAL MOTORS CORP.
- Position motor pack onto modulator aligning three motor pack gears with modulator gears and install four motor pack to modulator Torx head screws. Tighten to 40 inch lbs. (4.5 N.m). Install gear cover onto modulator assembly with six Torx head screws and tighten to 20 inch lbs. (2.25 N.m).
 Courtesy of GENERAL MOTORS CORP.