Subaru Select Monitor (SSM) Procedure
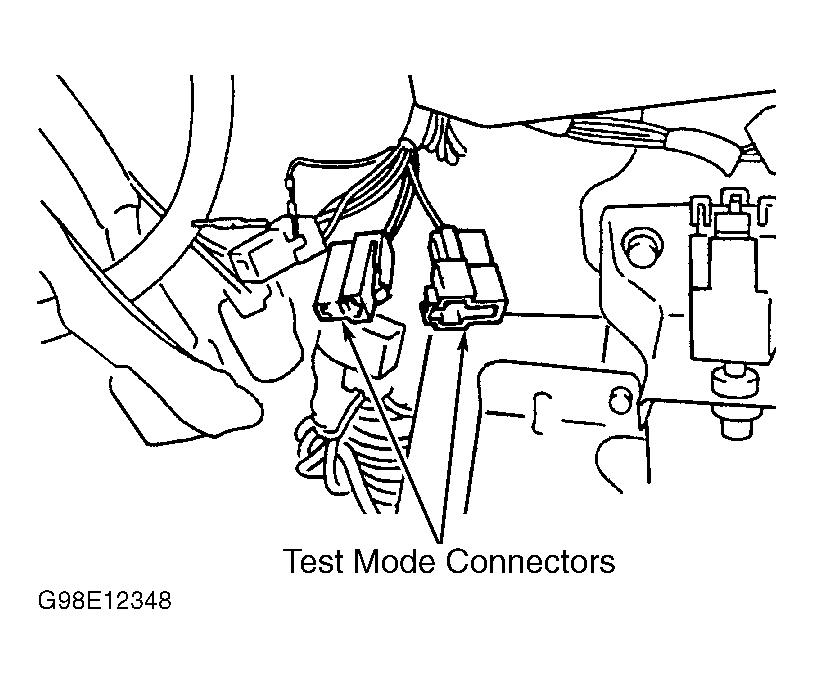
- Raise and suitably support vehicle, or place all wheels on rollers. Ensure vehicle is properly secured using the front and rear towing/tie-down hooks. Prepare Subaru Select Monitor by inserting appropriate diagnostic cartridge and connecting diagnostic cable. Turn ignition off. Connect test mode connector leads together under left side of instrument panel. See Fig 1 and Fig 2
.
- Connect SSM to data link connector (DLC) located under left side of dash. See Figure. Turn ignition switch and SSM on. On main menu display screen, select 2. EACH SYSTEM CHECK and press YES key. On system selection menu display screen, select ENGINE CONTROL SYSTEM and press YES key.
- After engine type information is displayed, press YES key. On engine diagnosis display screen, select DEALER CHECK MODE PROCEDURE and press YES key. When PERFORM INSPECTION (DEALER CHECK) MODE? is shown on display screen, press YES key. Follow all instructions on display screen.
- If problems are still present, DTCs will be displayed. Record codes as required. After codes have been displayed, release parking brake. This verification procedure may cause ABS warning light to illuminate due to speed variations between front and rear wheels. Clear ABS memory. See appropriate ANTI-LOCK article in BRAKES.
 Courtesy of SUBARU OF AMERICA, INC.
 Courtesy of SUBARU OF AMERICA, INC.