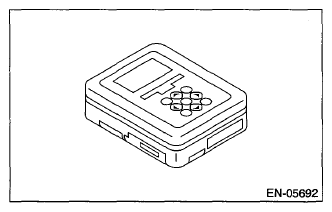
- Prepare the Subaru Select Monitor kit. < refer to
PREPARATION TOOL , General Description >
 Courtesy of SUBARU OF AMERICA, INC.
- Prepare PC with Subaru Select Monitor installed.
- Connect the USB cable to SDI (Subaru Diagnosis Interface) and USB port on the personal computer (dedicated port for the Subaru Select Monitor).
NOTE:
The dedicated port for the Subaru Select Monitor means the USB port which was used to install the Subaru Select Monitor.
- Connect the diagnosis cable to SDI.
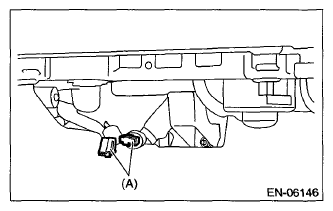
- Connect the delivery (test) mode connector (A) located under the glove box.
 Courtesy of SUBARU OF AMERICA, INC.
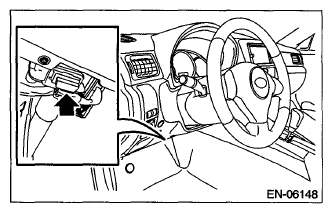
- Connect SDI to data link connector located in the lower portion of the instrument panel (on the driver's side).
CAUTION:
Do not connect the scan tools except for Subaru Select Monitor and general scan tool.
 Courtesy of SUBARU OF AMERICA, INC.
- Start the PC.
- Turn the ignition switch to ON (engine OFF) and run the "PC application for Subaru Select Monitor".
- On << Main Menu >> display, select {Each System Check}.
- On << System Selection Menu >> display, select {Engine Control System}.
- Click the [OK] button after the information of engine type has been displayed.
- On << Engine Diagnosis >> display, select {System Operation Check Mode}.
- On << System Operation Check Mode >> display, select {Actuator ON/OFF Operation}.
- Select the actuator to be forcibly driven on the << Actuator ON/OFF Operation >> display and click the [Next] button.
- Clicking the [Finished] button completes the compulsory drive mode of actuator. The display will then return to the << Actuator ON/OFF Operation >> screen.
NOTE:
For detailed operation procedures, refer to application help for Subaru Select Monitor.