MT Gear Shift Lever: Disassembly
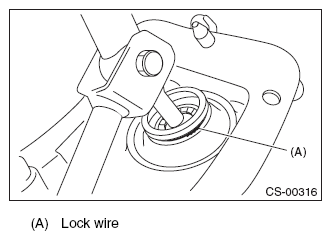
- Remove the lock wires.
 Courtesy of SUBARU OF AMERICA, INC.
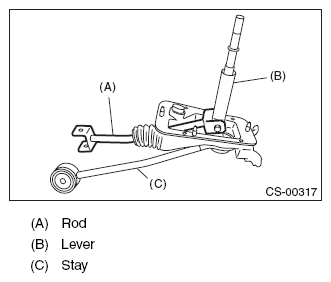
- Remove the rod from lever.
 Courtesy of SUBARU OF AMERICA, INC.
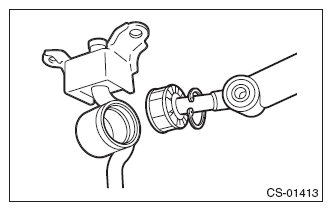
- Separate the rod and inner boot.
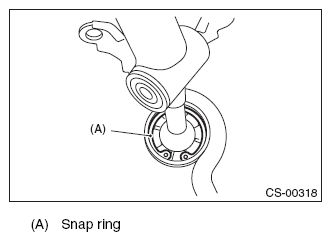
- Remove the snap ring from the stay.
 Courtesy of SUBARU OF AMERICA, INC.
- Separate the gear shift lever and the stay.
 Courtesy of SUBARU OF AMERICA, INC.
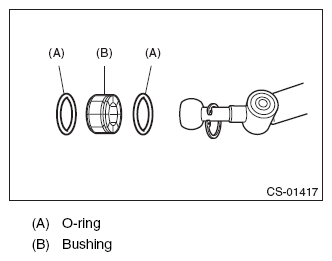
- Remove the O-ring and bushing from the gear shift lever.
 Courtesy of SUBARU OF AMERICA, INC.
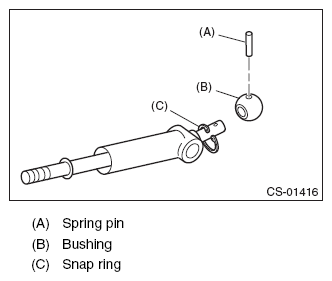
- Remove the spring pin, and then remove the bushing and snap ring.
 Courtesy of SUBARU OF AMERICA, INC.
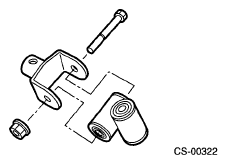
- Remove the boss from the joint.
 Courtesy of SUBARU OF AMERICA, INC.
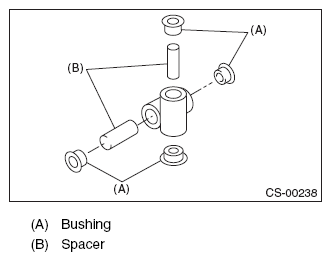
- Remove the bushing and spacer from the boss.
 Courtesy of SUBARU OF AMERICA, INC.
- Remove the bushing and cushion rubber from the stay.
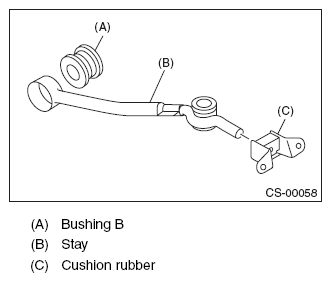 Courtesy of SUBARU OF AMERICA, INC.