Select Lever: Removal
- Shift the select lever to "N" range.
- Disconnect the ground cable from battery.
- Lift up the vehicle.
- Remove the center exhaust pipe. (Non-turbo model) < Ref. to
REMOVAL
, Center Exhaust Pipe. >
- Remove the center exhaust pipe (rear). (Turbo model) < Ref. to
REMOVAL
, Center Exhaust Pipe. >
- Remove the center exhaust cover.
 Courtesy of SUBARU OF AMERICA, INC.
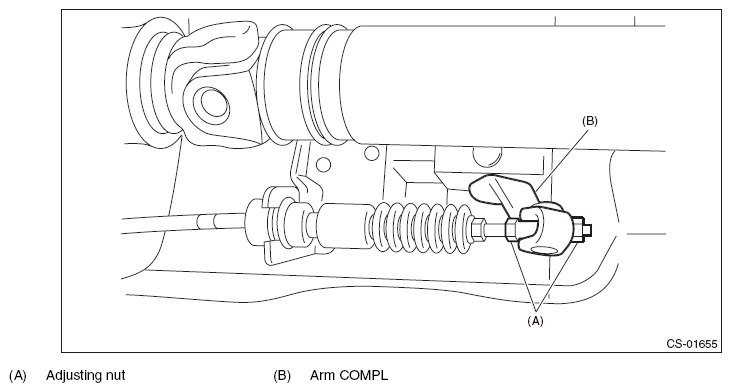
- Disconnect the cable from the arm COMPL.
 Courtesy of SUBARU OF AMERICA, INC.
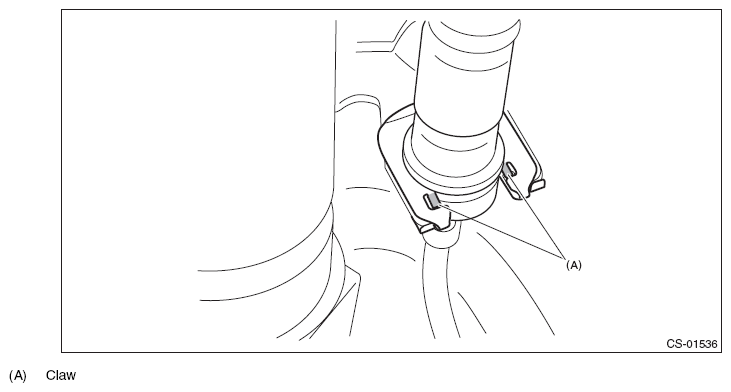
- Raise the claw of clamp and remove the cable.
 Courtesy of SUBARU OF AMERICA, INC.
- Lower the vehicle.
- Shift the select lever to "N" range.
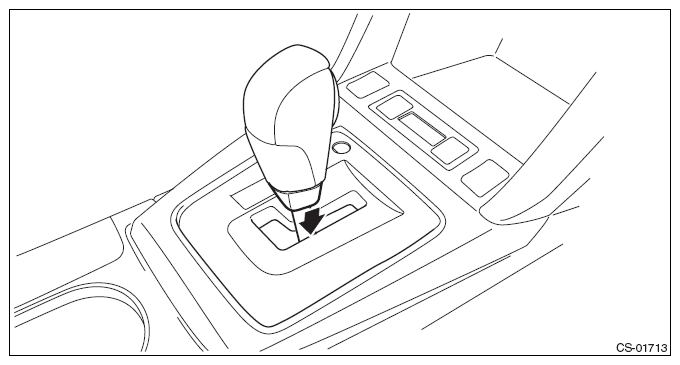
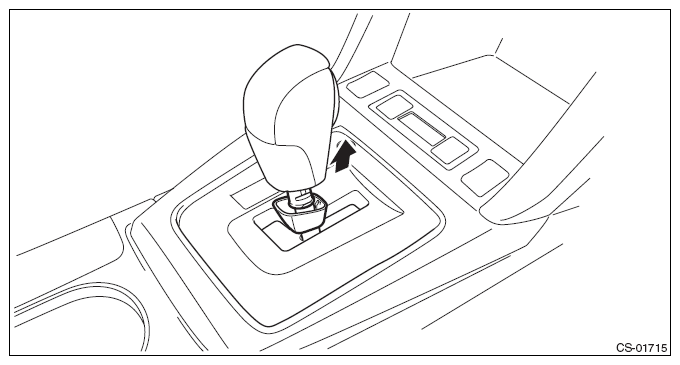
- Lower the cover grip AT vertically toward the lever.
 Courtesy of SUBARU OF AMERICA, INC.
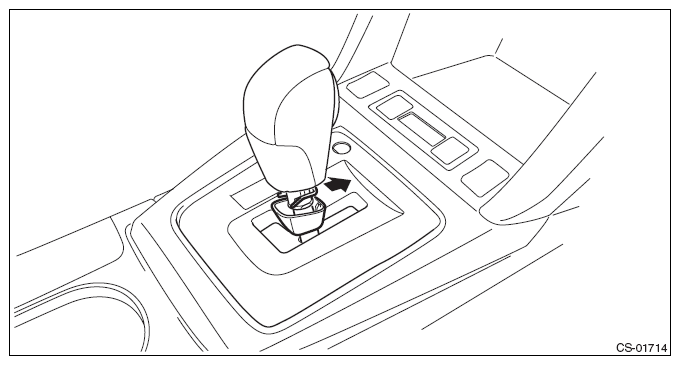
- Remove the clamp grip pin.
 Courtesy of SUBARU OF AMERICA, INC.
- Remove the grip assembly.
 Courtesy of SUBARU OF AMERICA, INC.
- Remove the ornament panel - consoles LH and RH. < Ref. to
REMOVAL
, Console Box. >
- Remove the cover - shift lever. < Ref. to
REMOVAL
, Console Box. >
- Remove the console box assembly. < Ref. to
REMOVAL
, Console Box. >
- Disconnect the connector, and remove the indicator cover from the housing.
 Courtesy of SUBARU OF AMERICA, INC.
- Remove the panel center LWR LH and RH. < Ref. to
REMOVAL
, Console Box. >
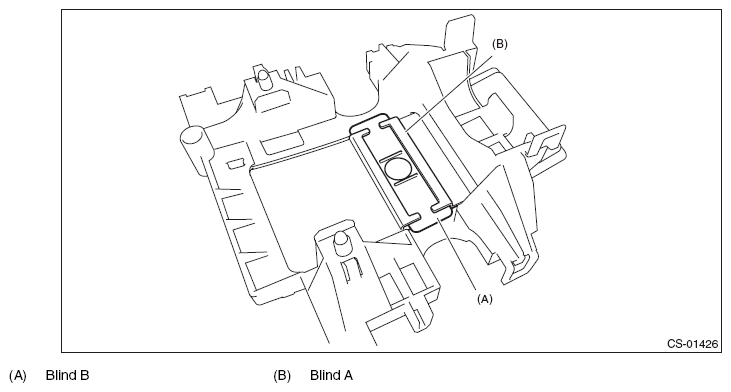
- Remove the housing with the blind A and blind B.
 Courtesy of SUBARU OF AMERICA, INC.
- Remove the blind B.
 Courtesy of SUBARU OF AMERICA, INC.
- Remove the blind A from the housing.
 Courtesy of SUBARU OF AMERICA, INC.
- Remove the harness clip from the select lever assembly.
 Courtesy of SUBARU OF AMERICA, INC.
- Disconnect the harness connector.
 Courtesy of SUBARU OF AMERICA, INC.
- Remove the four bolts to remove the select lever assembly.
 Courtesy of SUBARU OF AMERICA, INC.