- Disconnect the ground cable from battery. <Ref. to
BATTERY
, NOTE, Note.>
NOTE:
For model with battery sensor, disconnect the ground terminal from battery sensor.
- Remove the gear shift knob by turning it counterclockwise.
- Remove the console box assembly. <Ref. to
REMOVAL
, Console Box.>
- Remove the cover - shift lever. <Ref. to
REMOVAL
, Console Box.>
- Remove the panel center LWR LH and RH. <Ref. to
REMOVAL
, Console Box.>
- Remove the clamp.
 Courtesy of SUBARU OF AMERICA, INC.
- Remove the boot and insulator assembly.
 Courtesy of SUBARU OF AMERICA, INC.
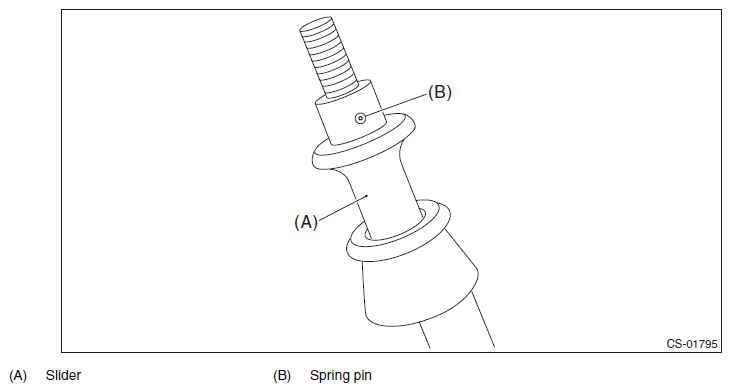
- Remove the spring pin from the slider.
 Courtesy of SUBARU OF AMERICA, INC.
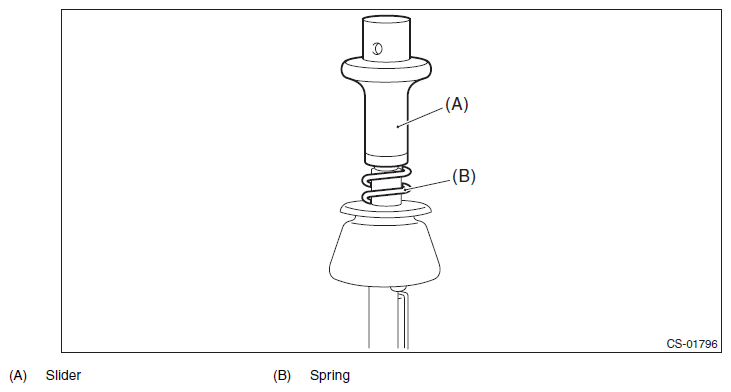
- Remove the slider and spring.
 Courtesy of SUBARU OF AMERICA, INC.
- Cut the band clip, and separate the reverse check cable from the gear shift lever.
 Courtesy of SUBARU OF AMERICA, INC.
- Lift up the vehicle.
- Remove the center exhaust pipe (rear). <Ref. to
REMOVAL
, Center Exhaust Pipe.>
- Remove the center exhaust cover.
 Courtesy of SUBARU OF AMERICA, INC.
- Remove the crossmember. <Ref. to
REMOVAL
, Transmission Mounting System.>
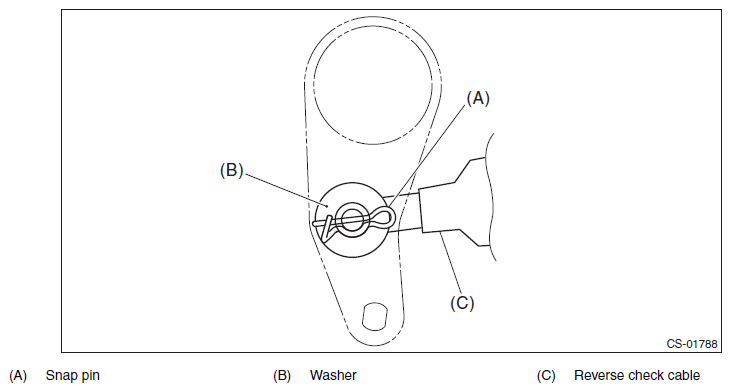
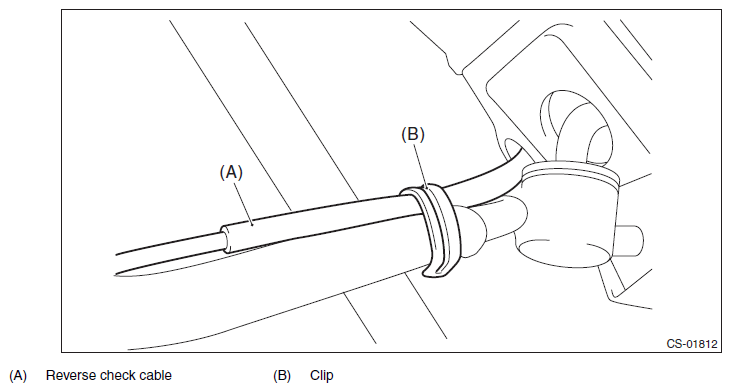
- Remove the snap pin and washer, and separate the reverse check cable.
 Courtesy of SUBARU OF AMERICA, INC.
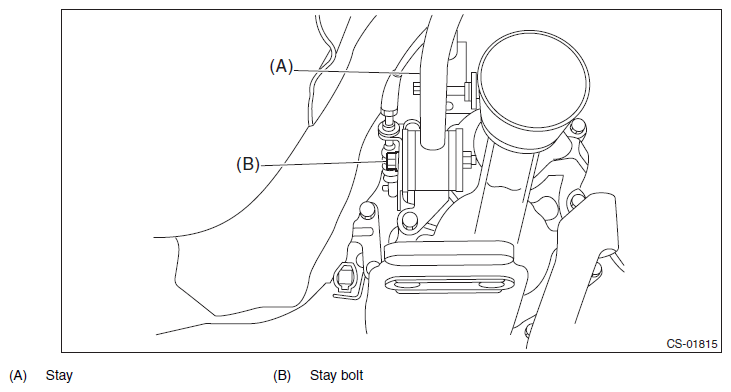
- Move the transmission to the right side, and remove the stay bolts and the reverse check cable.
NOTE:
If the transmission is not moved aside, the stay bolts may contact the body and cause damage.
 Courtesy of SUBARU OF AMERICA, INC.
- Lift up the stay clip, and separate the stay from the reverse check cable.
 Courtesy of SUBARU OF AMERICA, INC.
- Pull out the reverse check cable from underside of the vehicle to remove it.
NOTE:
Be careful not to damage the inner boot.
- Loosen the lock nut, and remove the reverse check cable from the cable plate.