Armature Coil Test
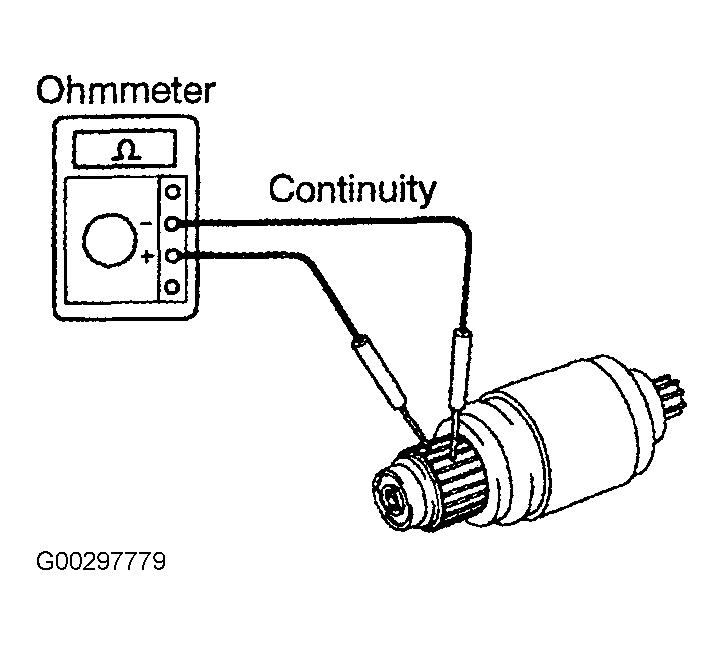
- Using an ohmmeter check that there is continuity between the segments of the commutator. See Fig 1. If any of the segments do not have continuity between them, replace the armature.
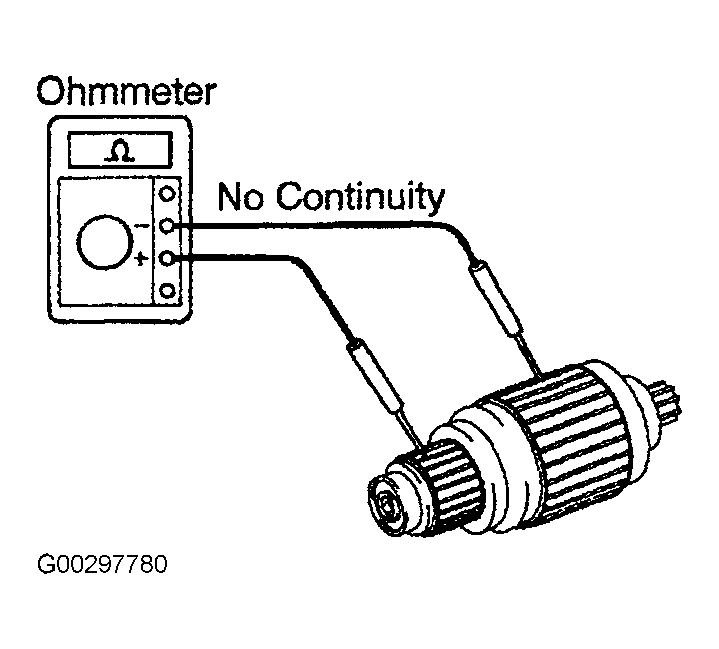
- Check the commutator for ground. Using an ohmmeter, check that there is no continuity between the commutator and armature coil core. See Fig 2. If there is continuity, replace the armature.
- If commutator surface is dirty or burnt, it can be polished with No. 400 grit sandpaper or replace the part.
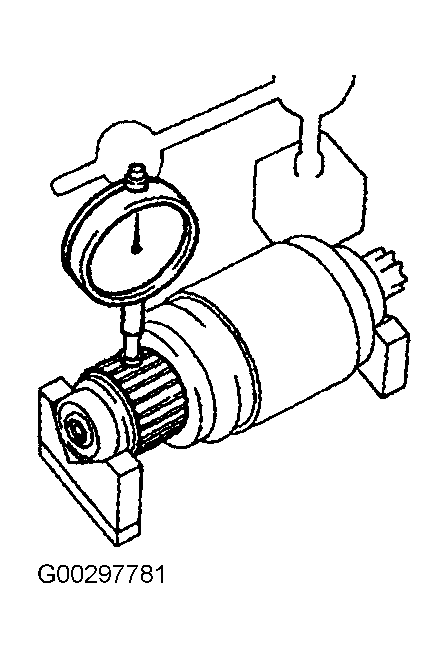
- Check for the commutator circle runout. See Fig 3:
- Place the commutator on V-blocks.
- Using a dial indicator, measure the circle runout to ensure it is within specification. See STARTER SPECIFICATIONS . If the circle runout is greater than maximum, replace the armature.
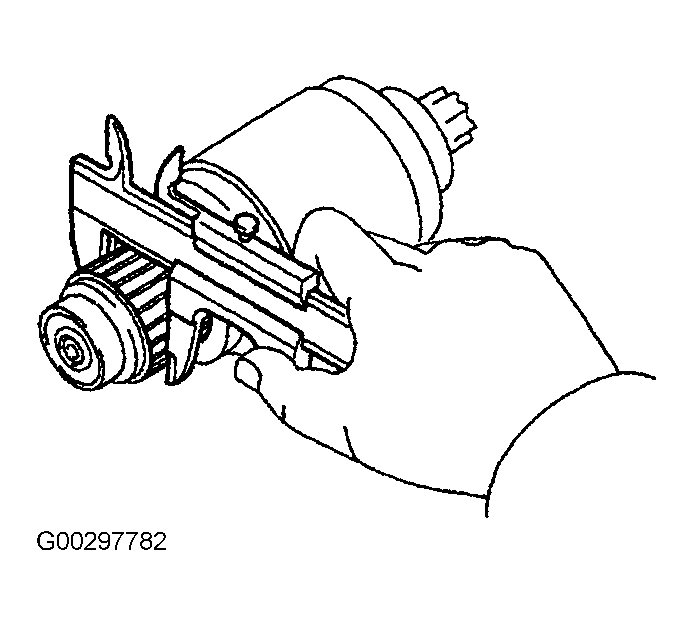
- Measure Commutator diameter. See Fig 4. If commutator diameter is less than minimum specification, see STARTER SPECIFICATIONS , replace armature.
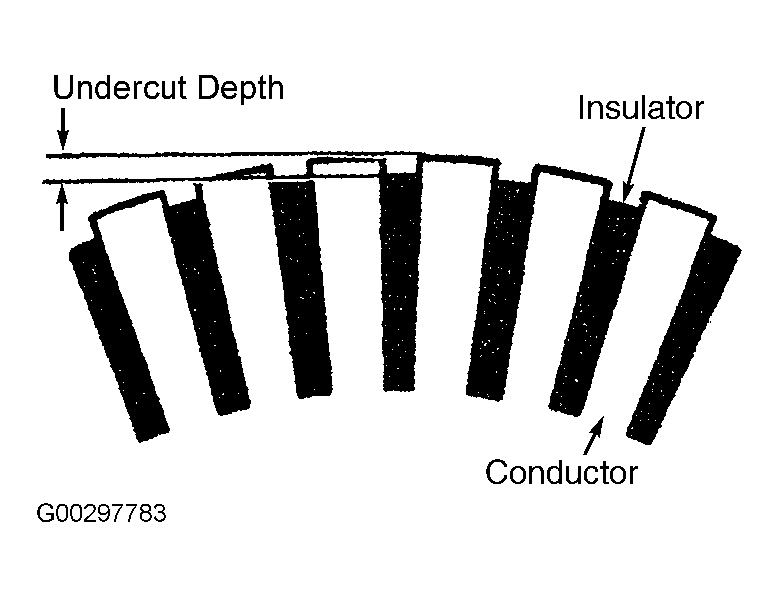
- Ensure undercut depth between commutator segments are clean, free of debris, and that edges are smooth, and within specification, see Fig 5. If undercut depth is less than minimum, use a hacksaw blade to correct it. See STARTER SPECIFICATIONS .
 Courtesy of © TOYOTA, LICENSE AGREEMENT TMS1002
 Courtesy of © TOYOTA, LICENSE AGREEMENT TMS1002
 Courtesy of © TOYOTA, LICENSE AGREEMENT TMS1002
 Courtesy of © TOYOTA, LICENSE AGREEMENT TMS1002
 Courtesy of © TOYOTA, LICENSE AGREEMENT TMS1002