Camshaft Oil Control Valve: Removal
- REMOVE V-BANK COVER SUB-ASSEMBLY
(See REMOVAL
)
- REMOVE AIR CLEANER HOSE ASSEMBLY
(See REMOVAL
)
- REMOVE CAMSHAFT TIMING OIL CONTROL VALVE ASSEMBLY (Exhaust Side of Bank 1)
- Disconnect the oil control valve connector.
- Remove the bolt and oil control valve.
- Remove the O-ring from the oil control valve.
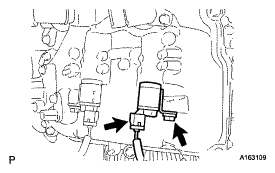 Courtesy of © TOYOTA, LICENSE AGREEMENT TMS1002
- REMOVE CAMSHAFT TIMING OIL CONTROL VALVE ASSEMBLY (Intake Side of Bank 1)
- Disconnect the oil control valve connector.
- Remove the bolt and oil control valve.
- Remove the O-ring from the oil control valve.
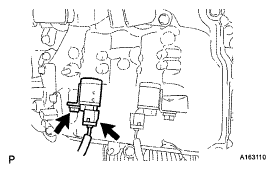 Courtesy of © TOYOTA, LICENSE AGREEMENT TMS1002
- REMOVE CAMSHAFT TIMING OIL CONTROL VALVE ASSEMBLY (Intake Side of Bank 2)
- Disconnect the oil control valve connector.
- Remove the bolt and oil control valve.
- Remove the O-ring from the oil control valve.
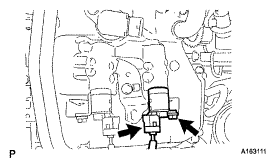 Courtesy of © TOYOTA, LICENSE AGREEMENT TMS1002
- REMOVE CAMSHAFT TIMING OIL CONTROL VALVE ASSEMBLY (Exhaust Side of Bank 2)
- Disconnect the oil control valve connector.
- Remove the bolt and oil control valve.
- Remove the O-ring from the oil control valve.
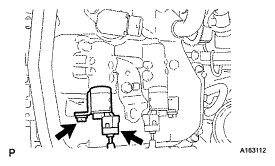 Courtesy of © TOYOTA, LICENSE AGREEMENT TMS1002