65. Intake Manifold Installation
Intake Manifold Installation
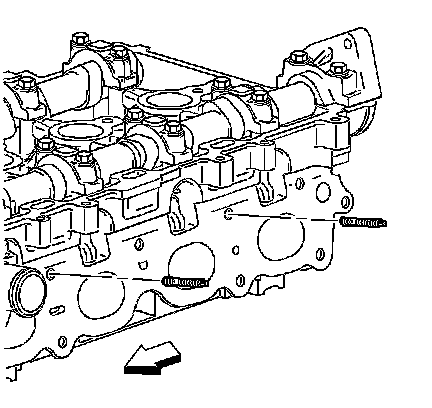
1. Notice: Refer to Fastener Notice in Service Precautions.
Install the intake manifold studs in the manifold face.
Tighten the intake manifold studs to 6 Nm (60 inch lbs.).
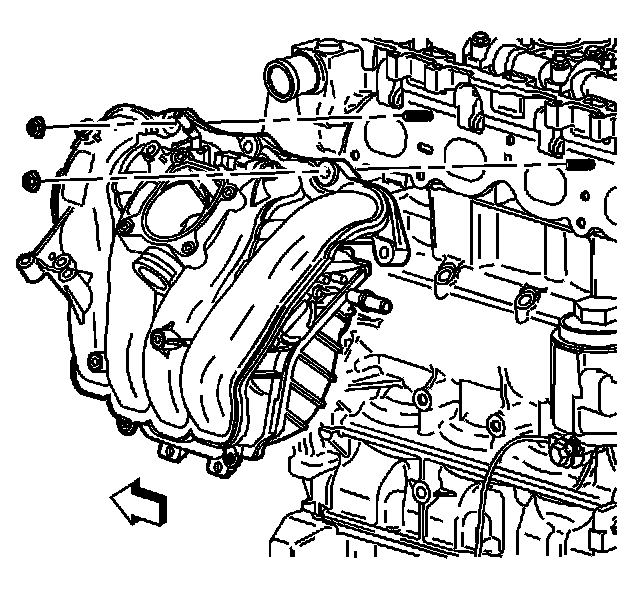
2. Important: Gaskets must be clean. Swollen gaskets should be replaced.
Install a NEW intake manifold gasket on the intake manifold, if necessary.
3. Install the intake manifold.
4. Install the intake manifold bolts and nuts. Follow the tightening sequence.
Tighten the bolts and nuts to 10 Nm (89 inch lbs.).
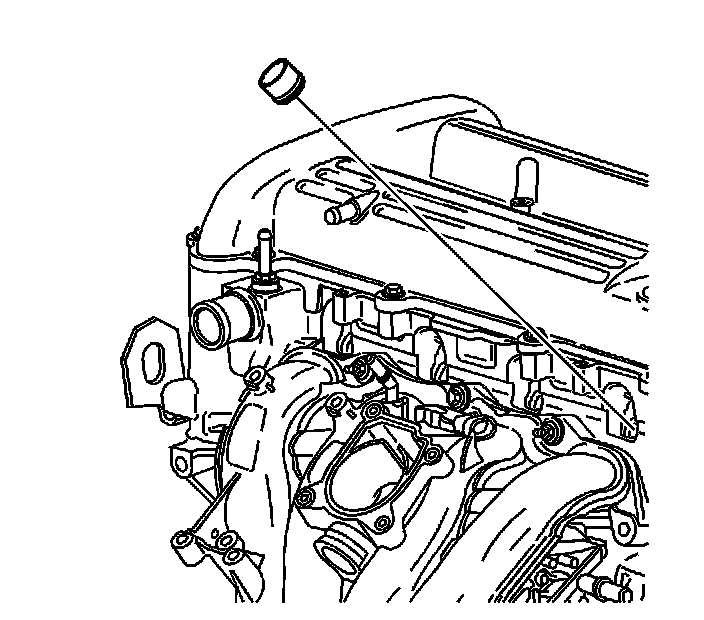
5. Lubricate NEW fuel injector tip insulators with engine oil.
6. Install the NEW fuel injector tip insulators.
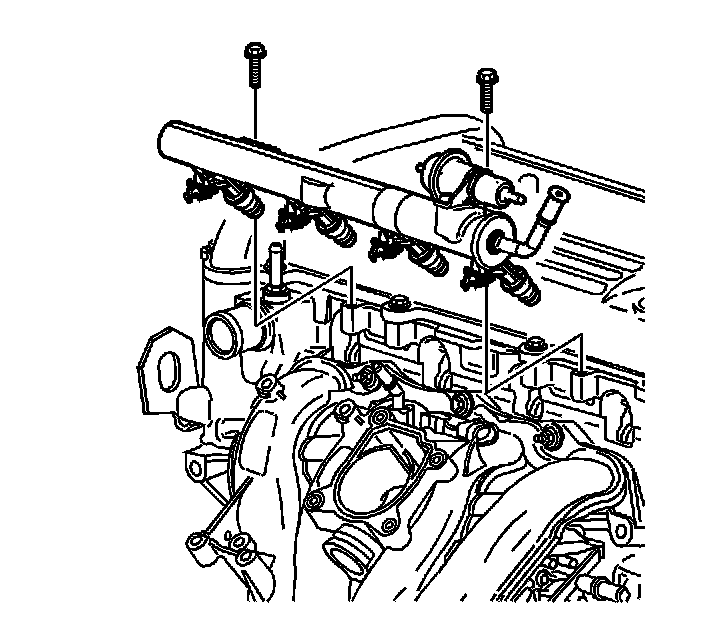
7. Install the fuel rail assembly.
8. Install the fuel rail bolts.
Tighten the bolts to 10 Nm (89 inch lbs.).
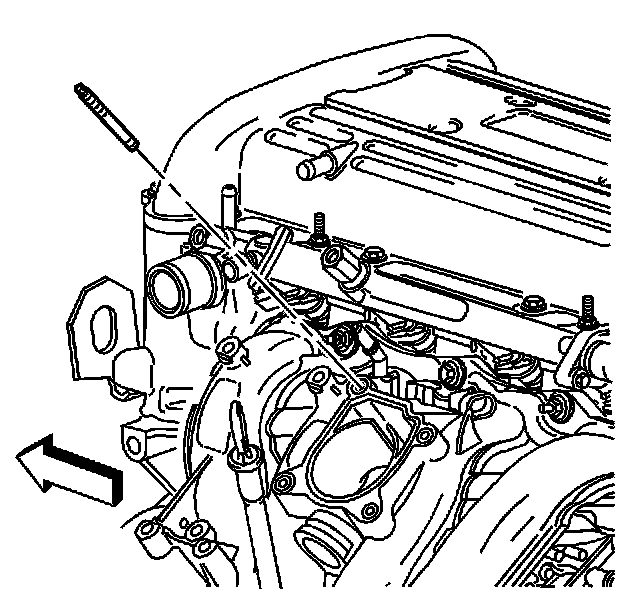
9. Install a NEW throttle body stud, if necessary.
Tighten the bolts and nuts to 6 Nm (60 inch lbs.).
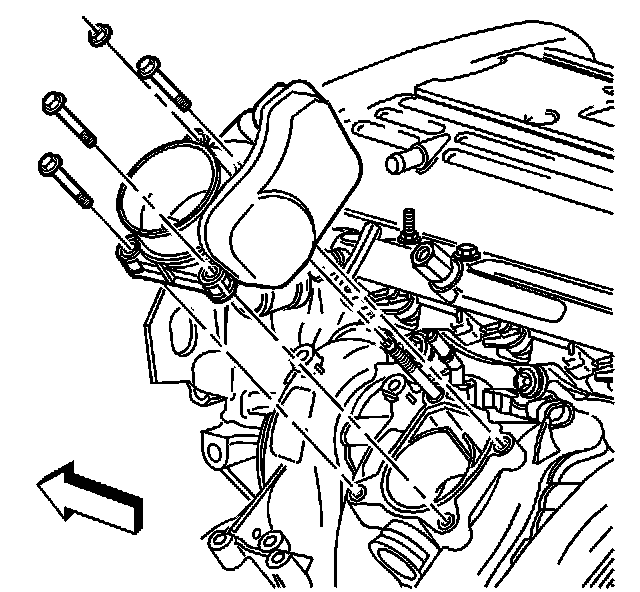
10. Install the throttle body, bolts and nut.
Tighten the bolt and nuts to 10 Nm (89 inch lbs.).
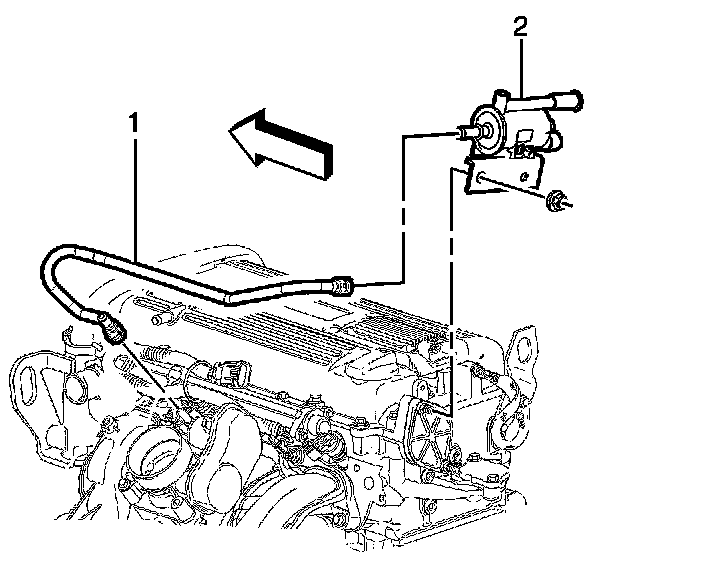
11. Important: Ensure that the rear metal tab of the EVAP emission canister valve is resting on the power steering pump metal body.
Install the EVAP emission canister valve (2).
Tighten the EVAP emission canister valve nut to 18 Nm (13 ft. lbs.).
12. Install the EVAP emission canister valve tube (1).