- Open the liftgate.
NOTE:
Before cutting out a stationary window, apply a double layer of masking tape around the perimeter of the painted surfaces and the interior trim.
- Remove the liftgate lower trim finish panel. Refer to Liftgate Lower Trim Finish Panel Replacement
and Liftgate Lower Trim Finish Panel Replacement
.
- Disconnect the electrical connectors from the liftgate window defogger bus bar.
- Remove the rear end spoiler. Refer to Rear End Spoiler Replacement
.
- Cover the following parts to protect from broken glass:
- Upper dash pad
- Defroster outlets and A/C outlets
- Seats and carpeting
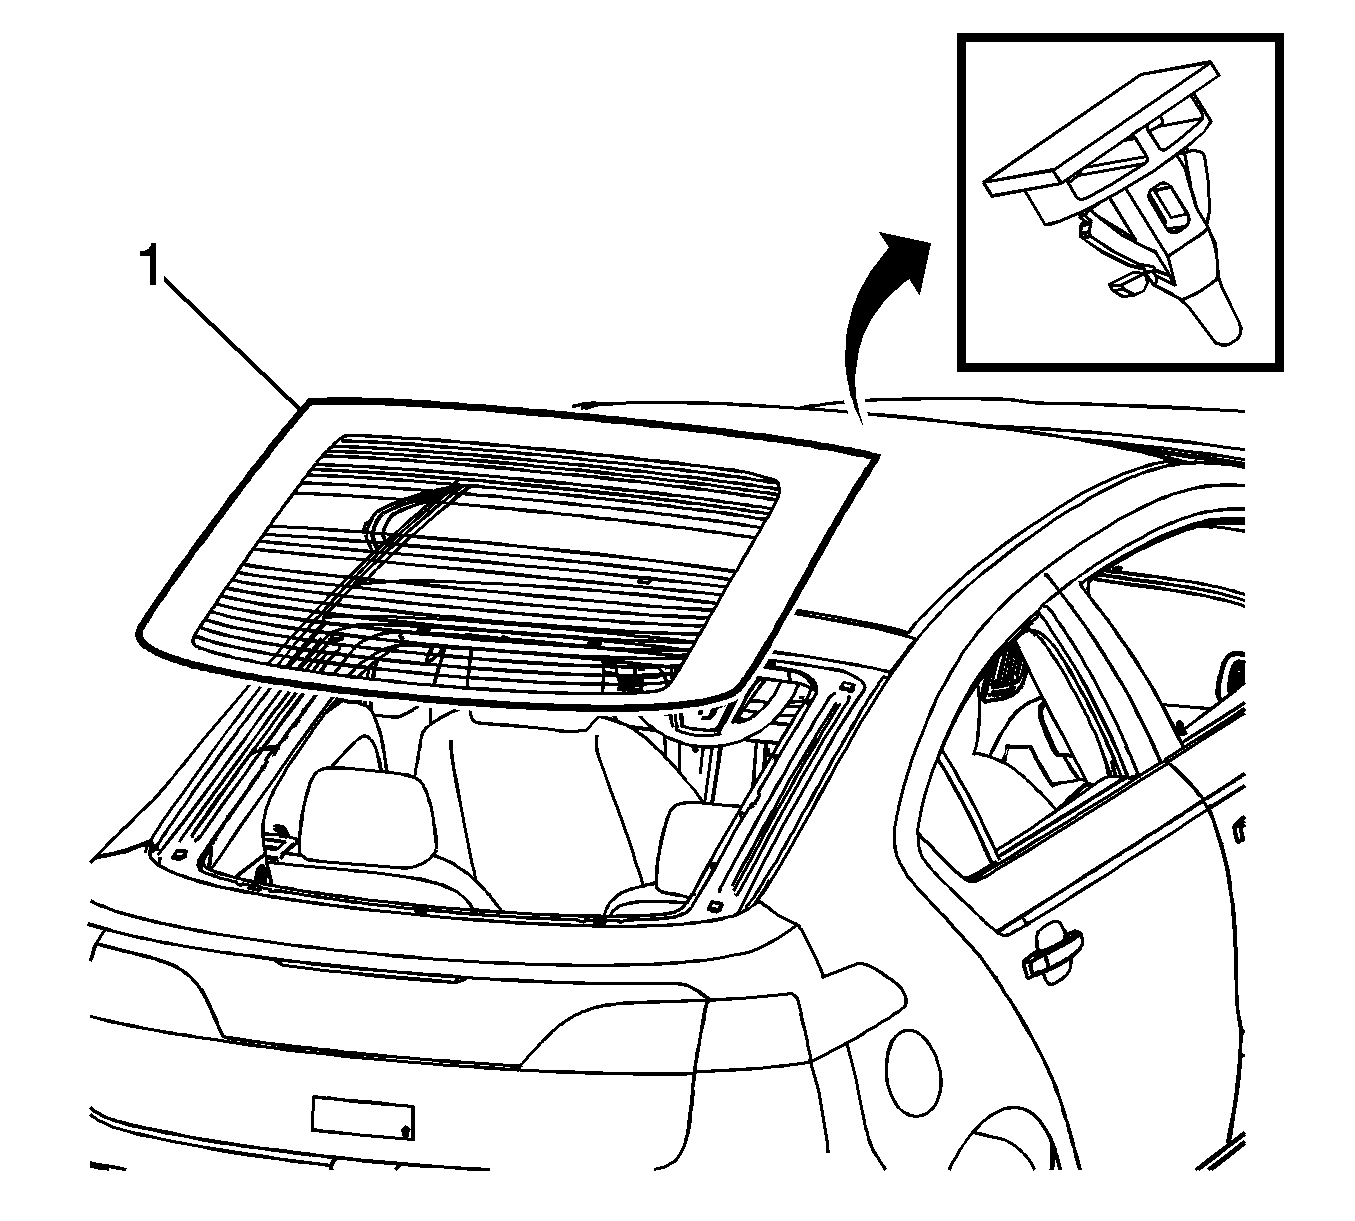
- Using a utility knife, carefully cut the lace (1) from the sides and the top edge of the window to access the urethane adhesive bead, if equipped.
- Remove the window from the urethane adhesive.
 Courtesy of GENERAL MOTORS COMPANY
NOTE:
Keep the cutting edge of the tool against the window. Use care Not to damage the window corner retainers. If the window retainers get cut off when removing the window it will be necessary to tape the window in place until cured.
- Leave a base of urethane approximately 2 mm (0.078 in) on the pinch-weld flange.
- The only suitable lubrication is clear water.
- BO-24402-A
Glass Sealant Remover (Cold Knife)
- BO-39032
Stationary Glass Removal Tool
- If necessary, use a long utility knife or similar tool to remove the bottom corners of the window from the urethane adhesive.
NOTE:
Keep the cutting edge of the knife/tool against the window. Do this from inside the vehicle.
- With an assistant, remove the window (1) from the vehicle, place the window on a clean soft surface.
 Courtesy of GENERAL MOTORS COMPANY