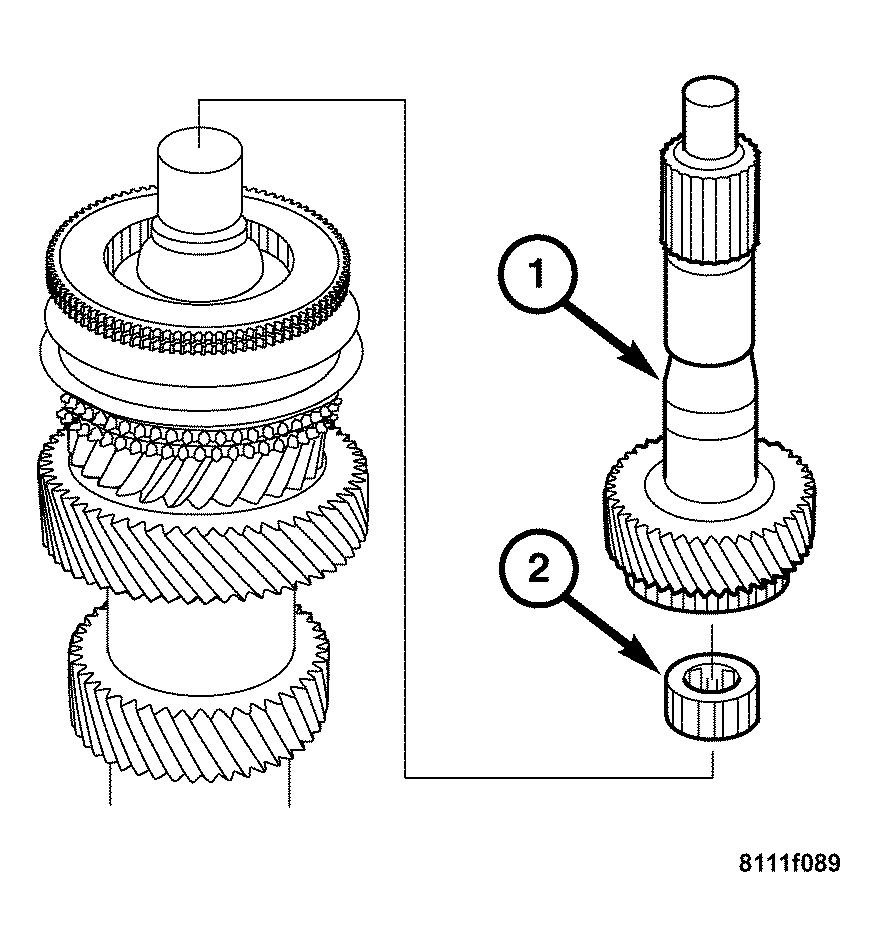
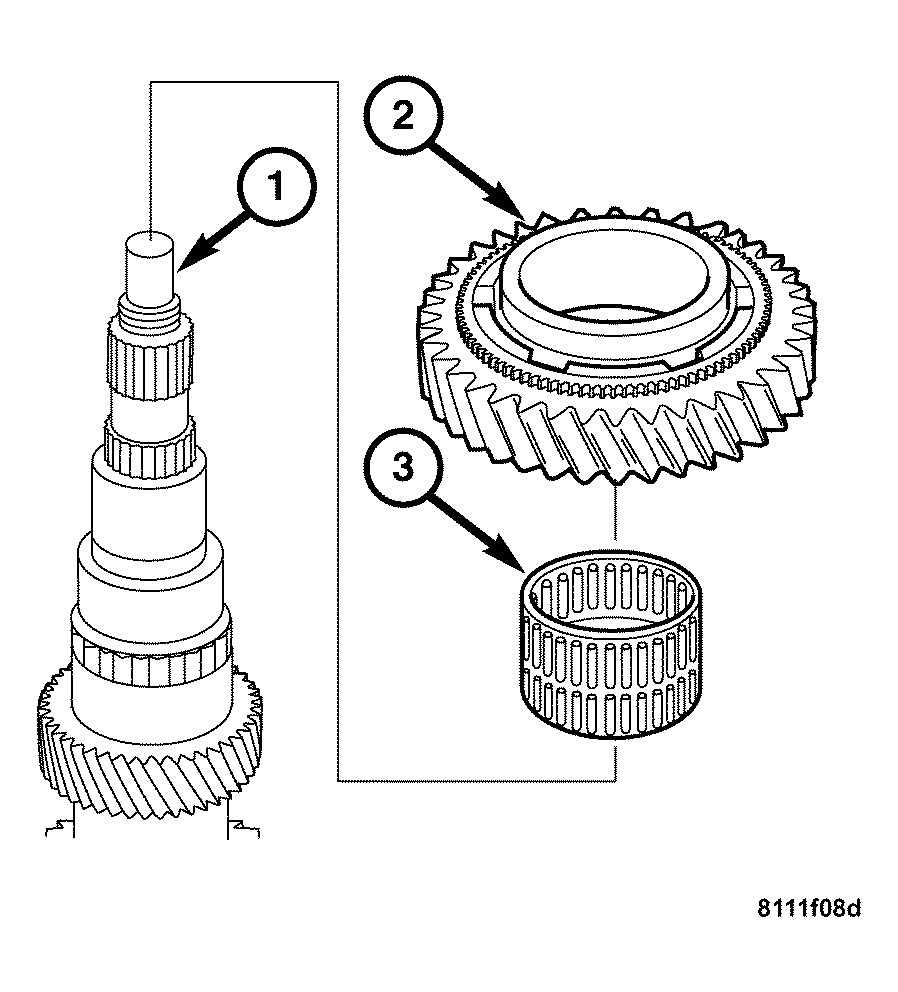
- Install the 6th gear needle bearing (2) and gear (1) on the mainshaft (3).
 Courtesy of CHRYSLER LLC
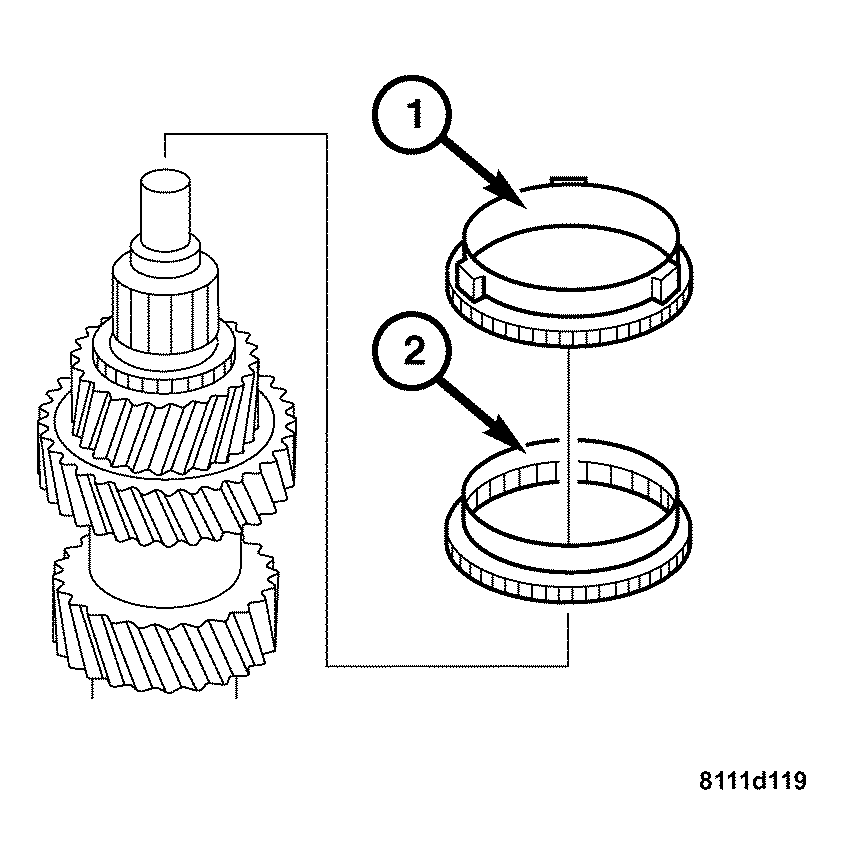
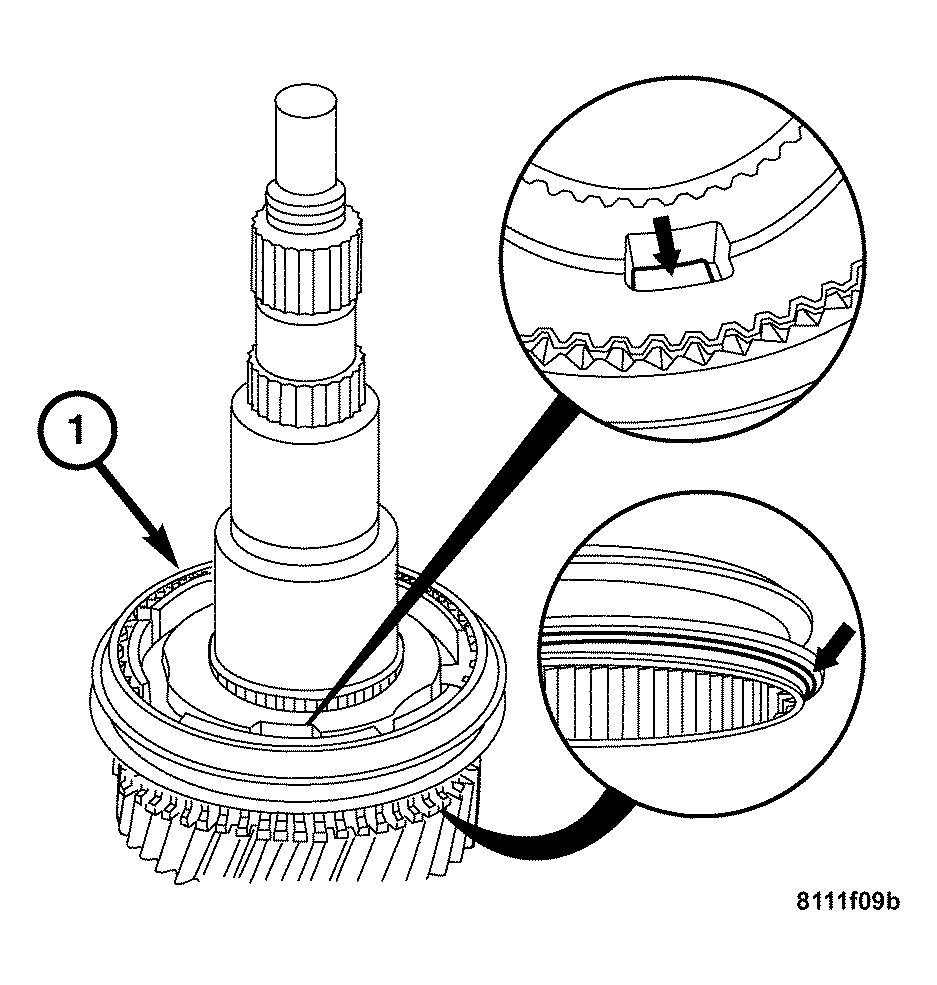
- Install the clutch body (2) and the synchronizer ring (1).
NOTE:
The inscription on the synchronizer body must face upwards (towards the input end). The drivers on the synchronizer ring must engage in the grooves in the synchronizer body.
 Courtesy of CHRYSLER LLC
- Assemble the synchronizer if it is not being replaced. See ASSEMBLY .
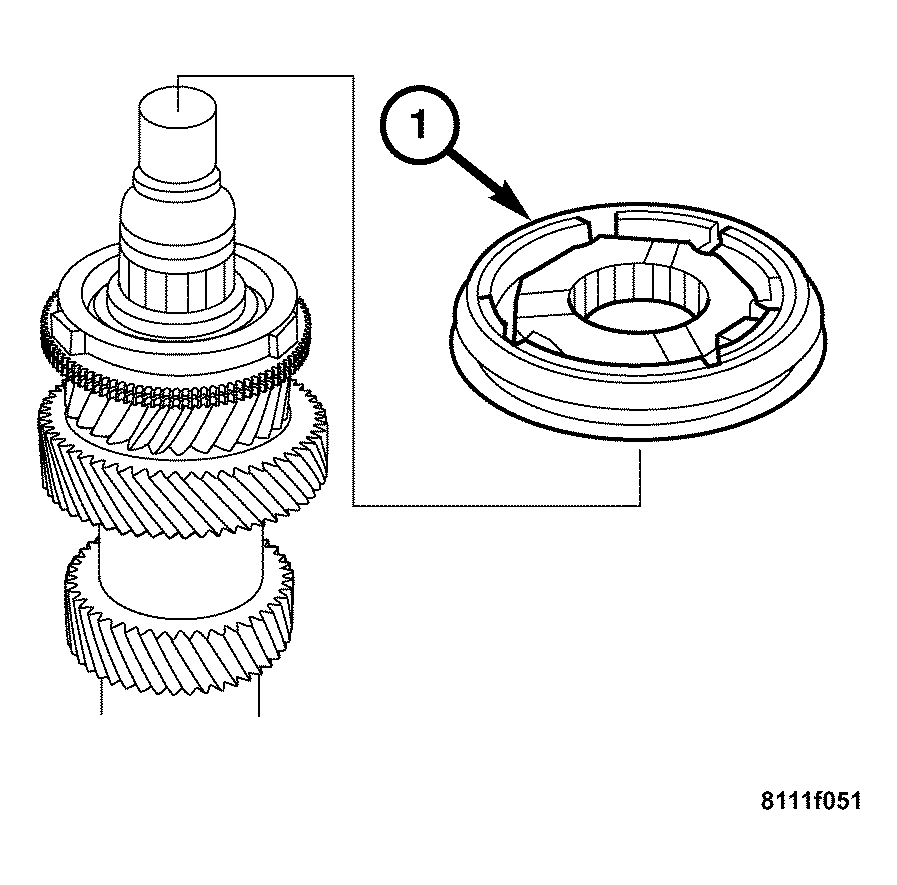
- Press on the 5th/6th gear synchronizer assembly (1).
 Courtesy of CHRYSLER LLC
NOTE:
Snap rings that are bent or otherwise damaged must be replaced.
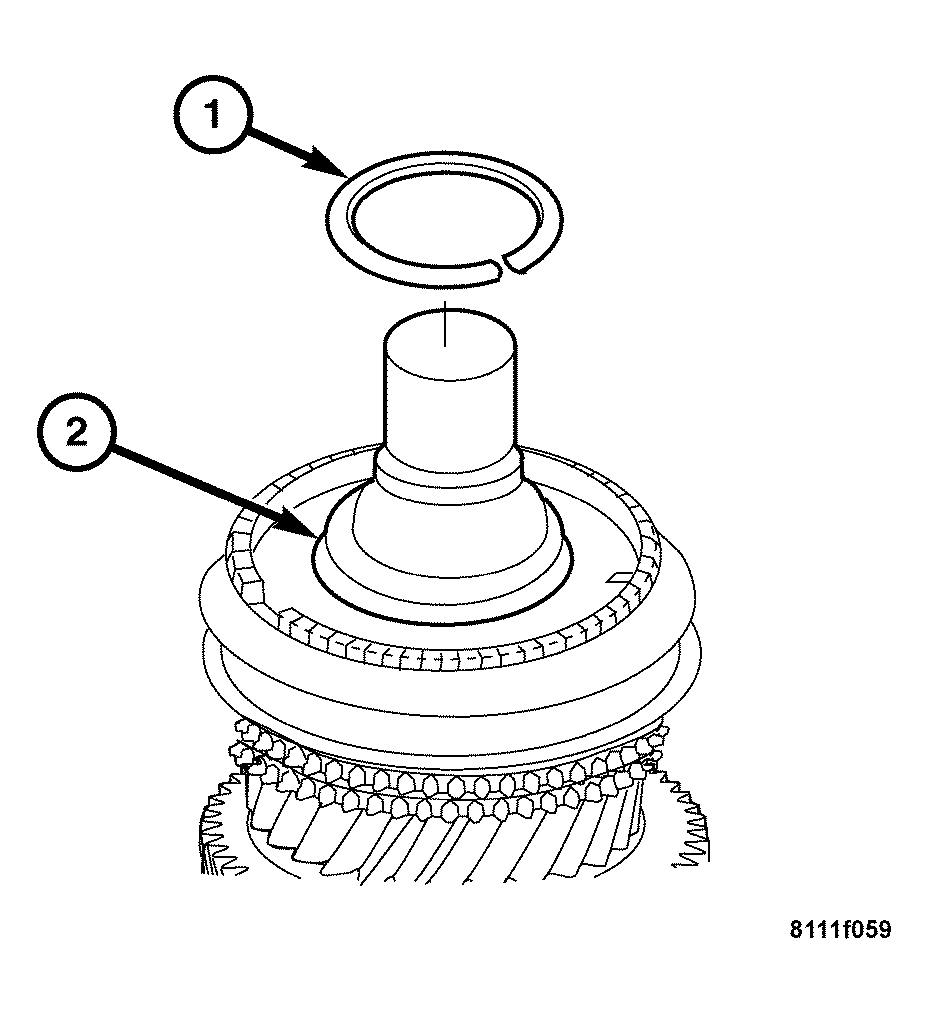
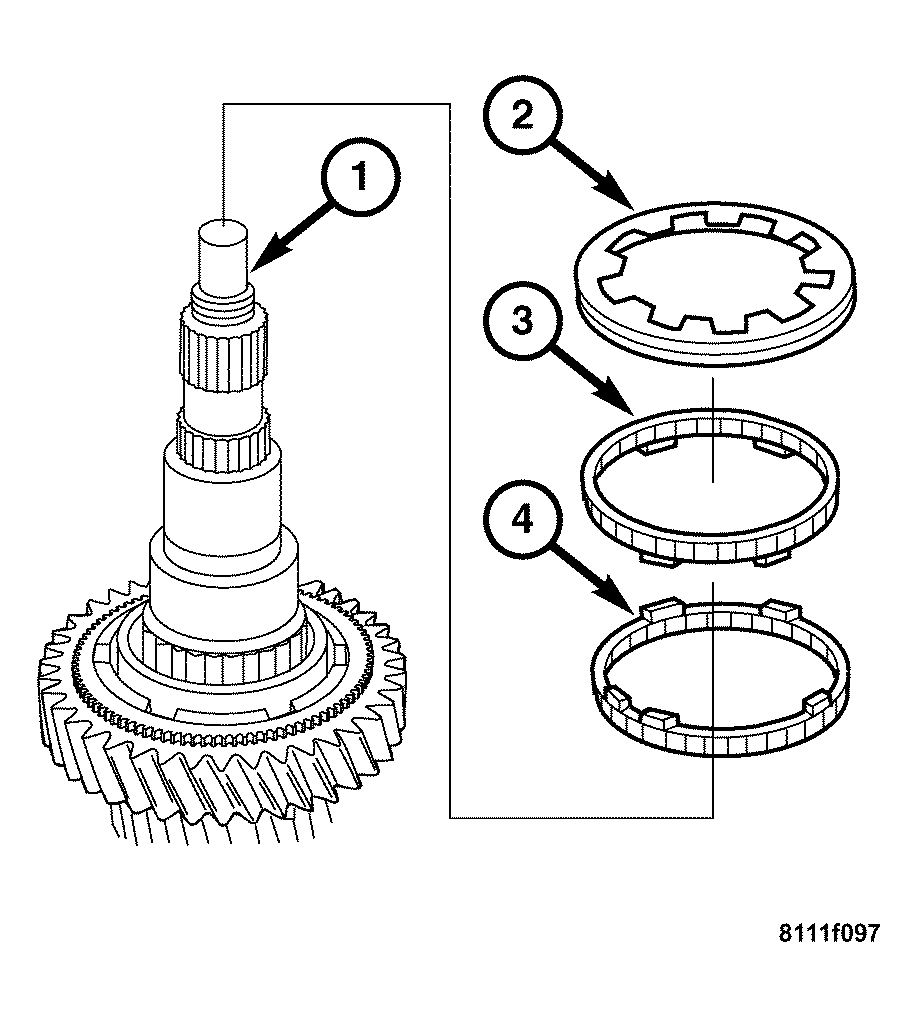
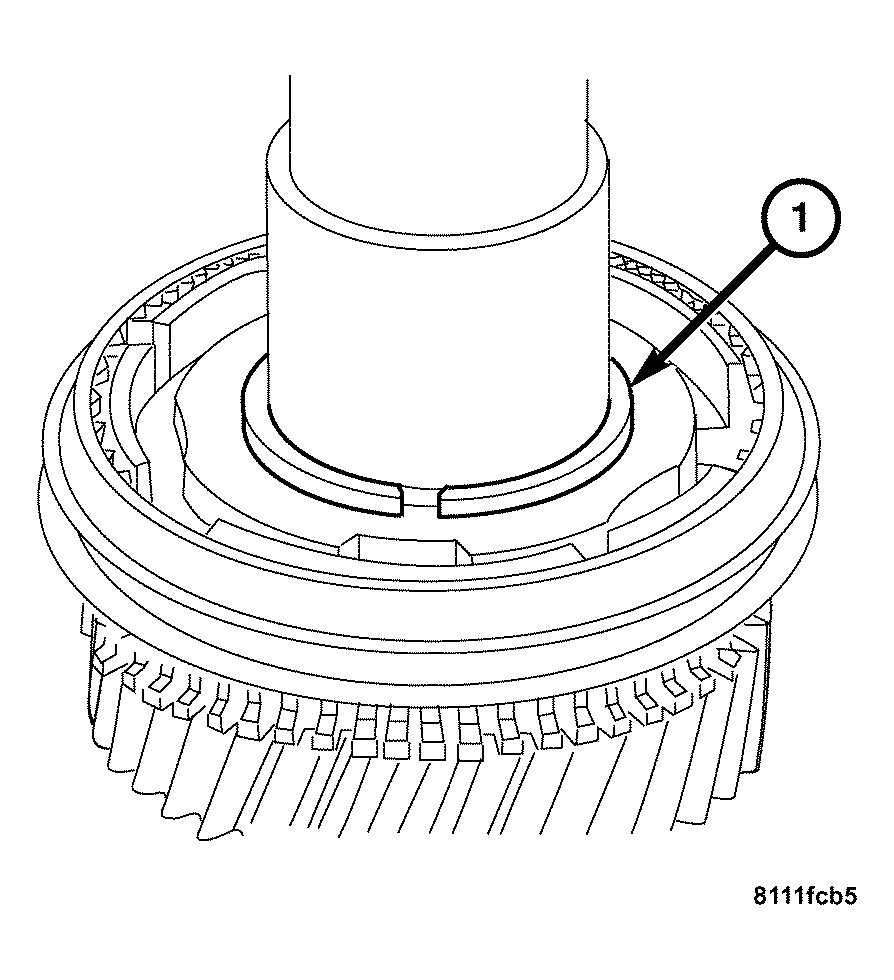
- Install the snap ring (1) on the mainshaft (2). Check that it is fully seated.
 Courtesy of CHRYSLER LLC
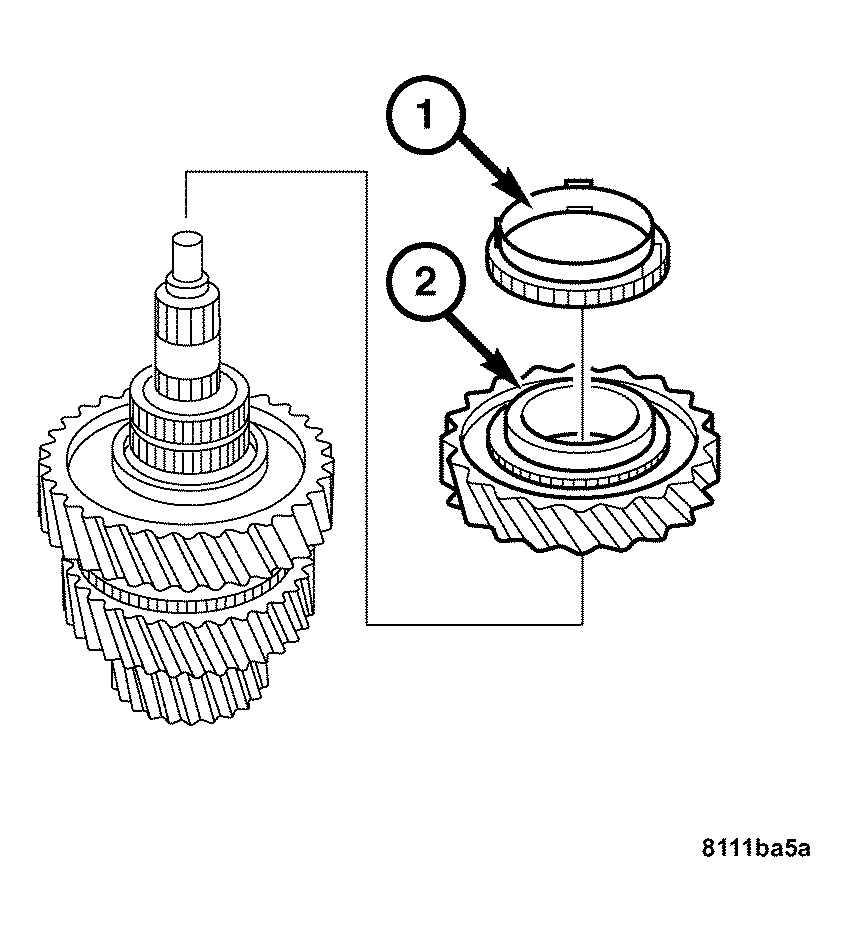
- Install the synchronizer ring (2). Be sure the drivers on the synchronizer ring are engaged in the grooves of the synchronizer body.
 Courtesy of CHRYSLER LLC
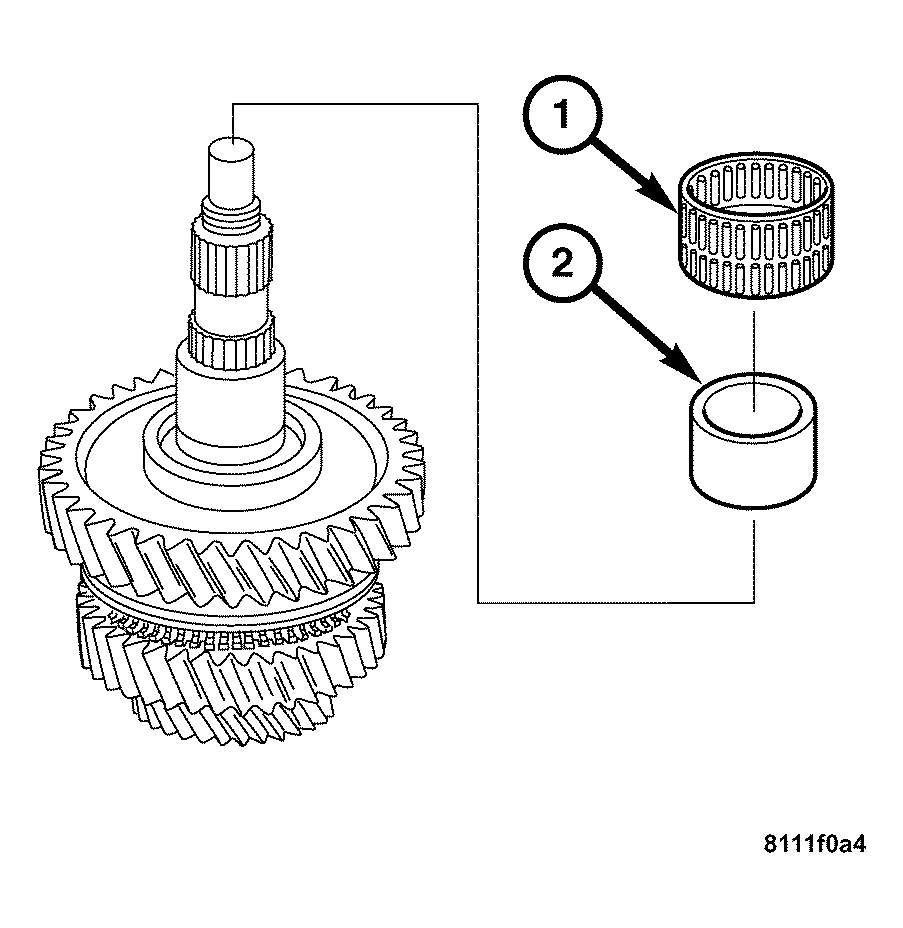
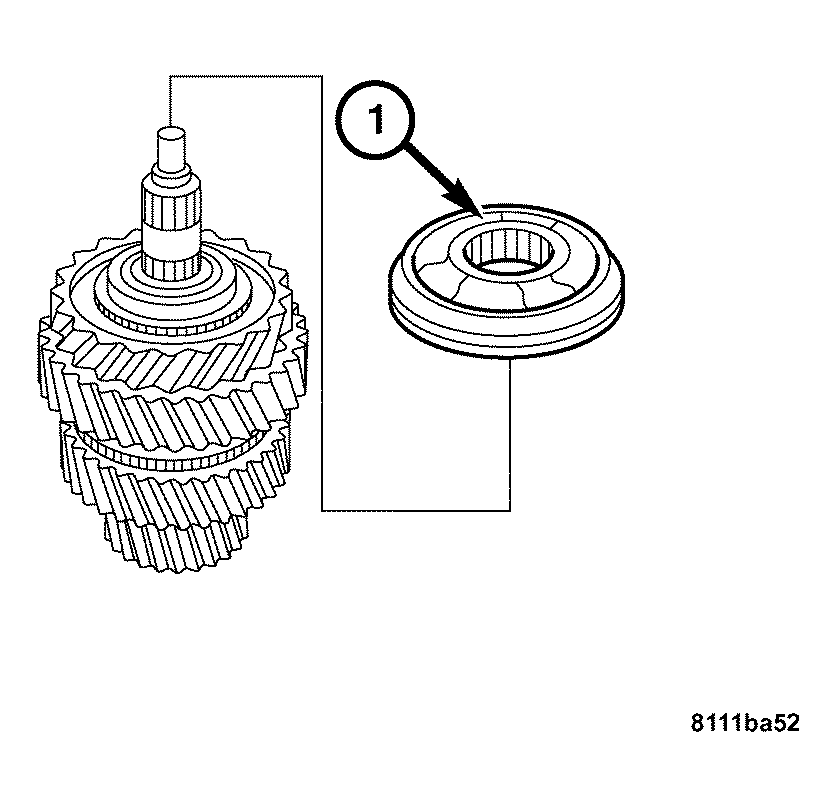
- Oil the cylindrical bearing (2) and place it in the input shaft (1).
- Place the input shaft (1) on the mainshaft.
 Courtesy of CHRYSLER LLC
- Invert the mainshaft with input shaft in the vise. Use protected vise jaws.
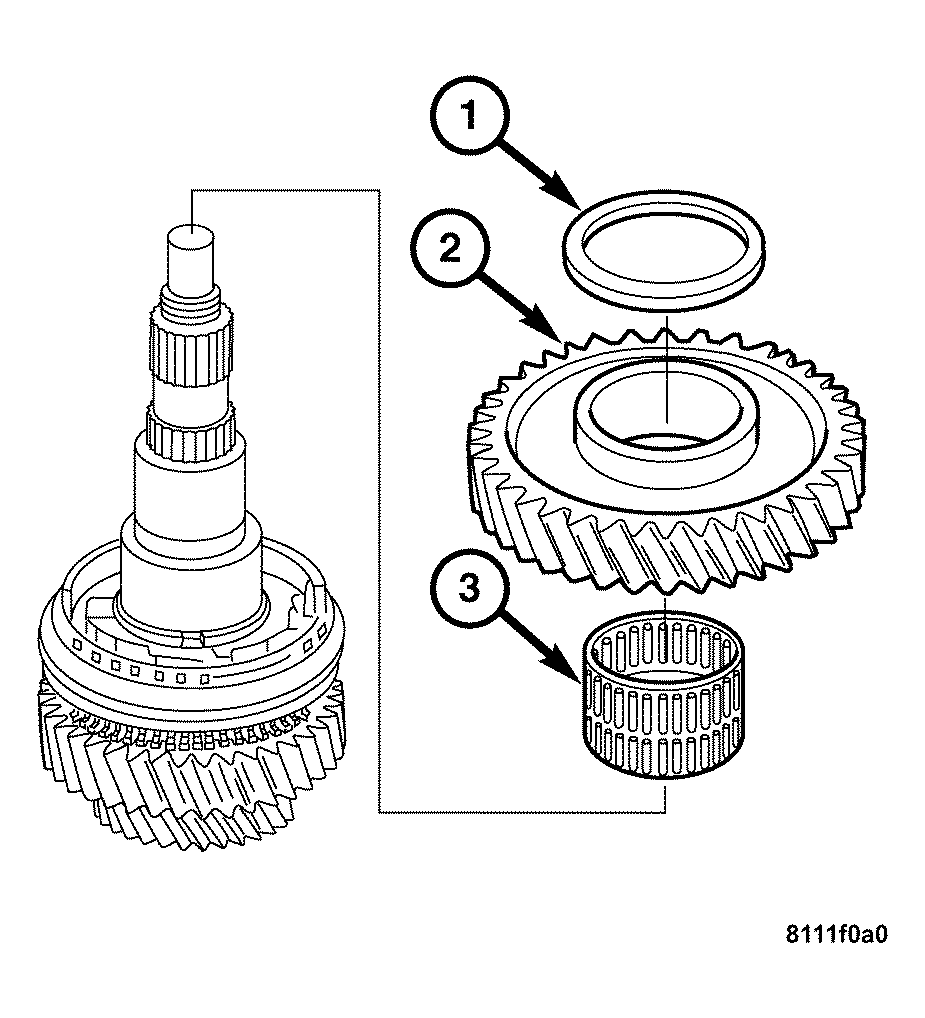
- Install the second gear needle bearing (3), and second gear (2) on the mainshaft (1) with the collar facing upwards.
 Courtesy of CHRYSLER LLC
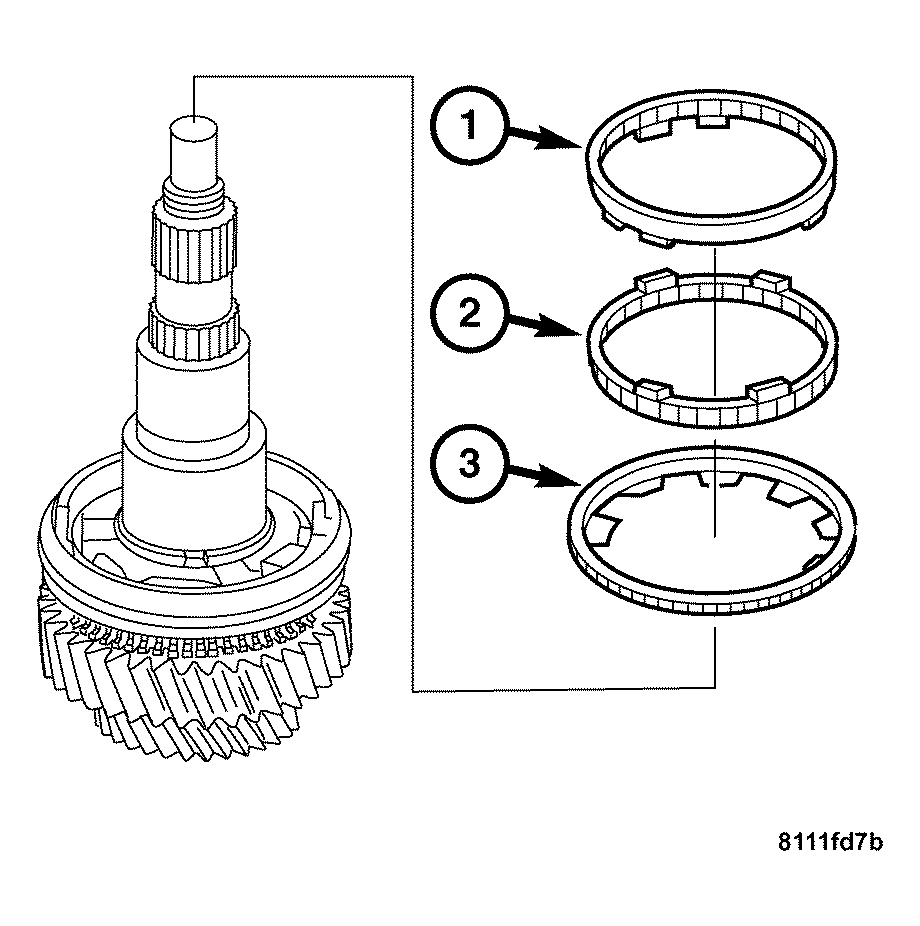
- Install the friction ring (4), the cone ring (3), and the synchronizer ring (2). The lobes in the friction ring (4) must engage in the recesses of the synchronizer ring (3).
- Assemble the 1st/2nd gear synchronizer if it is not being replaced. See ASSEMBLY .
 Courtesy of CHRYSLER LLC
- Install the 1st/2nd gear synchronizer assembly (1).
 Courtesy of CHRYSLER LLC
NOTE:
Do not over expand the snap ring.
- Install the snap ring (1).
 Courtesy of CHRYSLER LLC
NOTE:
The lobes on the friction ring (1) must engage in the recesses in the synchronizer ring (3).
- Install the synchronizer ring (3), the cone ring (2), and the friction ring (1).
 Courtesy of CHRYSLER LLC
- Install the first gear needle bearing (3), first gear (2), and press on the 1st gear thrust washer (1).
 Courtesy of CHRYSLER LLC
- Press on the sleeve (2), and the reverse gear needle bearing (1).
 Courtesy of CHRYSLER LLC
NOTE:
The reverse gear collar must face upwards.
- Install the reverse gear (2), and the synchronizer ring (1).
 Courtesy of CHRYSLER LLC
- Press on the reverse gear synchronizer assembly (1).
- Remove the input shaft together with the mainshaft from the vise.
- Assemble the geartrain housing. See ASSEMBLY .