September 30: LEMON manuals is back up on a temporary server! Slowness is possible
Direct Clutch Assembly: Reassembly
- Install NEW direct clutch piston inner seal with lip facing bottom of clutch cylinder. Ensure check ball is in place on direct clutch piston and coat components and seal with petroleum jelly. Install direct clutch piston.
- Install piston apply ring on direct clutch piston. Install direct clutch support and spring assembly. Ensure spring notch is aligned with clutch piston check ball.
- Compress direct clutch support and spring assembly and install snap ring. Install clutch pack, clutch pressure plate and selective snap ring. Number of clutches will vary depending on application.
- Using dial indicator, check clutch pack clearance. See Fig 2
. Push down firmly on clutch pack. Release pressure and zero dia l indicator. Lift pressure plate to bottom of snap ring and note dial indicator reading. Take 2 readings 180 degrees apart and note average. Clearance should be .050-.069" (1.28-1.76 mm).
- If clearance is not within specification, replace selective snap ring. Recheck clearance with NEW selective snap ring installed and adjust as necessary. Selective snap rings (7D483) are available in the following thicknesses; .049" (1.25 mm), .065" (1.65 mm), .080" (2.03 mm), .095" (2.41 mm), .111" (2.82 mm), .126" (3.20 mm).
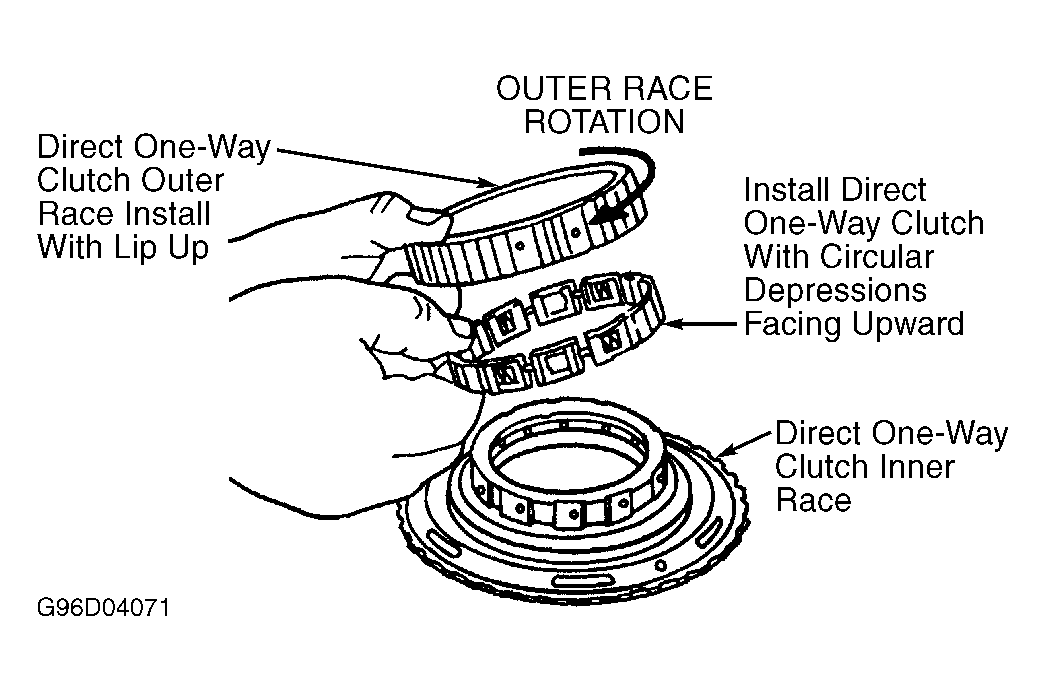 Courtesy of FORD MOTOR CO.
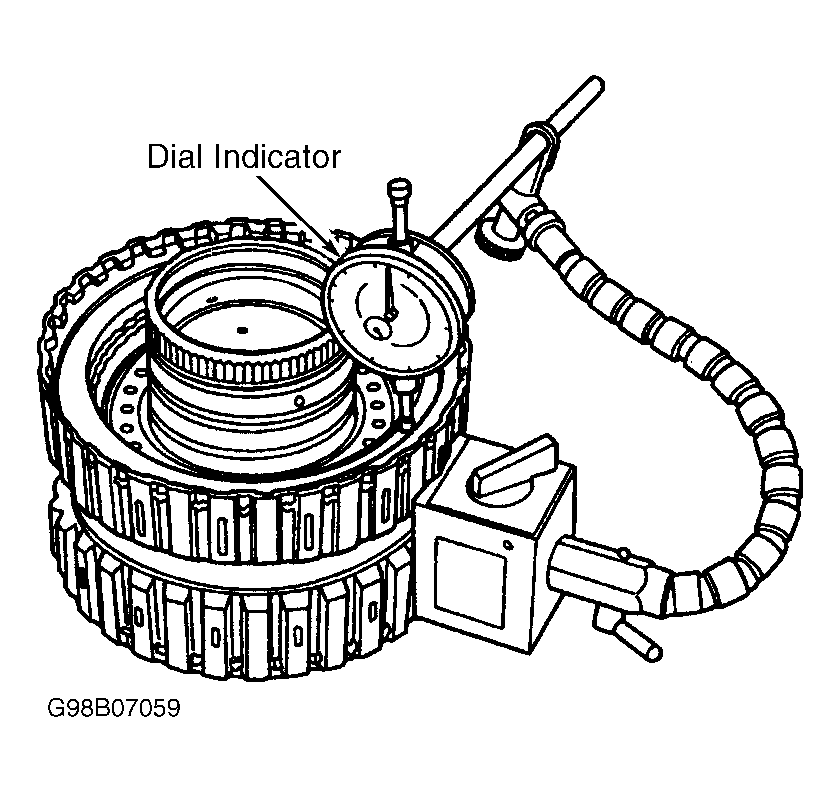 Courtesy of FORD MOTOR CO.