Ignition Coil-On-Plug
Ignition Coil-On-Plug
Removal and Installation
RH side
1. NOTE: The upper intake manifold must be removed to access the RH ignition coil-on-plugs.
Remove the upper intake manifold.
Both sides
2. NOTE: Use compressed air to remove any foreign material from the ignition coil-on-plugs and surrounding area before removing the ignition coil-on-plugs.
Disconnect the 6 ignition coil-on-plug electrical connectors.
3. NOTE: When removing the ignition coil-on-plugs, a slight twisting motion will break the seal and ease removal.
Remove the 6 ignition coil-on-plug bolts and the 6 ignition coil-on-plugs.
- To install, tighten to 8 Nm (71 lb-in).
4. Inspect the ignition coil-on-plug seals for rips, nicks or tears. Remove and discard any damaged ignition coil-on-plug seals.
- To install, slide the new ignition coil-on-plug seal onto the ignition coil-on-plug until it is fully seated at the top of the ignition coil-on-plug.
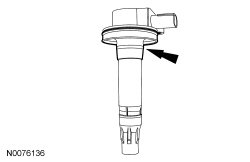
5. NOTE: Verify that the ignition coil-on-plug spring is correctly located inside the ignition coil-on-plug boot and that there is no damage to the tip of the boot.
To install, reverse the removal procedure.
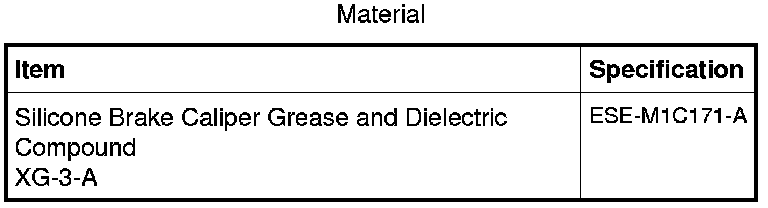
- Apply a small amount of dielectric grease to the inside of the ignition coil-on-plug boots before attaching to the spark plugs.