Under-hood Fuse/Relay Box
Removal and InstallationRemoval
1. Make sure you have the anti-theft codes for the audio system or the navigation system (if equipped). If equipped with the XM radio, write down the XM radio presets.
2. Make sure the ignition switch is in the LOCK (0) position.
3. Disconnect the negative battery cable, then disconnect the positive cable, and wait at least 3 minutes.
4. Remove the screws (A) for the alternator and battery cable terminals from the under-hood fuse/relay box.
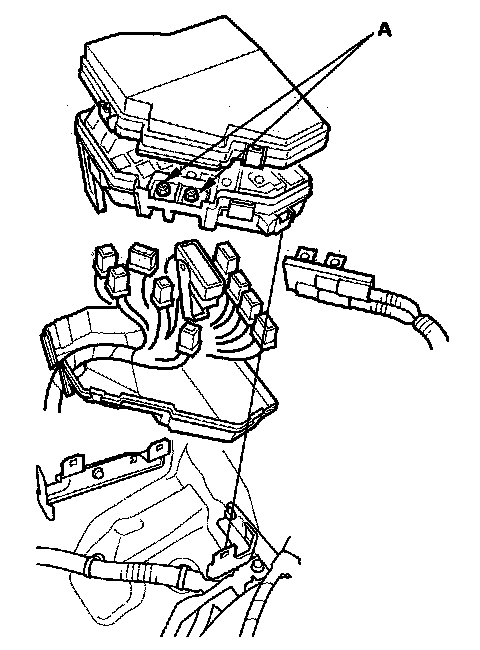
5. Remove the bottom cover from the under-hood fuse/relay box.
6. Disconnect the connectors from the under-hood fuse/relay box.
7. Carefully remove the relays by prying under the base of the relay.
NOTE: Do not use pliers. Pliers will damage the relays, which could cause the engine to stall or not start.
Installation
1. Install the relays and connect the connectors to the under-hood fuse/relay box, then install the under-hood fuse/relay box in the reverse order of removal.
2. Install the removed parts in the reverse order of removal.
3. Connect the positive cable to the battery, then connect the negative cable to the battery.
4. Enter the anti-theft codes for the audio system or the navigation system (if equipped), and set the clock (without navigation). If equipped with the XM radio, enter the XM radio presets.
5. Confirm that all systems work properly.