Installation Procedure
 Courtesy of GENERAL MOTORS CORP.
- Install the stationary window into the opening. Refer to Adhesive Installation of Stationary Windows .
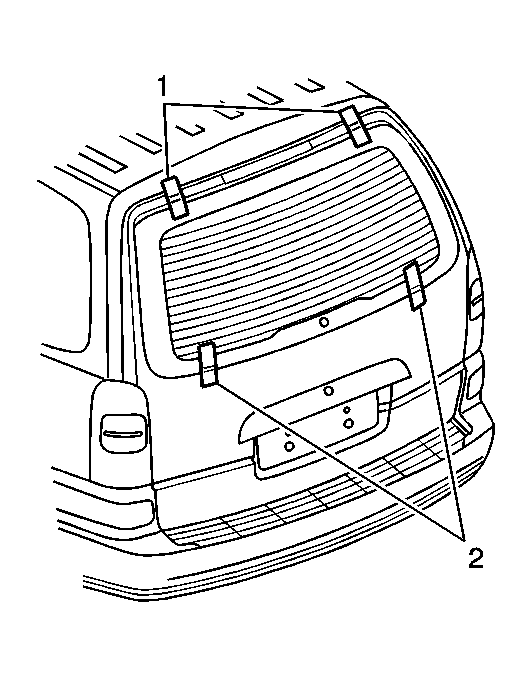
- Use masking tape (1, 2) to hold the liftgate window into position until the urethane adhesive cures.
 Courtesy of GENERAL MOTORS CORP.
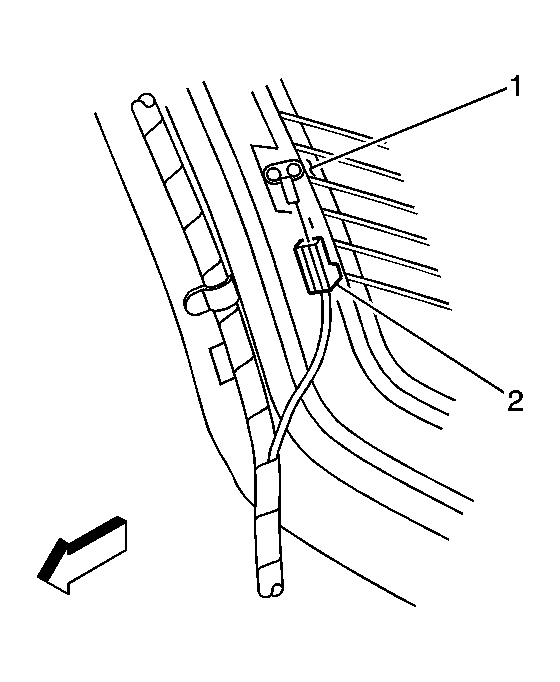
- Reconnect the rear window defogger electrical connector (2).
- Install the wiper motor. Refer to Rear Window Wiper Motor Replacement
in Wipers/Washer Systems.
- Install the liftgate trim panel. Refer to Liftgate Trim Panel Replacement
in Interior Trim.
- Close the liftgate.
- Remove the double layer of masking tape around the perimeter of the painted surfaces and the interior trim.