Intake Manifold: Disassembly
- Remove the fuel pipe protector RH.
 Courtesy of SUBARU OF AMERICA, INC.
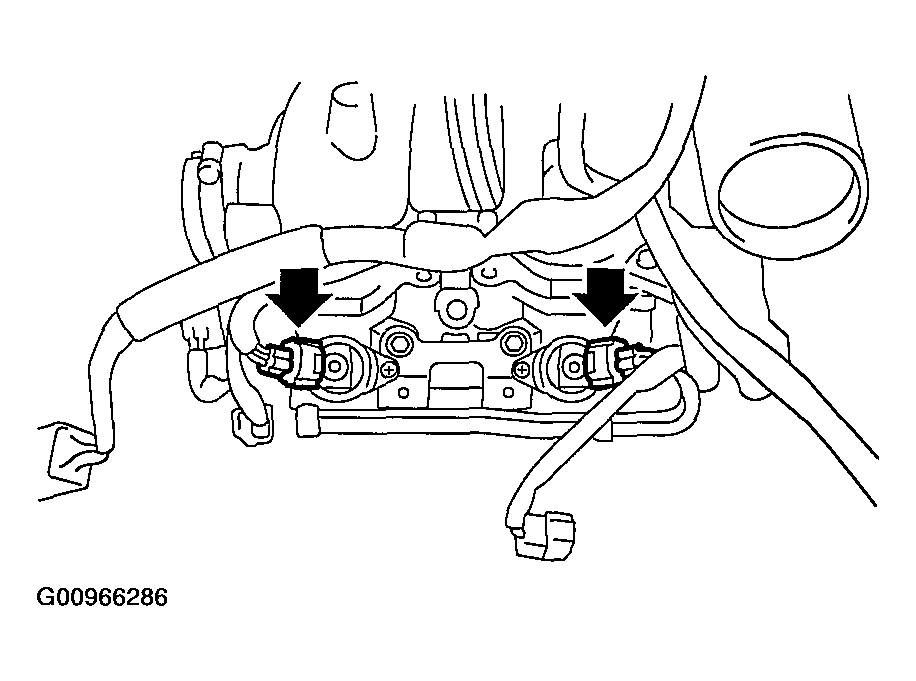
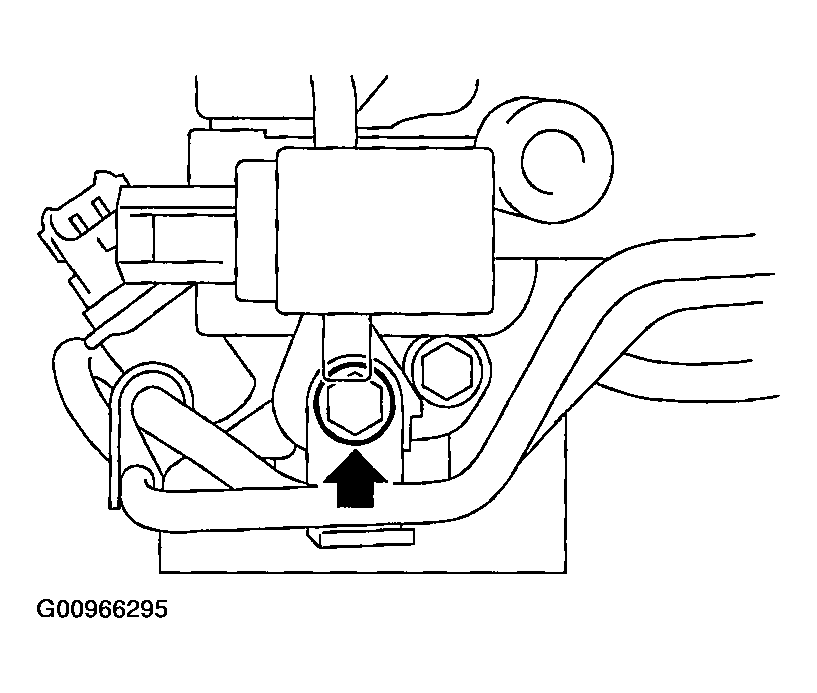
- Remove the engine ground terminal from the intake manifold.
 Courtesy of SUBARU OF AMERICA, INC.
 Courtesy of SUBARU OF AMERICA, INC.
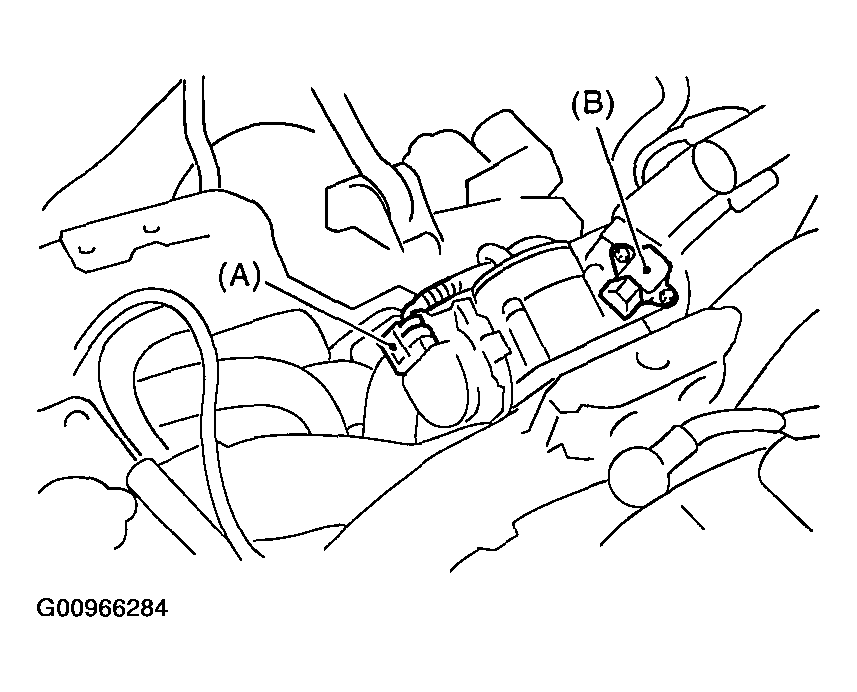
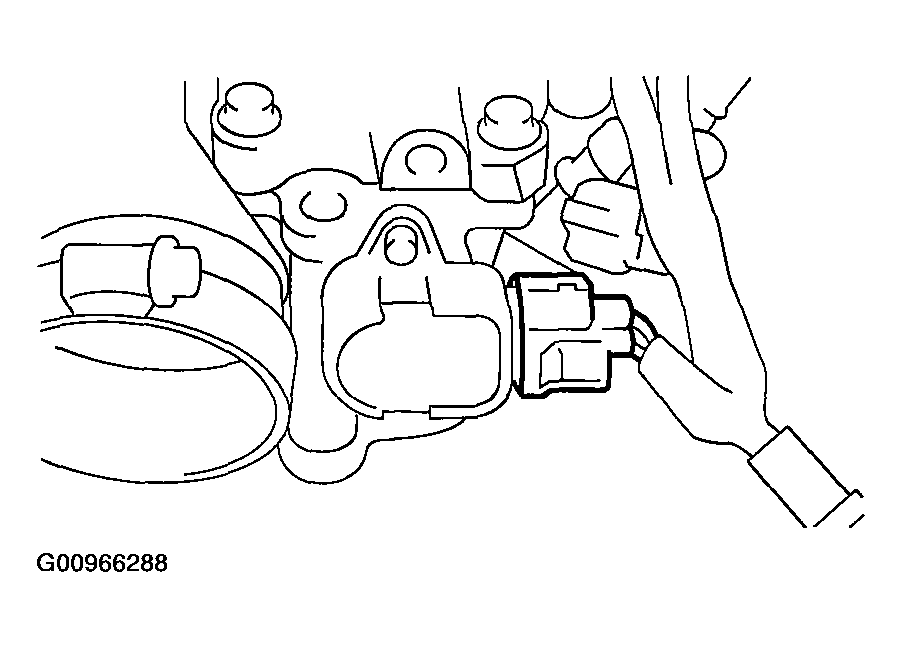
- Disconnect the connector from the throttle position sensor (A) and manifold absolute pressure sensor (B).
 Courtesy of SUBARU OF AMERICA, INC.
- Remove the throttle body from the intake manifold.
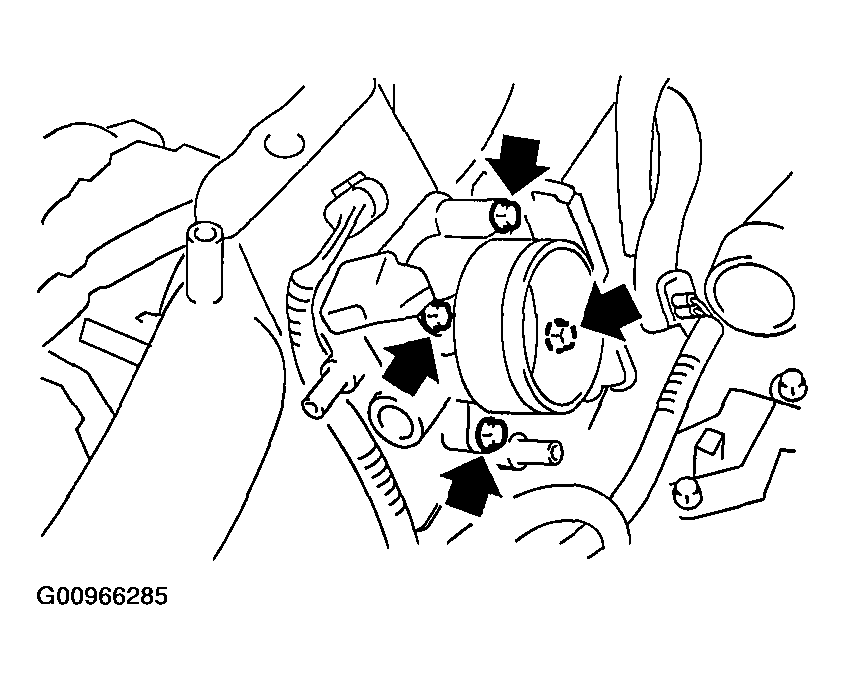 Courtesy of SUBARU OF AMERICA, INC.
- Disconnect the connector from the fuel injector.
 Courtesy of SUBARU OF AMERICA, INC.
- Disconnect the connector from the tumble generator valve actuator.
 Courtesy of SUBARU OF AMERICA, INC.
- Disconnect the connector from the tumble generator valve sensor.
 Courtesy of SUBARU OF AMERICA, INC.
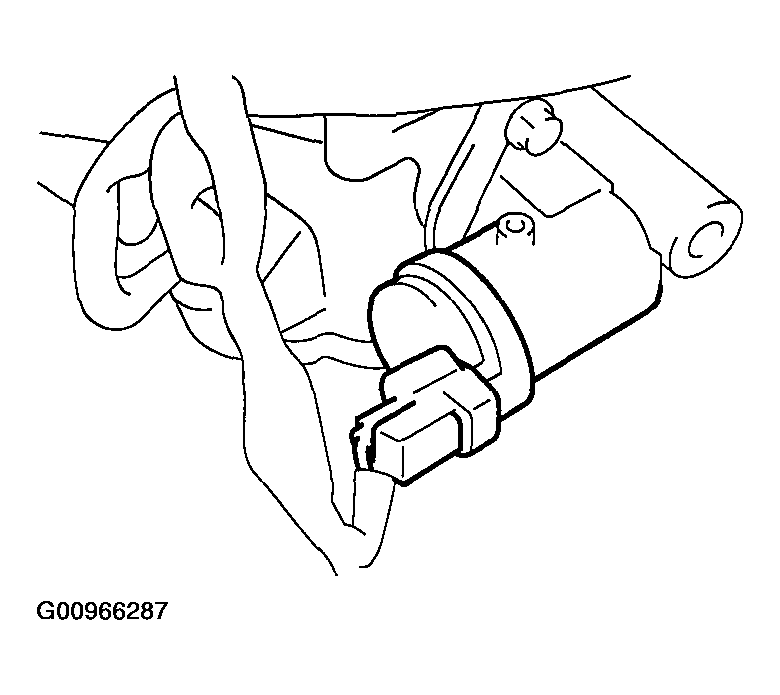
- Disconnect the connector from the purge control solenoid valve.
- Remove the purge control solenoid valve.
 Courtesy of SUBARU OF AMERICA, INC.
- Disconnect the evaporation hose and purge valve from the intake manifold.
 Courtesy of SUBARU OF AMERICA, INC.
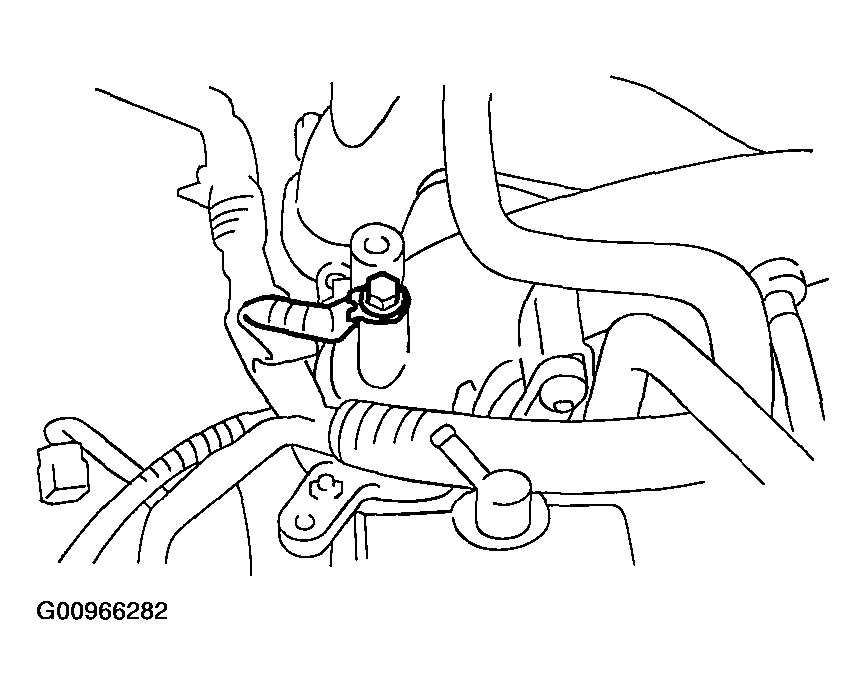
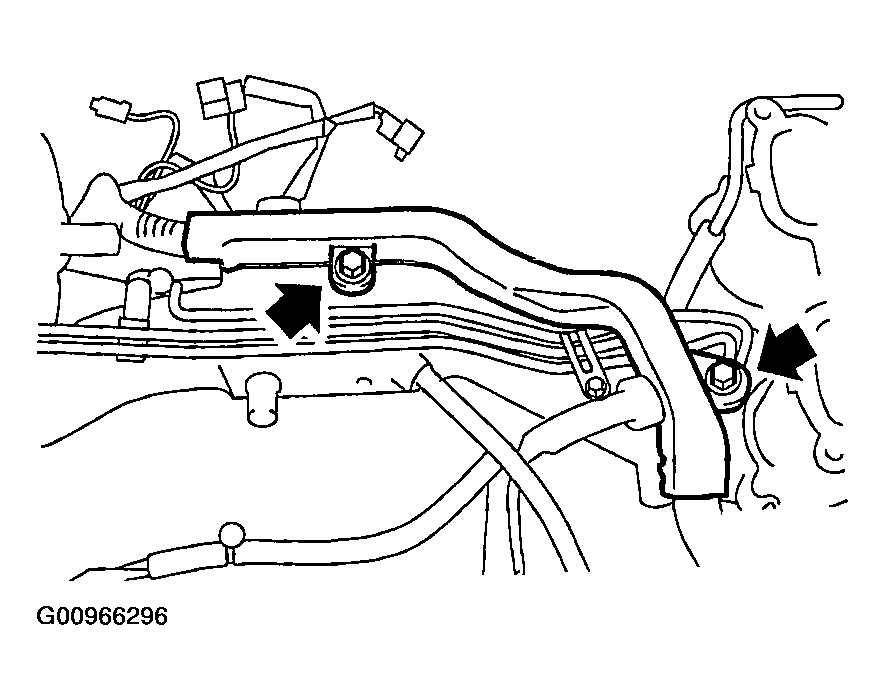
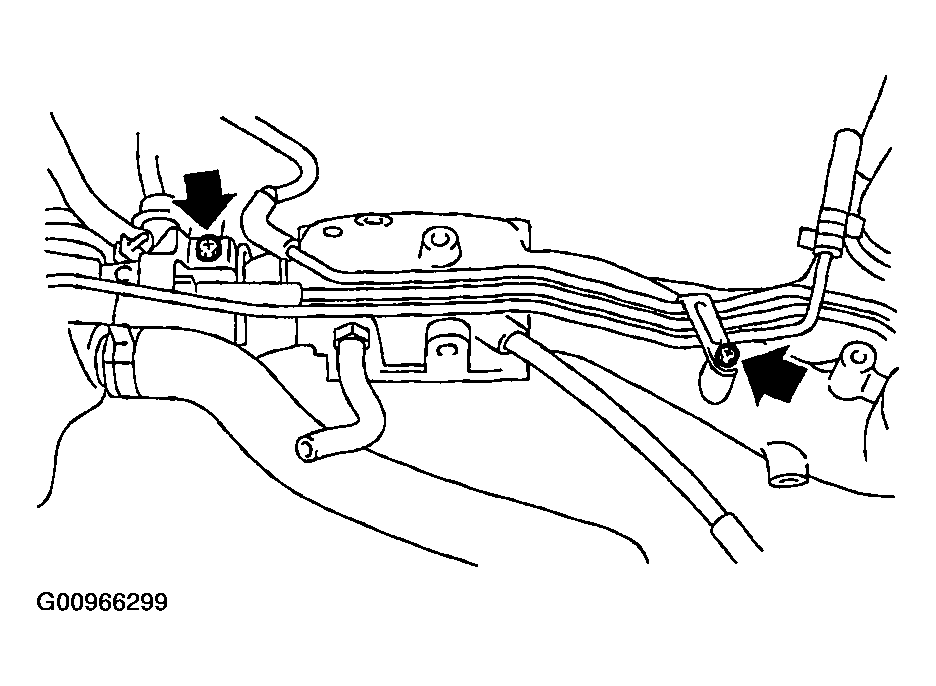
- Remove the two bolts which hold the fuel pipes on the left side of intake manifold.
 Courtesy of SUBARU OF AMERICA, INC.
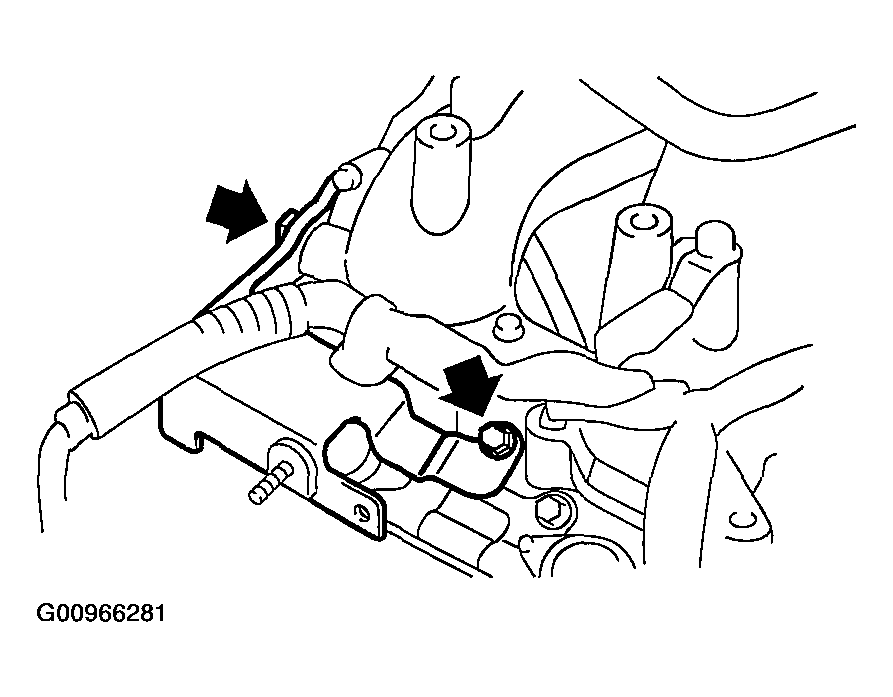
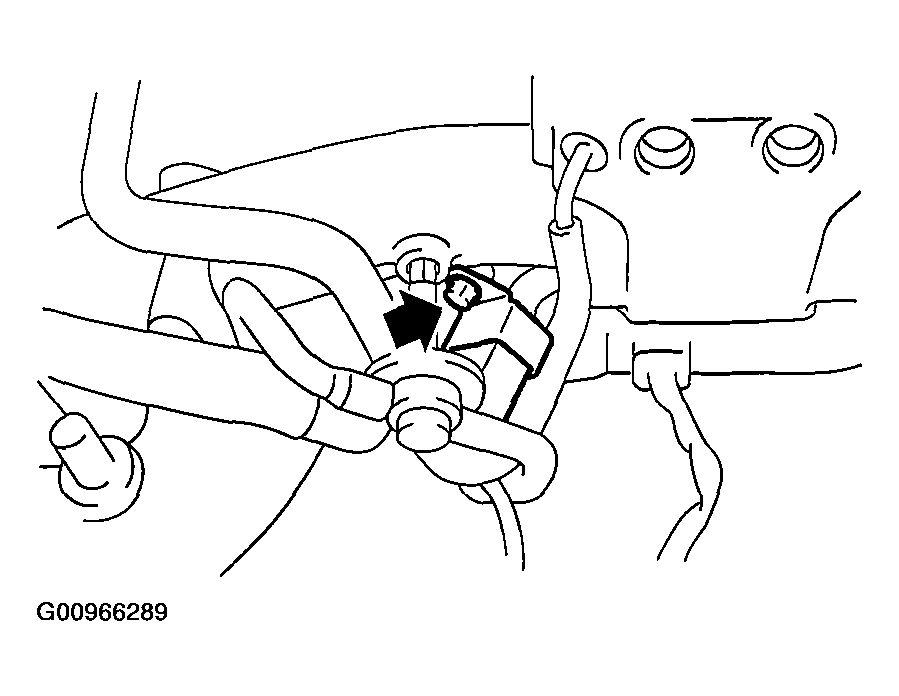
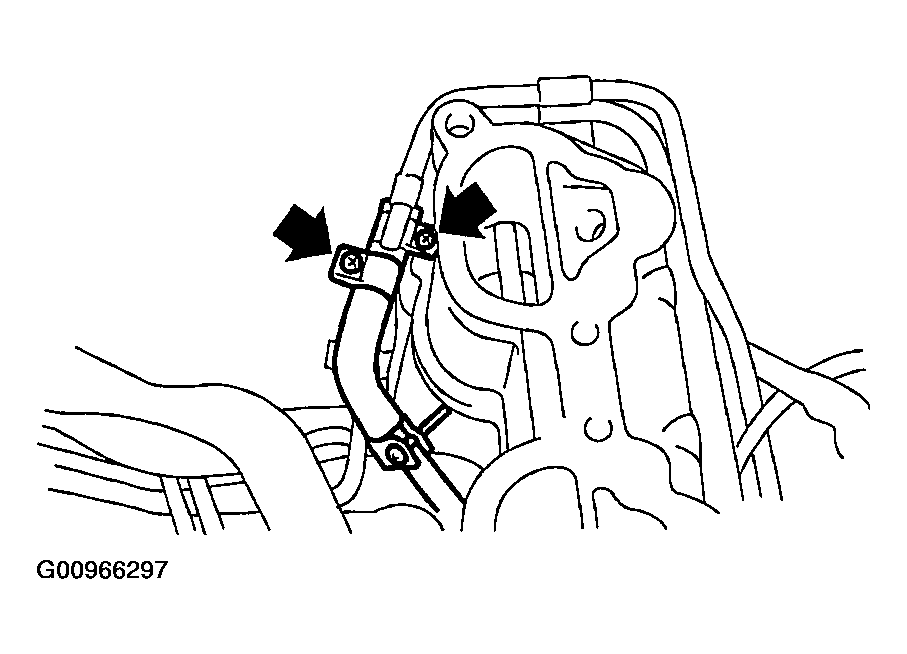
- Remove the bolt which hold the fuel injector pipe onto intake manifold.
- LH SIDE
 Courtesy of SUBARU OF AMERICA, INC.
 Courtesy of SUBARU OF AMERICA, INC.
- RH SIDE
 Courtesy of SUBARU OF AMERICA, INC.
 Courtesy of SUBARU OF AMERICA, INC.
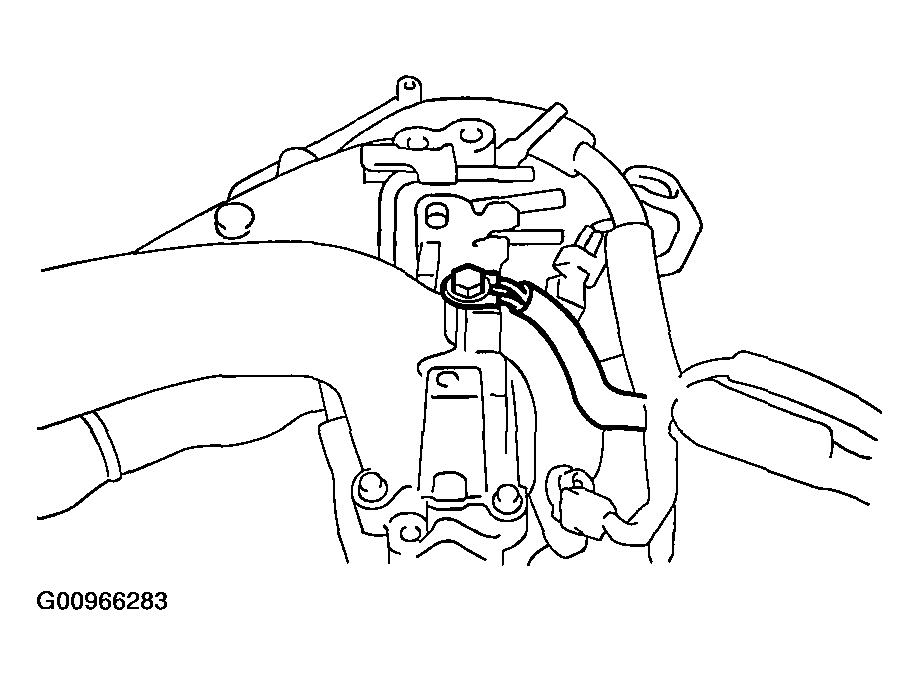
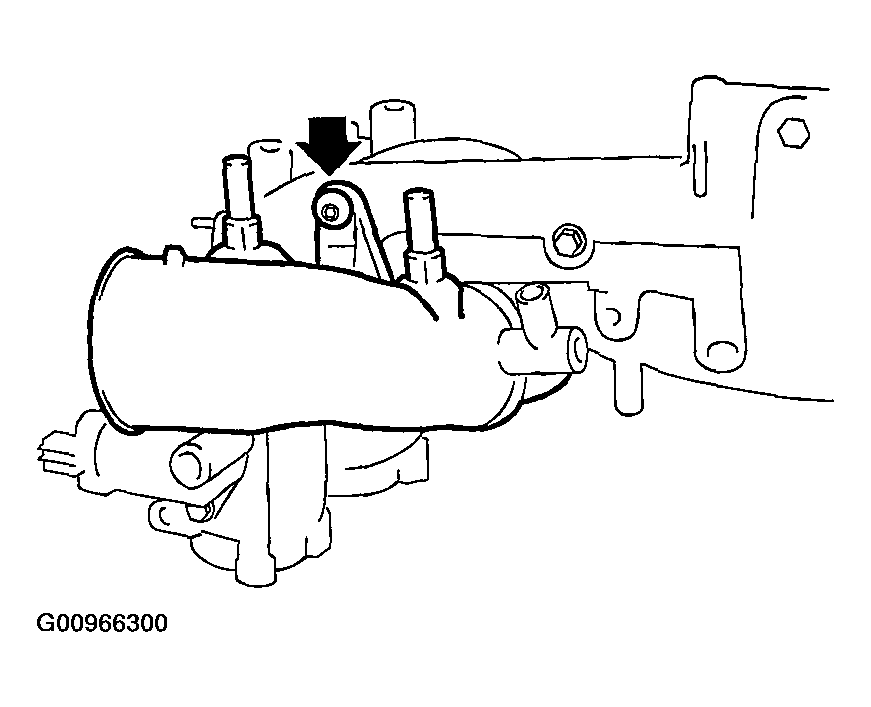
- Remove the harness bracket which holds the engine harness onto intake manifold.
 Courtesy of SUBARU OF AMERICA, INC.
- Remove the engine harness from the intake manifold.
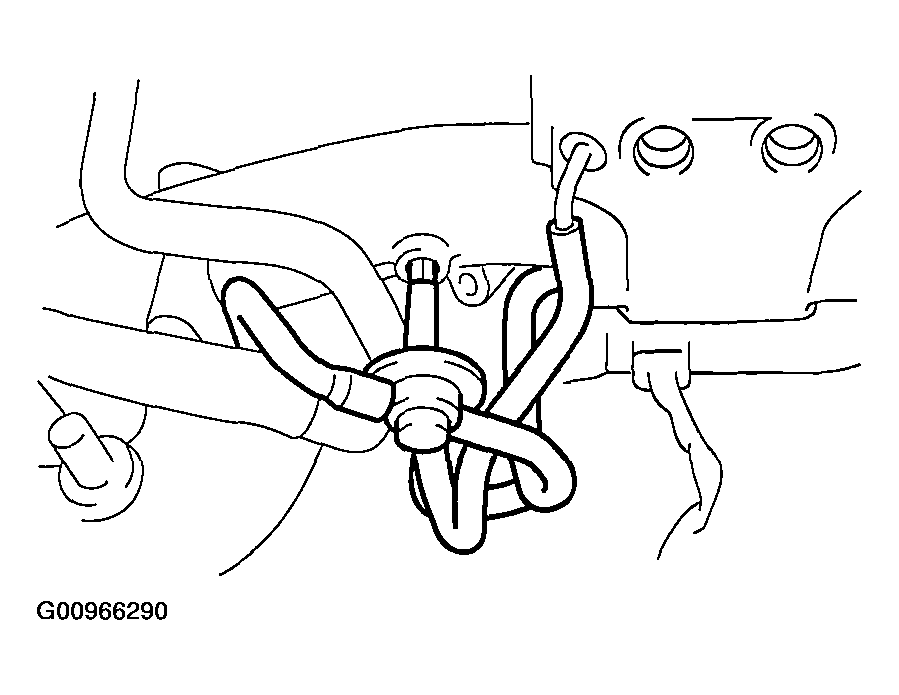
- Loosen the clamp which holds the front left side fuel hose to injector pipe, and then remove the pipe from clamp.
 Courtesy of SUBARU OF AMERICA, INC.
- Loosen the clamp which holds the right side fuel hose to injector pipe, and then remove the pipe from clamp.
 Courtesy of SUBARU OF AMERICA, INC.
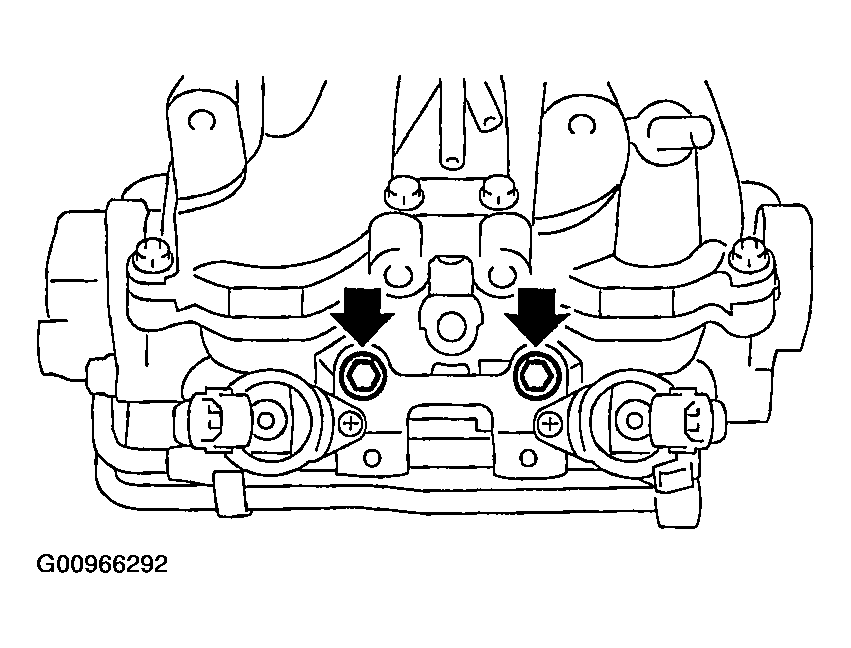
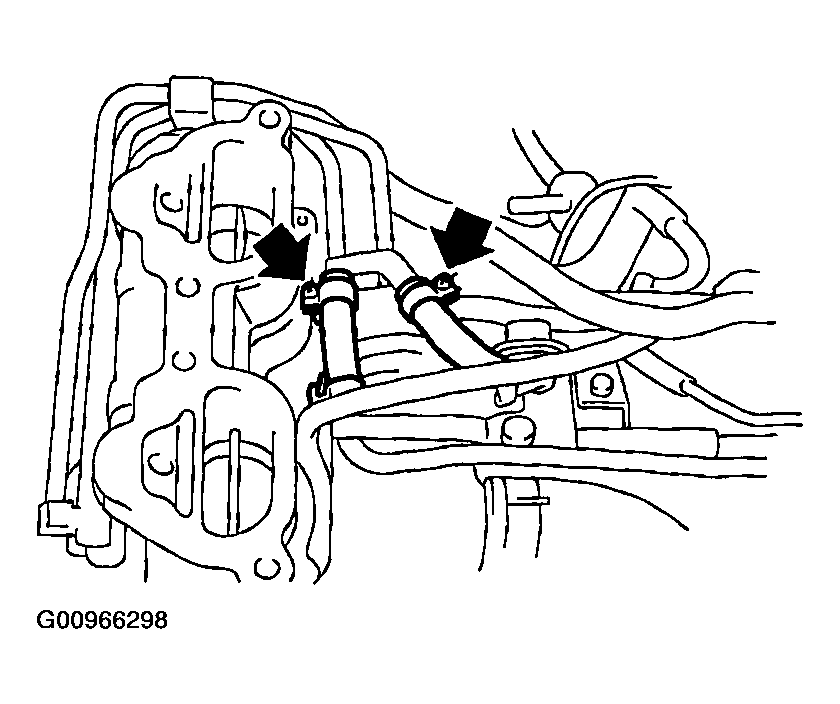
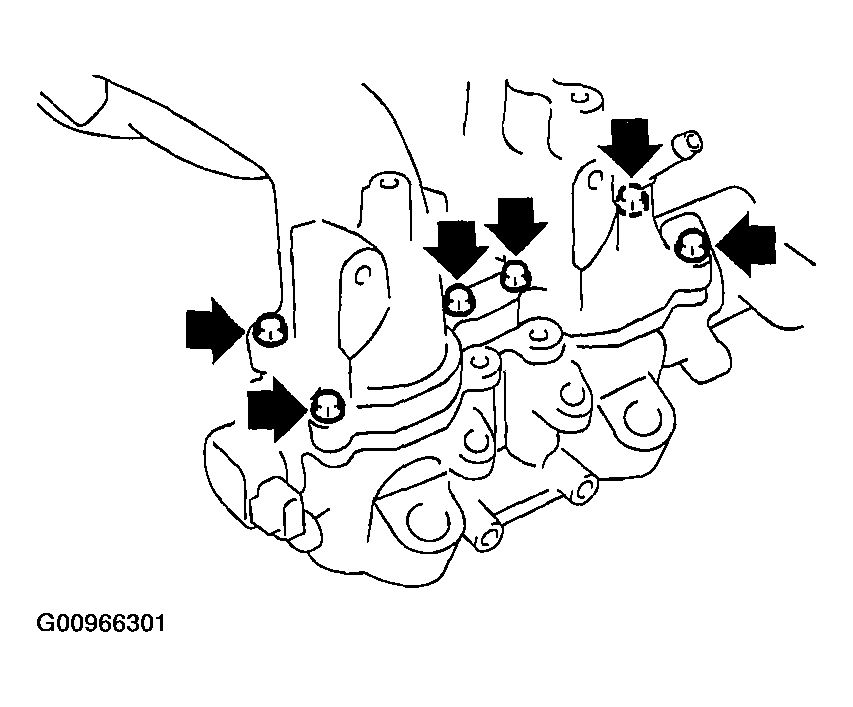
- Remove the bolts which install the fuel pipe on intake manifold.
 Courtesy of SUBARU OF AMERICA, INC.
- Remove the fuel pipe assembly and pressure regulator from the intake manifold.
- Remove the intake duct from the intake manifold.
 Courtesy of SUBARU OF AMERICA, INC.
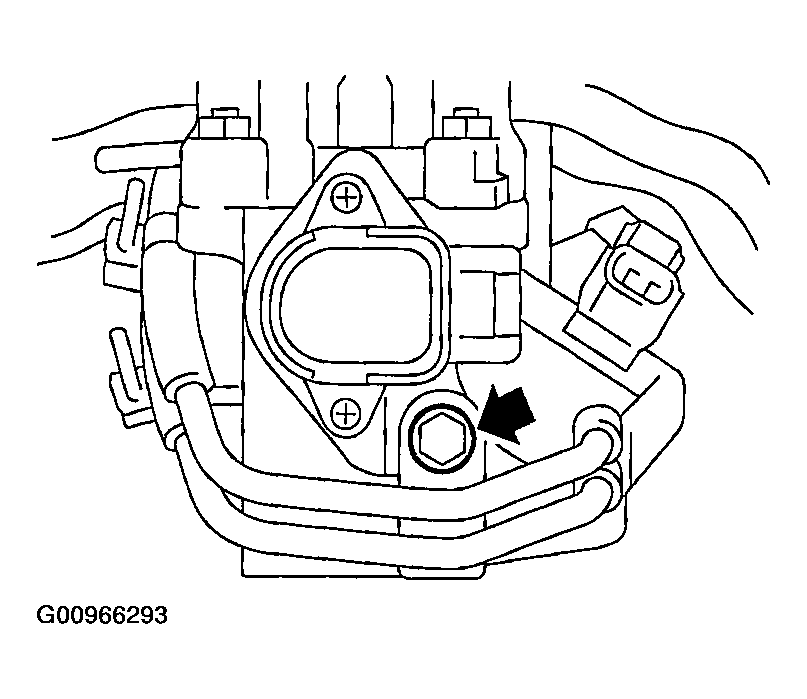
- Remove the tumble generator valve assembly from the intake manifold.
 Courtesy of SUBARU OF AMERICA, INC.