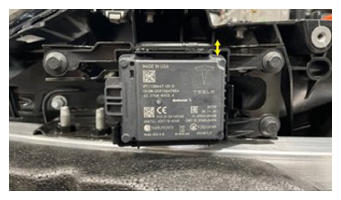
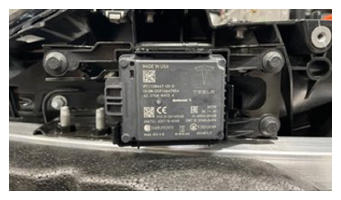
- Secure radar to front bracket.
NOTE:
2x tabs, Seat bottom first and the top will clip into place.
 Courtesy of TESLA, INC. Courtesy of TESLA, INC.
|
 Courtesy of TESLA, INC. Courtesy of TESLA, INC.
|
 Courtesy of TESLA, INC. Courtesy of TESLA, INC.
|
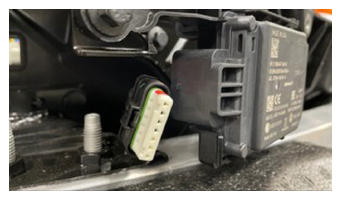
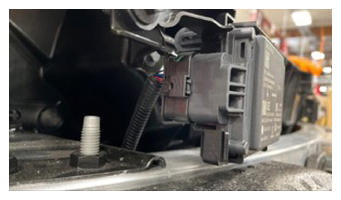
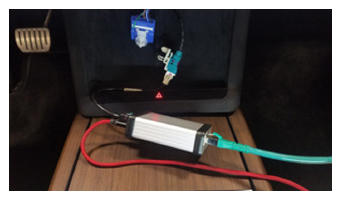
- Secure front radar connection.
NOTE:
1x connector.
 Courtesy of TESLA, INC. Courtesy of TESLA, INC.
|
 Courtesy of TESLA, INC. Courtesy of TESLA, INC.
|
- Install the front fascia assembly. See Fascia Assembly - Front (Remove and Install)
.
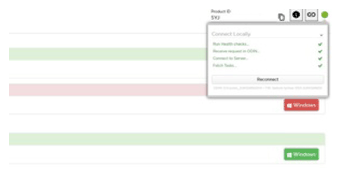
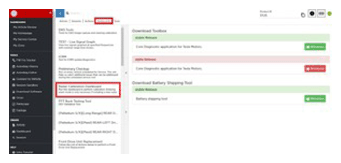
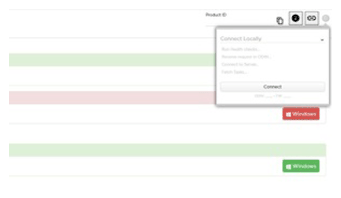
- Using laptop connect to vehicle with ethernet diag kit and Toolbox 3.
NOTE:
Open Toolbox 3 website and establish connection to the vehicle, https://toolbox.teslamotors.com, For local connection issues with Toolbox 3 refer to article #43695, Media converter box is powered by laptop using USB, Ethernet connection will provide communication.
 Courtesy of TESLA, INC. Courtesy of TESLA, INC.
|
 Courtesy of TESLA, INC. Courtesy of TESLA, INC.
|
 Courtesy of TESLA, INC. Courtesy of TESLA, INC.
|
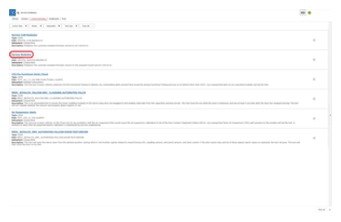
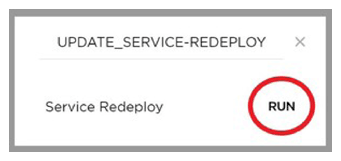
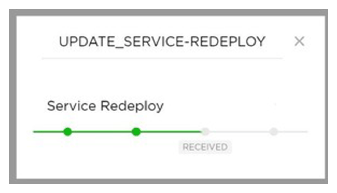
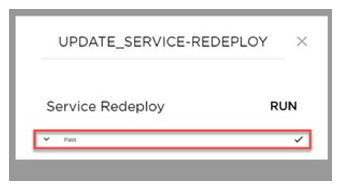
- Select 'UPDATE_SERVICE-REDEPLOY', click 'Run', and allow routine to complete.
NOTE:
Select 'X' at top right of window to close once complete https://toolbox.teslamotors.com/dashboards/users?view=sessions&query=UPDATE_SERVICE-REDEPLOY&searchType=actions.
 Courtesy of TESLA, INC. Courtesy of TESLA, INC.
|
 Courtesy of TESLA, INC. Courtesy of TESLA, INC.
|
 Courtesy of TESLA, INC. Courtesy of TESLA, INC.
|
 Courtesy of TESLA, INC. Courtesy of TESLA, INC.
|
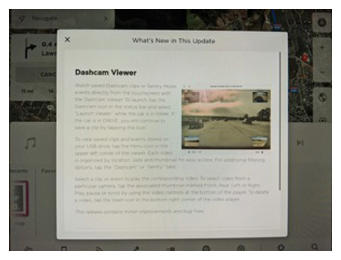
- Once firmware redeploy is complete, Verify on center display release notes are present.
NOTE:
If the redeploy fails you may receive an error message on UI.
 Courtesy of TESLA, INC. Courtesy of TESLA, INC.
|
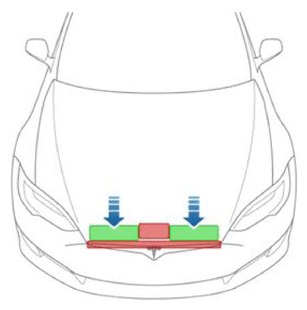
- Close hood.
NOTE:
Press firmly in green highlighted areas (see image), Damage may result from pressure elsewhere on hood.
 Courtesy of TESLA, INC. Courtesy of TESLA, INC.
|
- In Toolbox, select 'Dashboards' tab and select 'Radar Calibration Dashboard".
 Courtesy of TESLA, INC. Courtesy of TESLA, INC.
|
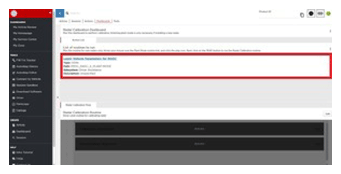
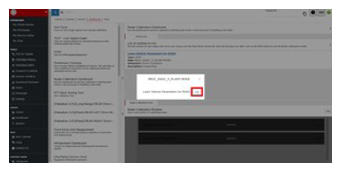
- Select 'PROC_RADC_X_PLANT-MODE', click "Run', and allow routine to complete.
NOTE:
Learn Vehicle Parameters for RADC, Select 'X' at top right of window to close once complete.
 Courtesy of TESLA, INC. Courtesy of TESLA, INC.
|
 Courtesy of TESLA, INC. Courtesy of TESLA, INC.
|
 Courtesy of TESLA, INC. Courtesy of TESLA, INC.
|
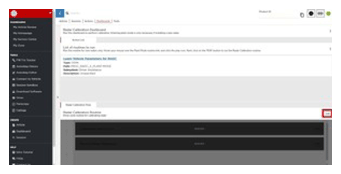
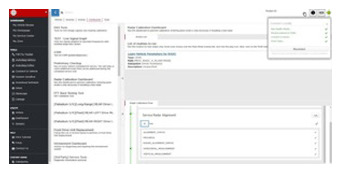
- Select 'Radar Calibration Routine' and click 'Run'.
 Courtesy of TESLA, INC. Courtesy of TESLA, INC.
|
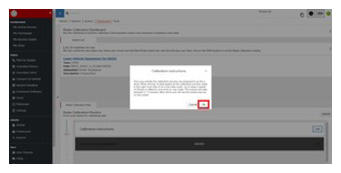
- Select 'Calibration Instructions' and click 'Run".
NOTE:
Take the time to read the calibration instructions, Select "OK" after reading instructions to close window.
 Courtesy of TESLA, INC. Courtesy of TESLA, INC.
|
 Courtesy of TESLA, INC. Courtesy of TESLA, INC.
|
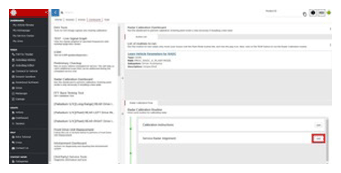
- Select "Service Radar Alignment" and click "Run".
NOTE:
Be prepared to go on a test drive before beginning routine. Shift vehicle into Drive beforehand. Starting the routine will begin the calibration process, If drive does not occur process may time out.
 Courtesy of TESLA, INC. Courtesy of TESLA, INC.
|
- Drive vehicle as instructed by the software, and monitor progress bar until radar calibration is complete.
NOTE:
If the test drive shows the vehicle to track poorly or pull to the side, or if steering is sloppy or off center, then perform a four wheel alignment check. See Four Wheel Alignment Check
.
NOTE:
Once you initiate the calibration process, be prepared to go for a drive. When driving, keep in the right most lane (if on a two lane road), and try to keep above 30 mph. The routine will take roughly around 5 minutes, after which you will see the results pop-up on the screen.
 Courtesy of TESLA, INC. Courtesy of TESLA, INC.
|
 Courtesy of TESLA, INC. Courtesy of TESLA, INC.
|
- Disconnect Toolbox 3 from vehicle and remove laptop and ethernet diag kit.
 Courtesy of TESLA, INC. Courtesy of TESLA, INC.
|
 Courtesy of TESLA, INC. Courtesy of TESLA, INC.
|
 Courtesy of TESLA, INC. Courtesy of TESLA, INC.
|