Control Valve Assembly
Tools RequiredJ 41790 Compressor Holding Fixture
Figure 17 - Removing Control Valve From Compressor:
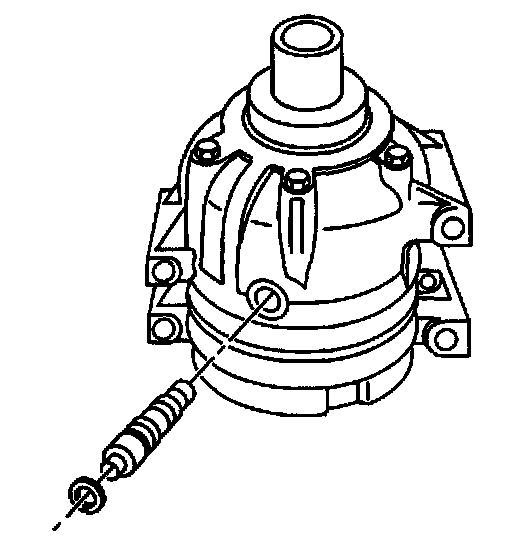
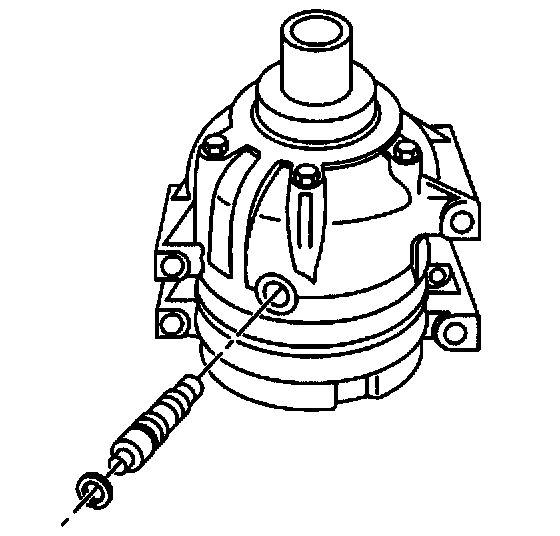
Figure 18 - Installing Control Valve Into Compressor:
Remove or Disconnect
1. Remove the compressor from the vehicle.
2. install the compressor onto the J 41790.
3. Remove the compressor control valve retaining ring using internal snap ring pliers.
4. Remove the compressor control valve from the compressor (Figure 17).
Figure 18 - Installing Control Valve Into Compressor:
Install or Connect
1. Coat the control valve O-ring seals with clean 525 viscosity refrigeration oil.
2. Push the compressor control valve into the compressor with thumb pressure.
3. Using internal snap ring pliers, install the compressor control valve retaining ring (Figure 18).
Important
^ Make sure the retaining ring is properly seated in the ring groove.
4. Remove the compressor from the J 41790.
5. Install the compressor into the vehicle.