PCM Replacement/Programming
PCM Replacement/ProgrammingService of the Powertrain Control Module (PCM) should normally consist of either replacement of the PCM or EEPROM programming. If the diagnostic procedures call for the PCM to be replaced, the PCM should be inspected first to see if the correct part is being used.
IMPORTANT: Remove any debris from the PCM connector surfaces before servicing the PCM. Inspect the PCM module connector gaskets when diagnosing or replacing the PCM. Ensure that the gaskets are installed correctly. The gaskets prevent contaminant intrusion into the PCM.
REMOVAL PROCEDURE
IMPORTANT: To prevent internal PCM damage, the ignition must be OFF when disconnecting or reconnecting power to the PCM (for example, battery cable, PCM pigtail, PCM fuse, jumper cables, etc.).
CAUTION: Refer to Battery Disconnect Caution in Service Precautions.
1. Disconnect the negative battery cable.
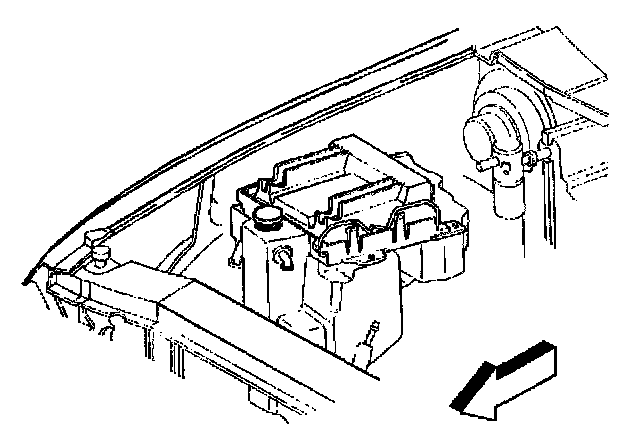
2. Move the PCM retention bar and retainer away from the PCM.
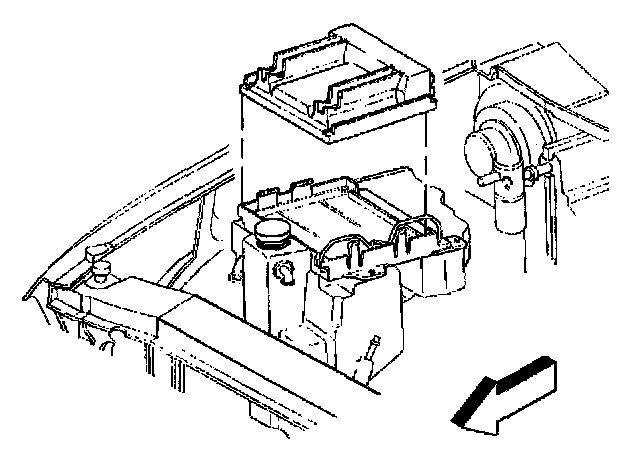
3. Remove the PCM from the PCM mounting bracket.
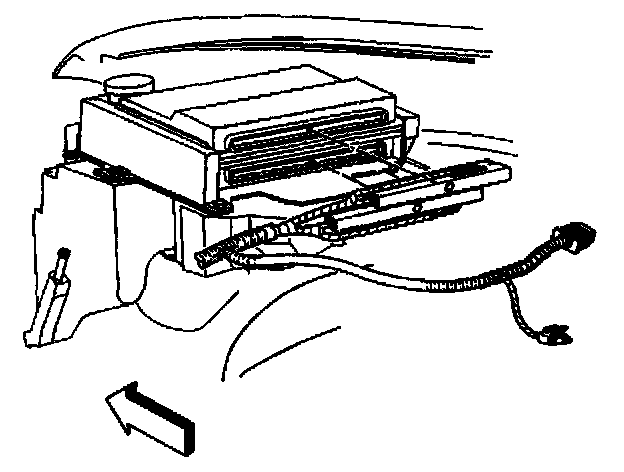
4. Remove the PCM electrical connectors.
INSTALLATION PROCEDURE
1. Remove the replacement PCM from the packaging.
2. Inspect the service number in order to make sure it is the same number as the defective PCM.
3. Install the PCM electrical connectors.
4. Slide the PCM retainer into the PCM bracket slots.
5. Pull the PCM retention bar into position.