Air Conditioning Compressor Replacement
Compressor Replacement
Tools Required
J 39400-A Halogen Leak Detector
Removal Procedure
1. Recover the refrigerant from the A/C System. Refer to Refrigerant Recovery and Recharging.
2. Remove the A/C drive belt.
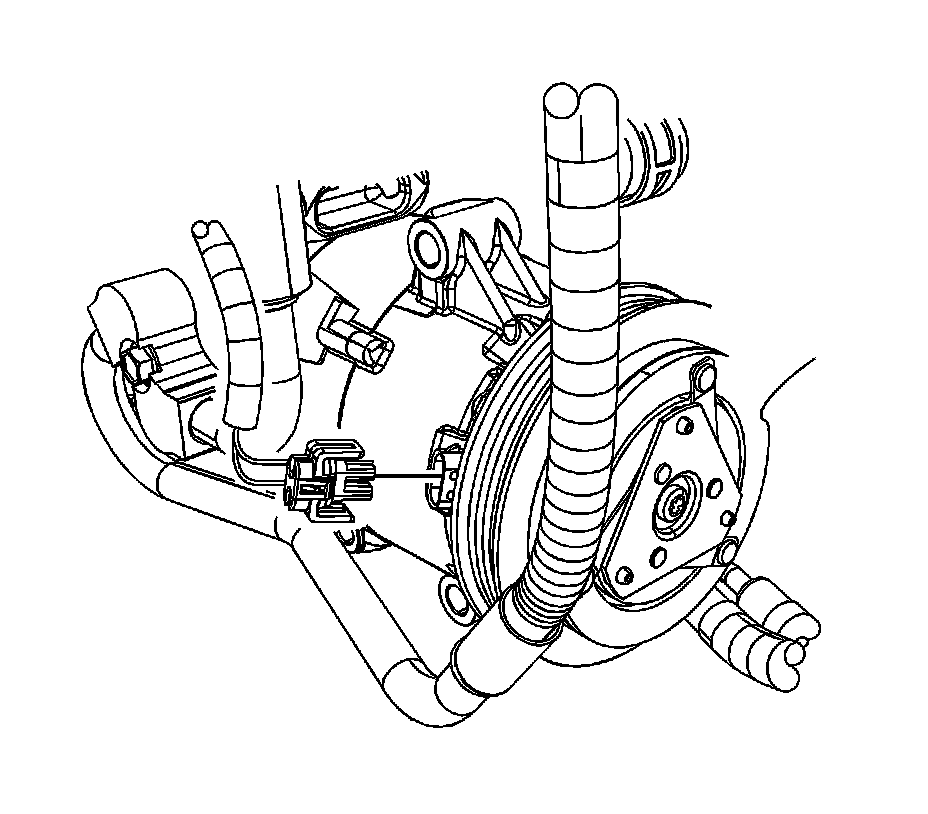
3. Remove the A/C compressor hose assembly from the A/C compressor.
4. Lower the front suspension crossmember. Refer to Front Suspension Crossmember Replacement (With ZO6) Front Suspension Crossmember Replacement (Without ZO6).
5. Disconnect the A/C compressor electrical connector.
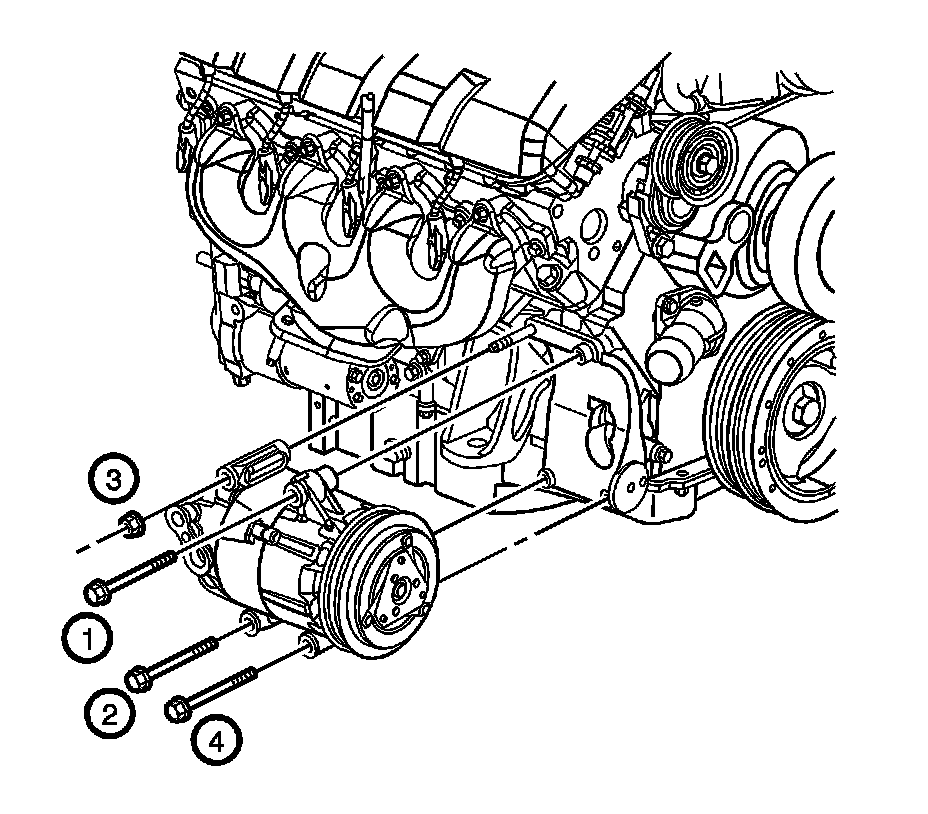
6. Remove the A/C compressor mounting bolts (1, 2, 4).
7. Remove the A/C compressor mounting nut (3).
8. Remove the A/C compressor from the vehicle.
Important: Replacement A/C compressors are charged with polyalkylene glycol (PAG) oil. Refer to Refrigerant System Capacities.
9. If replacing the A/C compressor, oil balance the compressor. Refer to Compressor Oil Balancing.
Installation Procedure
1. Install the A/C compressor to the vehicle.
Notice: Refer to Fastener Notice.
Important: Finger tighten the A/C compressor bolts and nuts only, do not torque at this time.
2. Position the A/C compressor onto the A/C compressor bracket and install the A/C compressor mounting bolts (1, 2, 4).
3. Install the A/C compressor mounting nut (3).
4. Tighten the A/C compressor mounting bolts and nut in sequence.
Tighten the bolts and nut to 50 N.m (37 lb ft).
5. Connect the A/C compressor electrical connector.
6. Raise and install the front suspension crossmember. Refer to Front Suspension Crossmember Replacement (With ZO6) Front Suspension Crossmember Replacement (Without ZO6).
7. Install the compressor hose assembly to the A/C compressor.
8. Install the A/C drive belt.
9. Evacuate and recharge the A/C System.
10. Leak test the fittings of the A/C components using J 39400-A.