Knock Sensor 1 Replacement
Knock Sensor 1 Replacement
Removal Procedure

1. Raise and suitably support the vehicle. Refer to Lifting and Jacking the Vehicle (Service and Repair) .
2. If equipped, remove the oil pan skid plate and bolts.
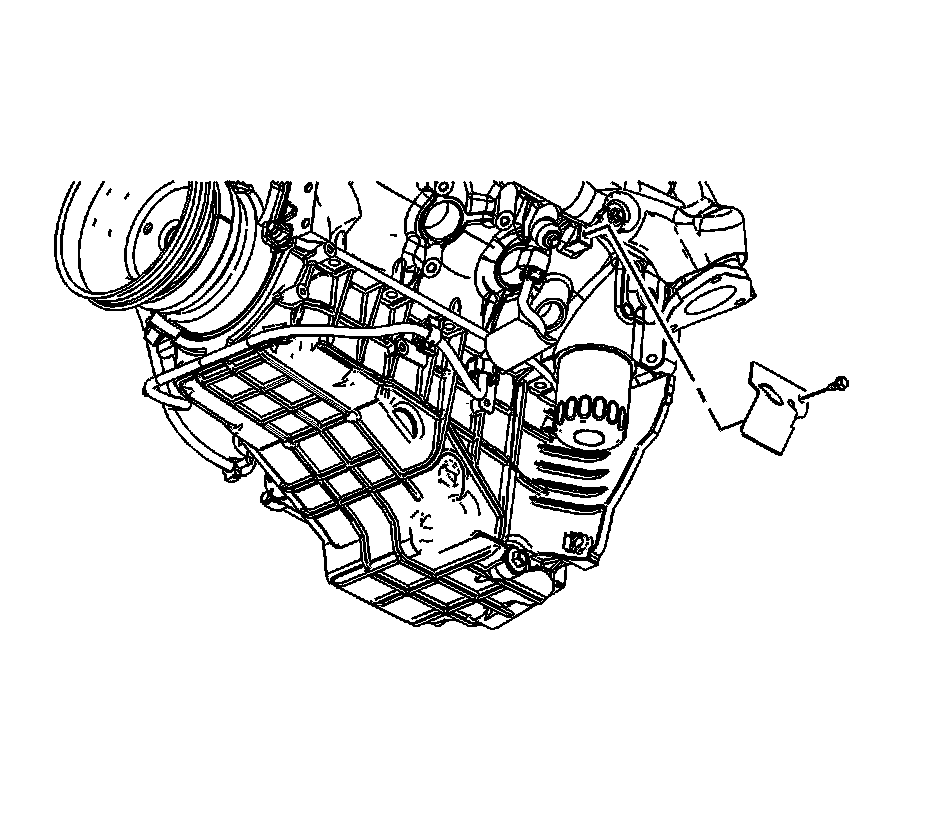
3. Remove the knock sensor heat shield bolt and shield.
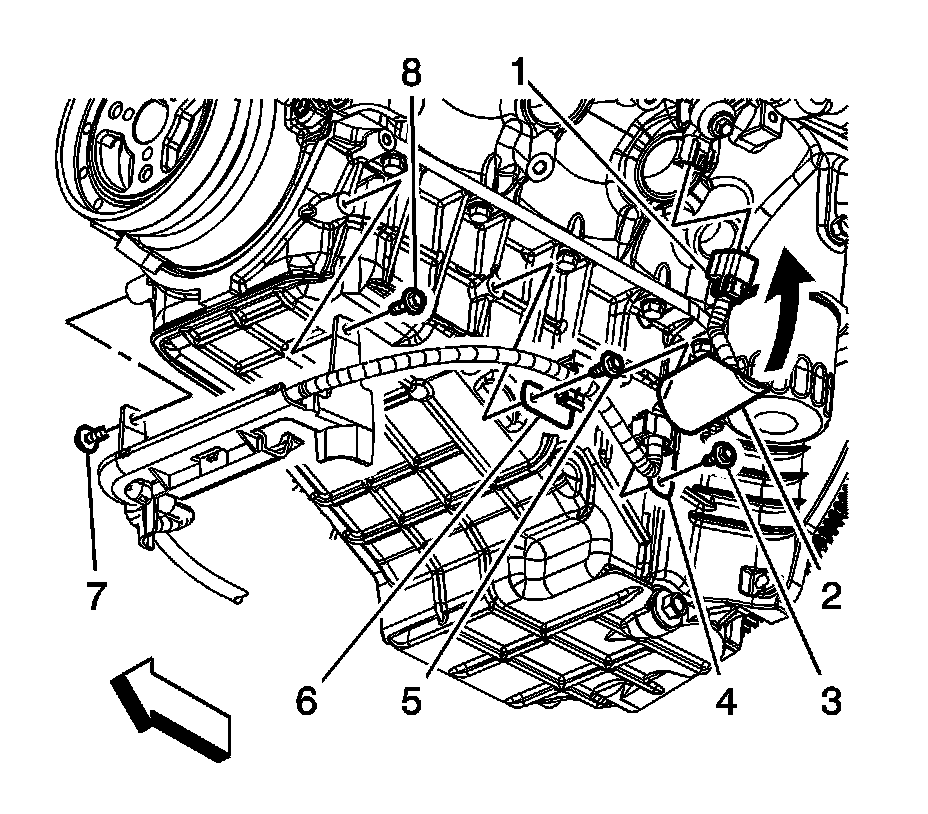
4. Reposition the knock sensor sleeve (2) down, away from the knock sensor.
5. Disconnect the engine wiring harness electrical connector (1) from the knock sensor.
6. Remove the knock sensor bolt and sensor.
Installation Procedure
Caution: Refer to Fastener Caution (Fastener Caution) .
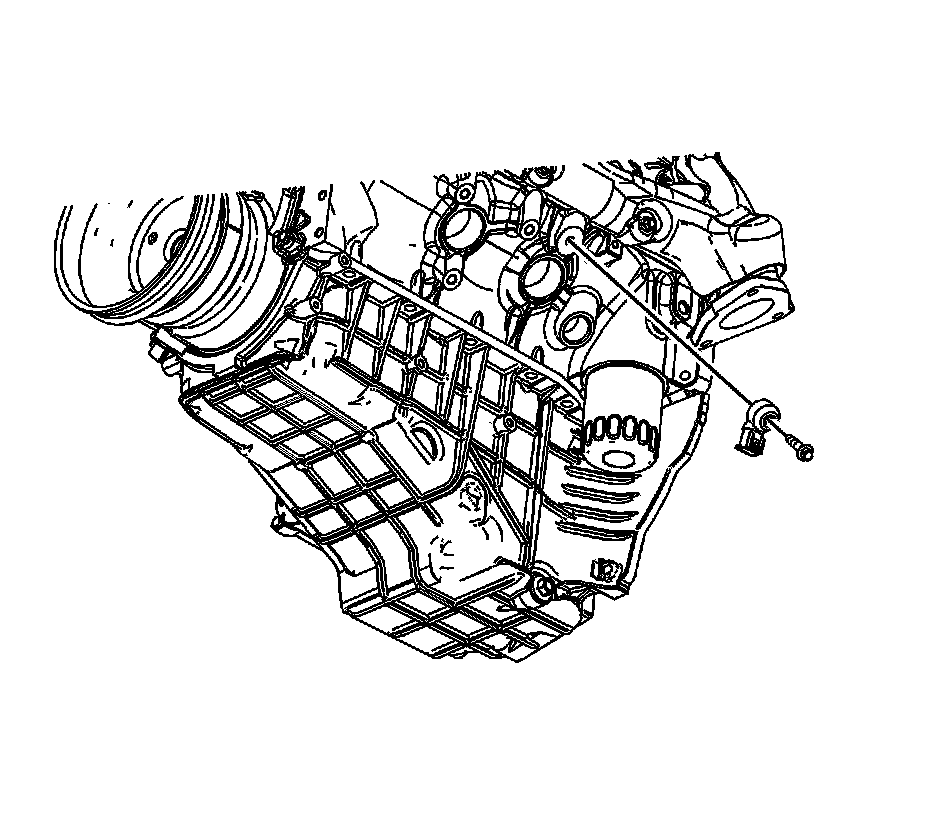
1. Position the knock sensor to the engine block and install the bolt.
Tighten the bolt to 25 Nm (18 lb ft).
2. Connect the engine wiring harness electrical connector (1) to the knock sensor.
3. Position the knock sensor sleeve (2) up and over the knock sensor.
4. Position the knock sensor heat shield to the engine block and install the bolt.
Tighten the bolt to 10 Nm (89 lb in).
5. If equipped, position the oil pan skid plate and install the bolts.
Tighten the bolts to 28 Nm (21 lb ft).
6. Lower the vehicle.