Wire Splicing
STANDARD PROCEDURE - WIRE SPLICING
When splicing a wire, it is important that the correct gage be used as shown in the wiring diagrams.
1. Remove one-half (1/2) inch of insulation from each wire that needs to be spliced.
2. Place a piece of adhesive lined heat shrink tubing on one side of the wire. Make sure the tubing will be long enough to cover and seal the entire repair area.
3. Place the strands of wire overlapping each other inside of the splice clip (Figure 1).
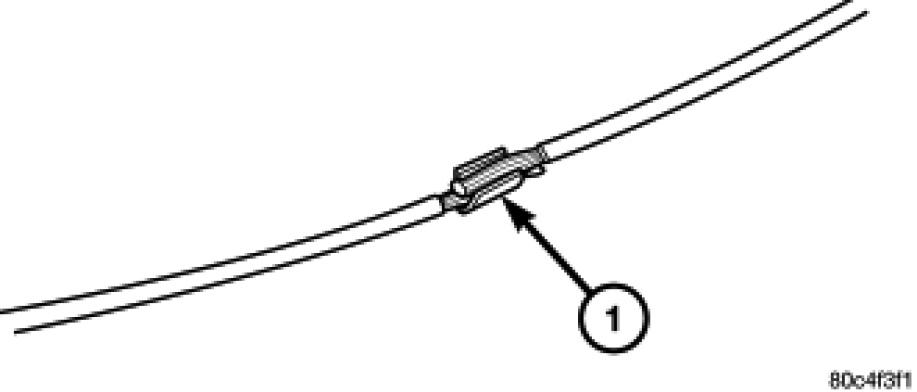
Figure 1 SPLICE BAND

4. Using crimping tool, Mopar p/n 05019912AA, crimp the splice clip and wires together (Figure 2).
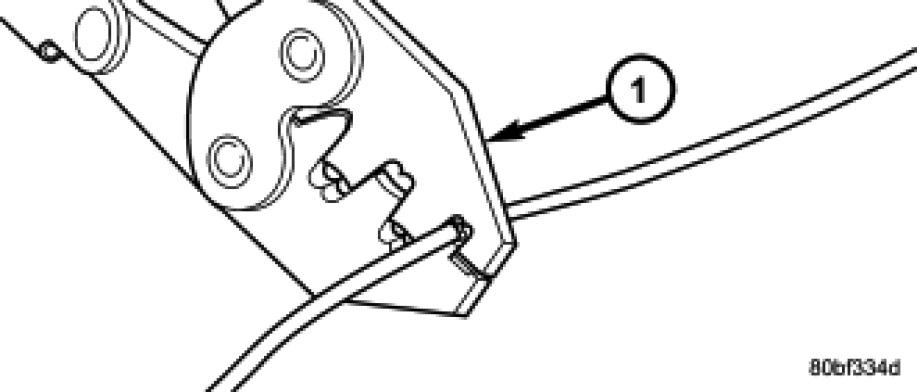
Figure 2 CRIMPING TOOL
5. Solder the connection together using rosin core type solder only (Figure 3).
CAUTION: DO NOT USE ACID CORE SOLDER.
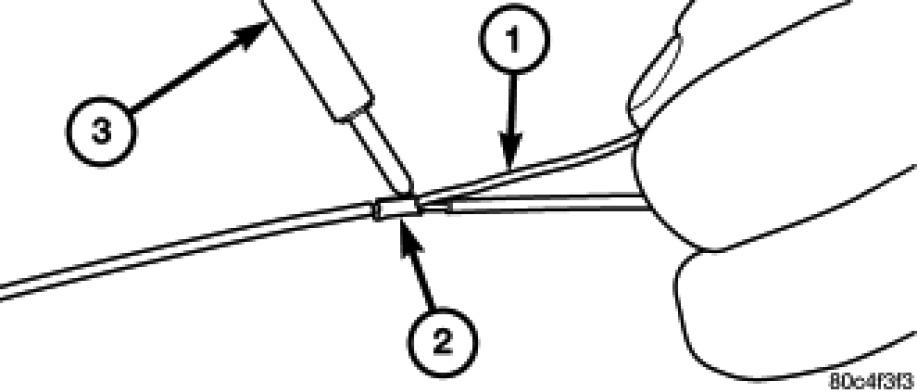
Figure 3 SOLDER SPLICE

6. Center the heat shrink tubing over the joint and heat using a heat gun. Heat the joint until the tubing is tightly sealed and sealant comes out of both ends of the tubing (Figure 4).
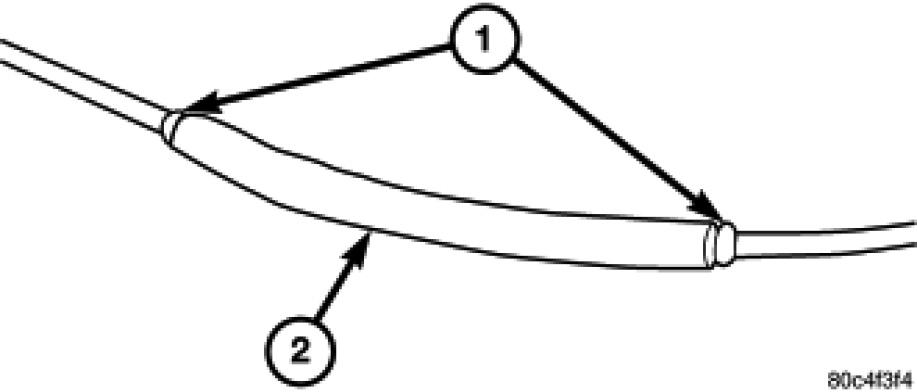
Figure 4 HEAT SHRINK TUBE
