How to Remove the PCM For Testing
How to Remove the PCM for Testing1. Remove the passenger's dashboard lower cover, the right kick panel, and the glove box.
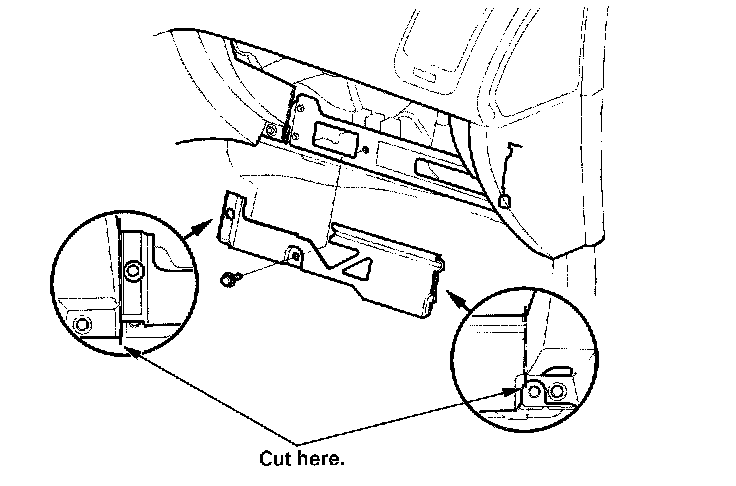
2. Remove the bolt. Cut the plastic cross brace in the glove box opening with diagonal cutters in the area shown, and discard it.
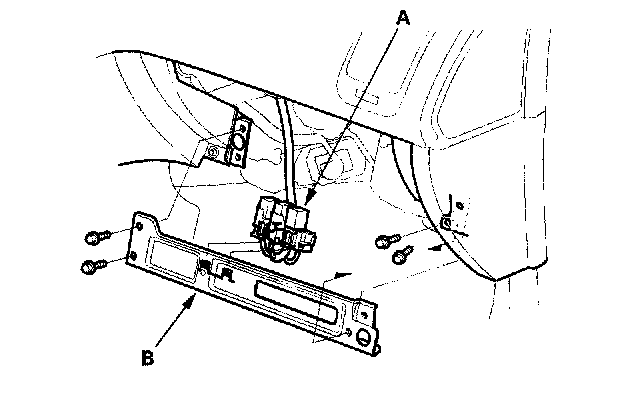
3. Remove the relays (A), then remove the bolts and the glove box frame (B).
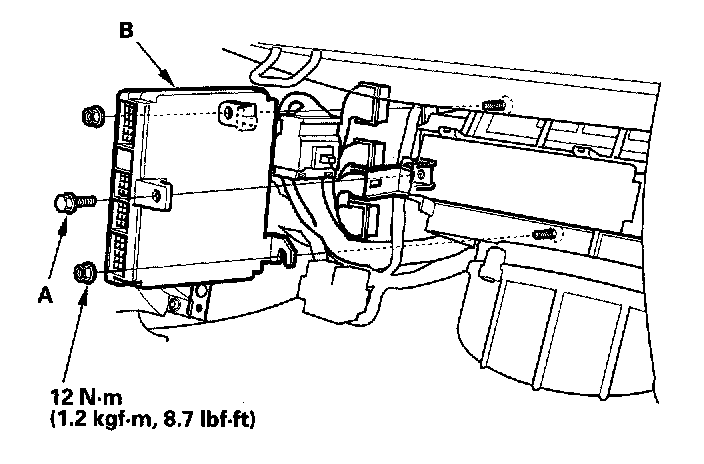
4. Remove the gray 20P PCM wire harness connector from the PCM mounting bracket. Remove the PCM mounting bolt (A) and the bracket.
5. Remove the nuts, then remove the PCM (B).
6. Install the PCM in the reverse order of removal.