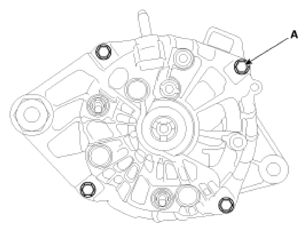
Repair Procedures - Non-Turbo: Disassembly
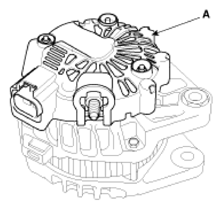
- Remove the alternator cover (A).
 Courtesy of HYUNDAI MOTOR AMERICA
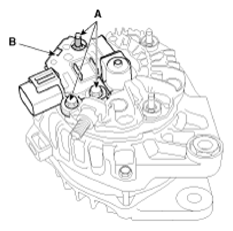
- Loosen the mounting bolts (A) and disconnect the brush holder assembly (B).
 Courtesy of HYUNDAI MOTOR AMERICA
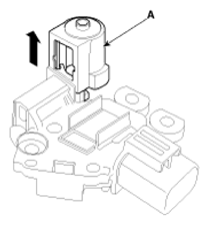
- Remove the slip ring guide (A).
 Courtesy of HYUNDAI MOTOR AMERICA
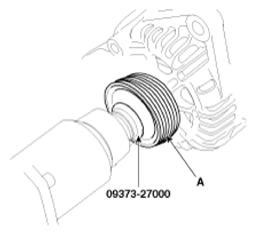
NOTE:
- When installing, replace with new OAD cap.
- Remove the nut and pulley (A).
 Courtesy of HYUNDAI MOTOR AMERICA
- Loosen the 4 through bolts (A).
 Courtesy of HYUNDAI MOTOR AMERICA
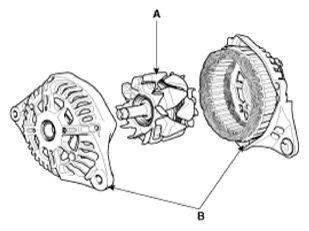
- Disconnect the rotor (A) and cover (B).
 Courtesy of HYUNDAI MOTOR AMERICA
- Reassembly is the reverse of disassembly.