Discharge Headlight Control Module Removal/Installation
DISCHARGE HEADLIGHT CONTROL MODULE REMOVAL/INSTALLATION
CAUTION:
- Incorrect servicing of the discharge headlight control module could result in electrical shock. Before servicing the discharge headlight control module, always refer to the "Discharge headlight service warnings." Service Precautions
1. Disconnect the negative battery cable.
2. Remove the front bumper. Front Bumper Removal/Installation
3. Remove the front combination light. Front Combination Light Removal/Installation
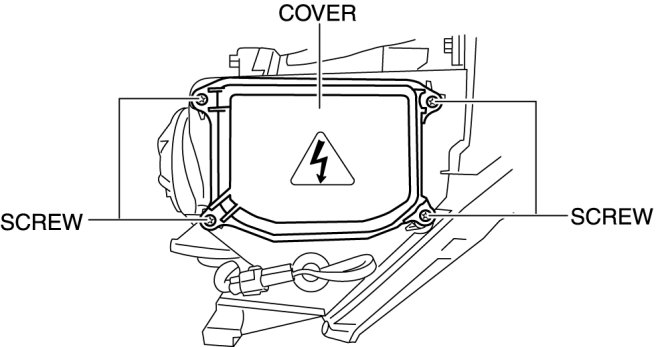
4. Remove the screws shown in the figure, then remove the discharge headlight control module cover.
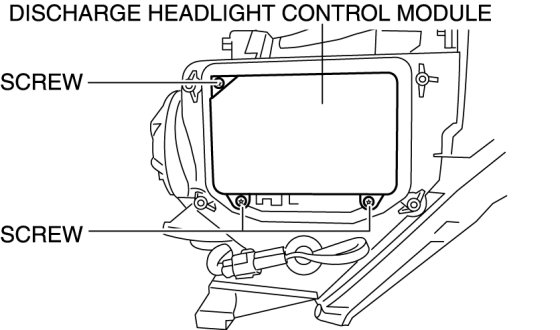
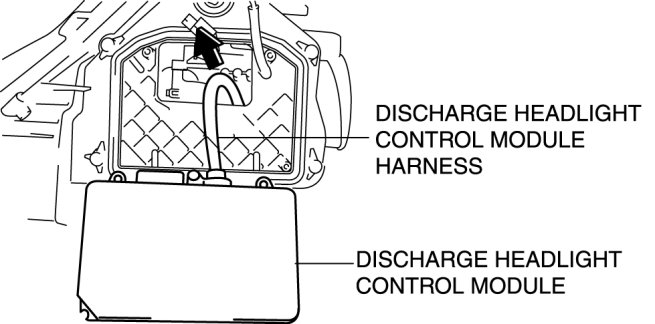
5. Remove the screws shown in the figure.
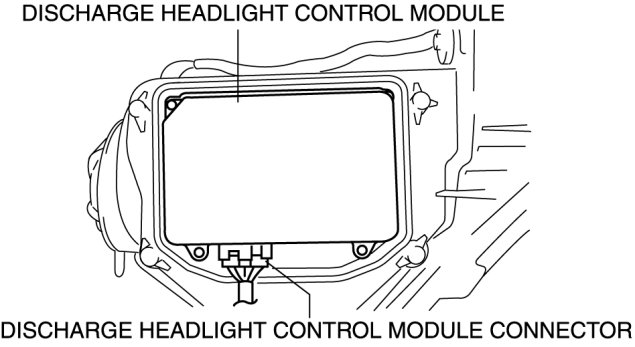
6. Disconnect the discharge headlight control module connector.
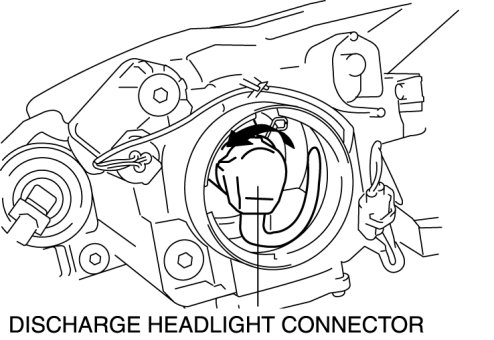
7. Remove the cover and disconnect the discharge headlight connector.
8. Pull out the discharge headlight control module wiring harness and remove the control module.
9. Install in the reverse order of removal.