Installation
1. Install control tube on new control base assembly.2. Position control indicator assembly (PRND32) on control base assembly and install two shift indicator pop rivets with a rivet gun.
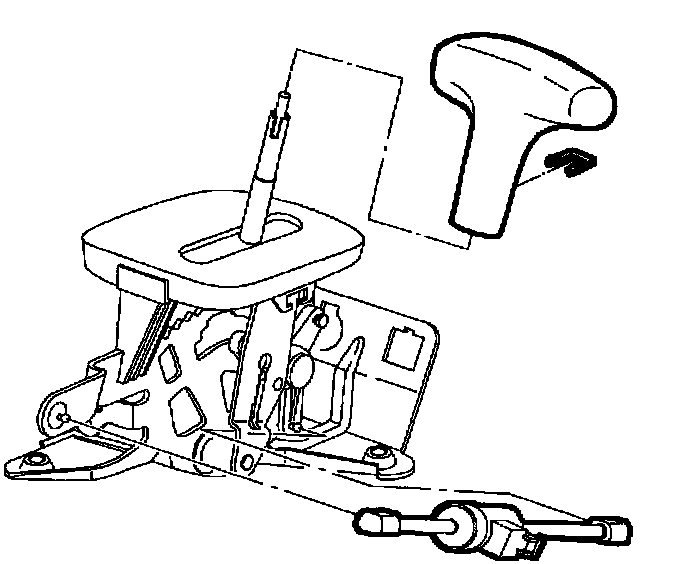
3. Install Brake Transaxle Shift Interlock (BTSI) solenoid into control base assembly. Connect two plastic retainers to control base assembly.
4. Install control lever knob assembly and retainer.

5. Position control base assembly in vehicle and install three nuts.
Torque: 25 Nm (19 ft. lbs.)
IMPORTANT: For step 6, Left-Hand Drive (LHD) illustration shown first, Right-Hand Drive (RHD) Domestic illustration shown second.
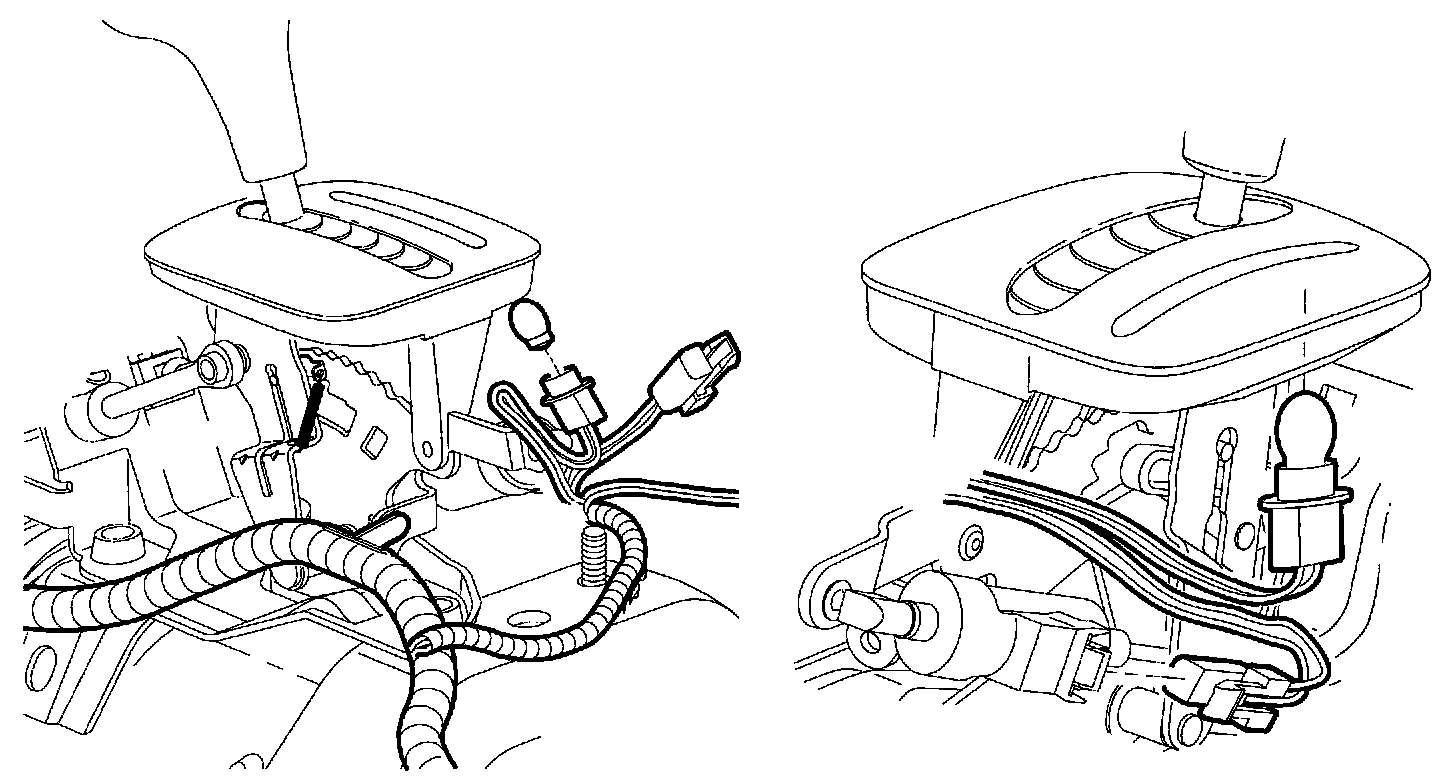
6. Install the control indicator assembly (PRND32) bulb (LHD shown here, RHD follows).
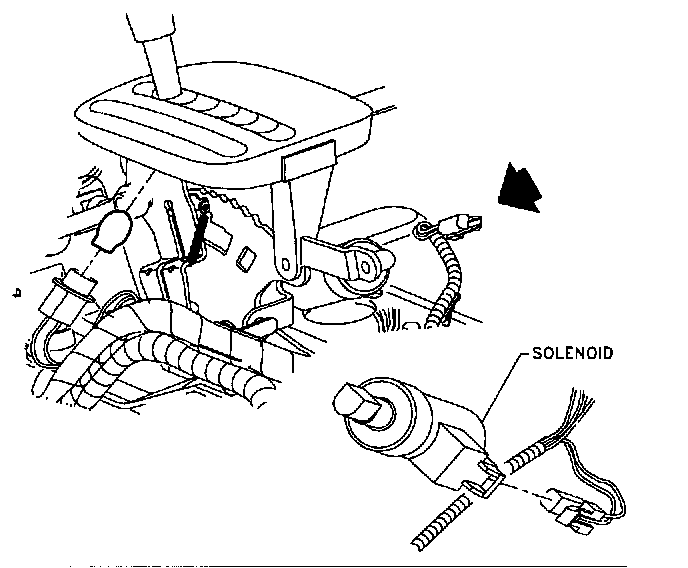
7. Connect BTSI connector.
8. Connect two wiring harness retainers to control base assembly.
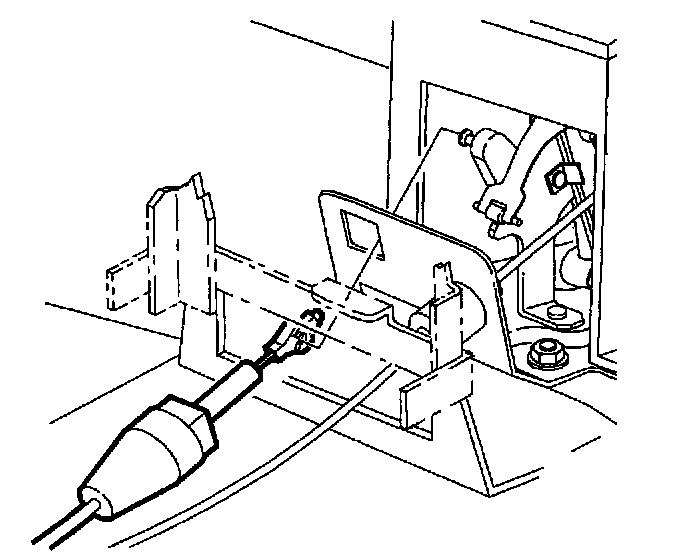
9. Install the park lock cable assembly into the control base assembly by completely seating two tabs.
10. Connect park lock cable assembly to control base assembly lever.
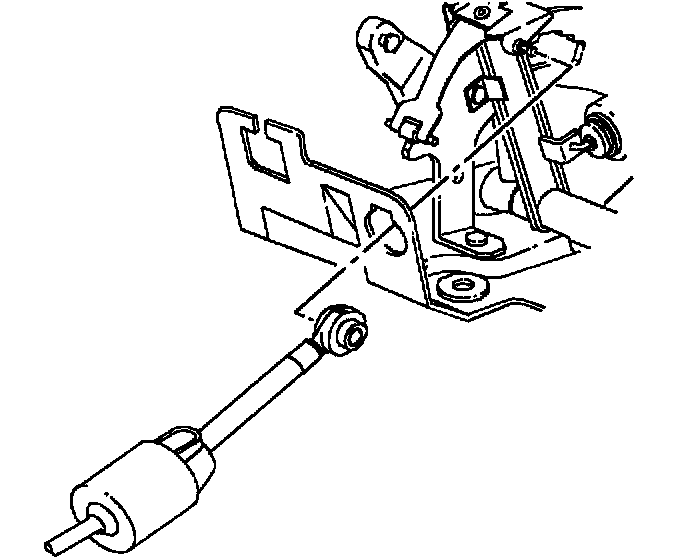
11. Install control cable assembly into control base assembly by completely seating two tabs.
12. Connect control cable assembly to control base assembly lever, and adjust control cable. (Refer to "Control Cable Assembly Adjustment" procedure.)
13. Check adjustment of park lock cable assembly. (Refer to "Park Lock Cable Adjustment" procedures.)
14. Install console. (Refer to "Console Installation" procedures in this section.)
15. Enable the SIR system. (Refer to "Enabling the SIR System".)